Most of have seen what hackers had to do to get into the PlayStation Classic by solder to the UART port but that’s all change thanks to madmonkey, DanTheMan827, & skogaby. Now, this payload launcher method is in its very early stages and has the potential to can damage the PlayStation Classic if you don’t know what you are doing.
 At the moment it can only load one game at a time but in time that will hopefully change and they are probably working on a program with a full GUI to make this even easier to use. If you can’t wait, the process to do this is not that hard to do all you need is a blank USB drive, your own games of course and an SQLite Editor.
I would wait to do this, for one it’s in the early stages and can’t add more than one game at a time. Next in the notes if you forget to shut down the console with one of the stock games selected it could damage it. Because if you were playing the game on the USB drive then removed the game on the USB drive, on the next boot the console will not start. There is no mention if you add the game you where playing back to the USB drive to it would start back up, so be careful.
So if you don’t feel comfortable doing stuff like this then don’t do it just wait but if you can’t (like me) go for it by all means. Also some of the games you may add could run slow due to the emulator or it could be the setting as you’ll need a certain keyboard to access them like the Logitech G15 and Corsair K75 RGB but that will probably change in time too.
UPDATE:
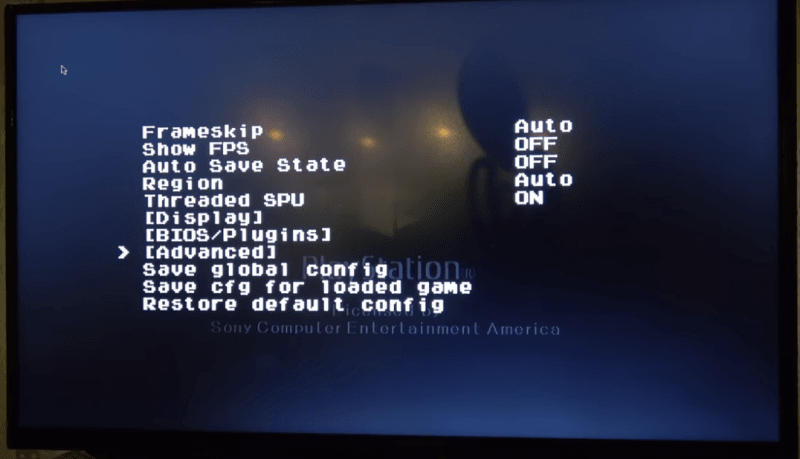
You can now get into the setting without a keyboard and load even more games using the settings to load other backup images like bin, ISO, or PBP.
The following needs to be copied to lolhack.sh
- #!/bin/sh
- #Access Esc Menu from Select + Triangle on controller
- sleep 5s
- export PCSX_ESC_KEY=2
- killall ui_menu
- sleep 5s
- cd /data/AppData/sony/pcsx
- /usr/sony/bin/ui_menu –power-off-enable
- sync
Disclaimer: this can brick your console. Don’t use if you don’t understand every piece of how it works.
Adding Custom Games:
Open games/custom.db in an SQLite Editor of your choice. Add new entry to the GAME table as follows:
- GAME_ID = numerical identifier, has to be unique
- GAME_TITLE_STRING = Name of the game
- PUBLISHER_NAME = self explanatory
- RELEASE_YEAR = self explanatory
- PLAYERS = number of players
- RATING_IMAGE = Has to be CERO_A
- GAME_MANUAL_QR_IMAGE = Has to be QR_Code_GM
- LINK_GAME_ID = leave empty
Then you have to add the actual disc files to the DB. Open DISC table and add new entry per each disc for the game:
- GAME_ID = GAME_ID from the GAME table
- DISC_NUMBER = disc number
- BASENAME = base name for the cue/bin file pair, i.e: SCUS-94426
Save that file.
Then you have to add actual game files, go to games dir and create a new folder with the GAME_ID from previous steps, i.e 21. Inside of that directory, you need to put at least those files:
- BASENAME.cue (use the BASENAME value from the DISC table, i.e SCUS-94426.cue)
- BASENAME.bin (use the BASENAME value from the DISC table, i.e SCUS-94426.bin)
- BASENAME.png (use the BASENAME value from the DISC table, i.e SCUS-94426.png)
- pcsx.cfg (use the default one from the sample game with id 21)
If you need a little extra help I recommend checking out 8 Bit Flashback youtube guide and you can check the ModMyClassic (Formerly HAKCHI) community on discord for more help.