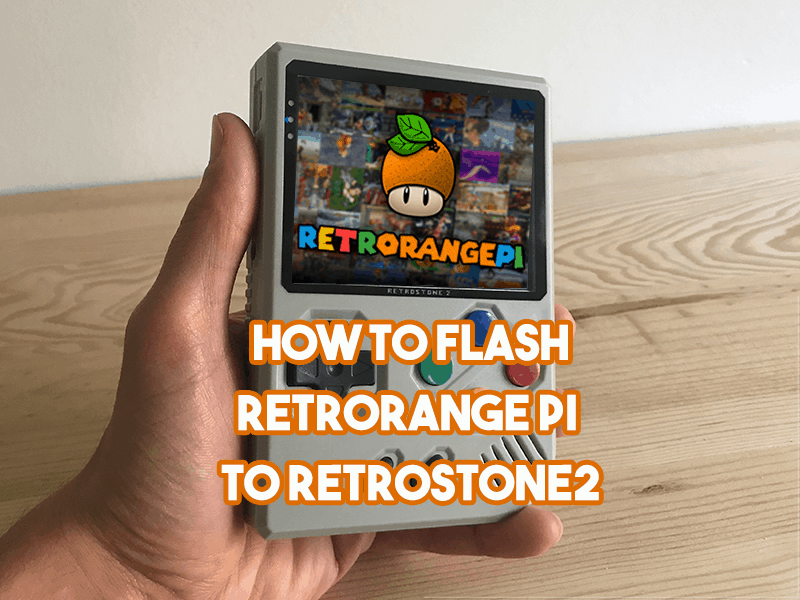
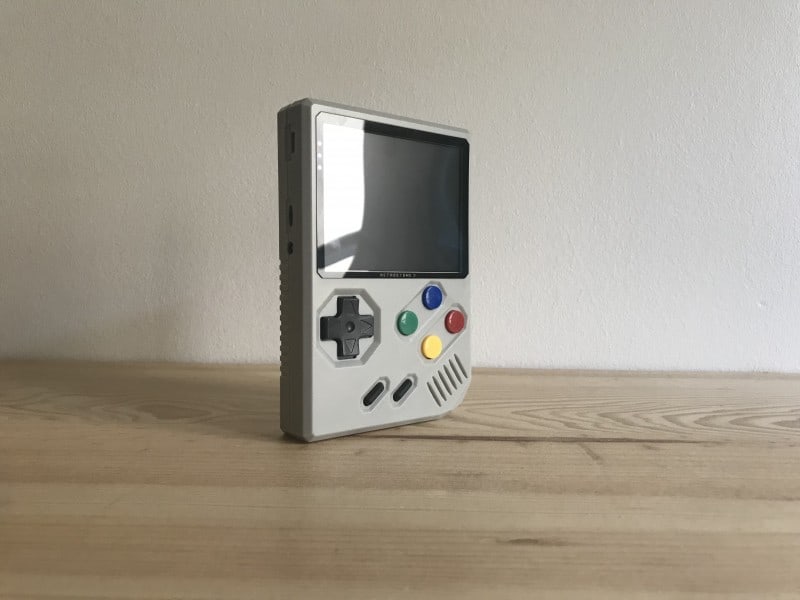
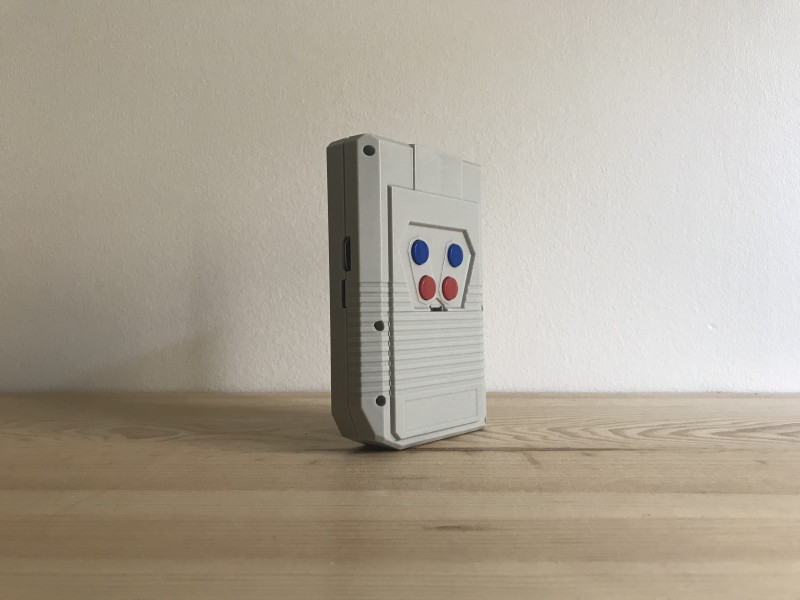
Hello! This is the first of two articles on how to get your RetroStone2 up and running. We’re making these to let you see that there is nothing to be afraid of in terms of initial setup and that you should totally be purchasing a RetroStone2 if you love retro gaming on the go. If you’re wondering what the second tutorial will cover, that is part two of this. And by that, I mean adding your legally obtained ROMs to the RetroStone2. So let’s jump into this article. This article picks up with what you do after you first open your RetroStone2 up and need to get it operational!
What You Need:
- 8GB+ microSD card if yours didn’t come with one.
- SD Card reader for PC (just some way to get your computer to read the microSD card).
- A program for flashing images onto microSD cards downloaded and installed (Win32diskImager if you’re PC only. Etcher if you’re on Mac, PC, or Linux)
- Make a cup of something delicious, don’t drink it just yet.
Instructions:
- Download the current RetrOrangePi by clicking here. As of the time of this writing, it’s 4.3 and it works so well, so that’s the one I’m linking to.
- Unzip the .7z file that you just downloaded (may require 7zip, I don’t remember if WinZip or WinRAR can extract .7z files),
- Plug your microSD card into your computer.
- Format the SD card to Fat32 if it’s not already (if you’re uncertain, google is your friend).
- Now start your image flashing program of choice. If it’s etcher, simply follow the prompts. If it’s Win32diskImager, choose your drive, choose your image, then go ahead and run the flashing function.
- The flashing function will take 5-10 minutes in total. Feel free to drink your cup of something delicious while you wait.
- Once it has completed, feel free to safely eject your microSD card from PC.
- Insert it into your RetroStone2.
- Power it on and wait, you’re letting it startup for the first time and create any necessary folders.
- Feel free to go back to sipping on your delicious cup of drink at this time.
- Another 5 minutes later you’ll be on a screen playing music and allowing you to choose the Amiga.
- Once you’re 100%, definitely at that screen, power off your RetroStone by holding down on the power button for 10-15 seconds. Your top blue indicator light will turn off.
- You are now safe to proceed to the next article! Click here to do so.
Purchase Link:
Click here to buy a RetroStone2 if you don’t already have one. Feel free to customize it further, if your wallet allows!