
Hey guys. Thought I would give a short tutorial on emulators so there will be an easy to follow guide.
To begin with you need to download your emulator and make sure it’s for PSP. I’m going to use NesterJ as an example but keep in mind that virtually all emulators work this way when installing and you can do basically as many as you want at once. I usually do them all together.
If you don’t want to use FTP then you need to make sure you have all of your roms in the “rom” folder before you install it. It’s a lot easier to have them in there before installing anyway although you can add some later through FTP.
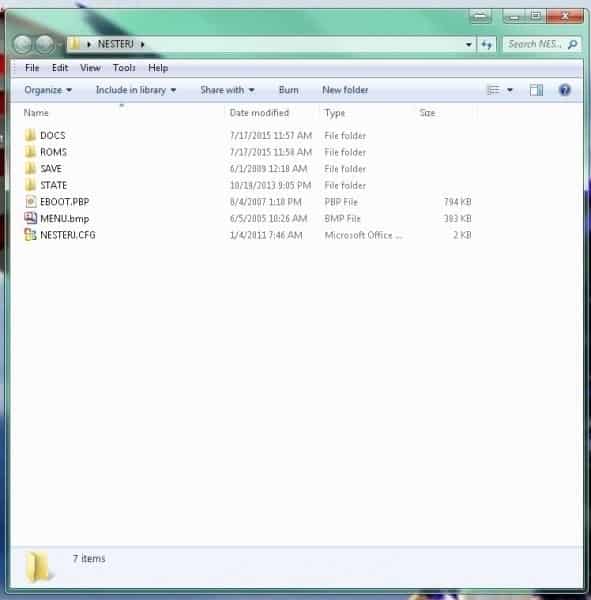
With NesterJ you’ll have a folder that’s named “NesterJ” and inside it there should be several files and folders, of which should be an eboot.pbp and if there isn’t one, you need a “rom” folder with all your games in it. As a side note, you can create a folder named “docs” and place Game Genie cheats in there to use with games. To do this you need to find your cheats, create a new text document, put the cheat first, skip several spaces and make a short description. Go to the next line for your next cheat and continue. Once you’ve added all the cheats you want for that game, you must name it exactly as the rom is named but the extension needs to be “.nes.pat.txt” so if you have a rom named “contra.nes” then you would name the Contra cheat file “contra.nes.pat.txt” and put it in the “docs” folder inside the NesterJ folder. Once you have all of that, create a folder and name it “PSP” then inside the PSP folder make another one named “GAME” and inside the game folder you need to put the NesterJ folder. As I said earlier, you can put as many as you want in there. Just put them in the GAME folder where you put NesterJ. Once you’re finished, you need to right click on the PSP folder and zip it. It MUST be named INSTALL.ZIP and if you’re using VHBL then you also must set compression to “store” or “none” so it doesn’t compress at all.

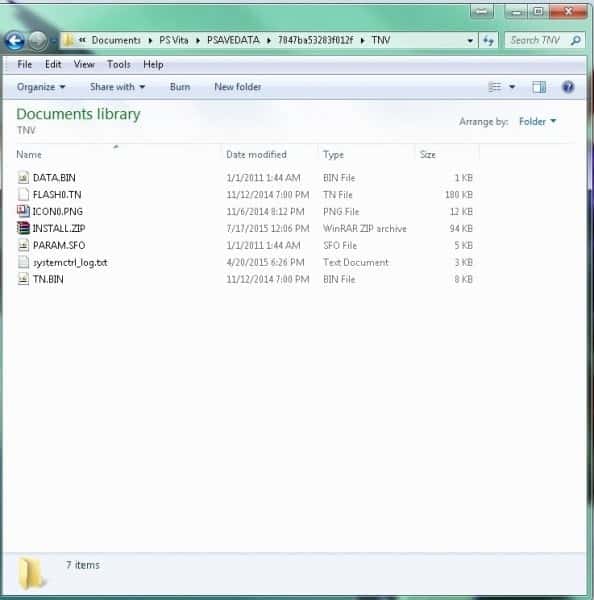
Once that is done and you have a file entitled “INSTALL.ZIP” you need to put it in your exploit save folder. If you’re using a TN-V bubble, put it in the TNV save folder. If you’re using a game to launch your exploit, put it in that folder. Copy the save file to your Vita through OpenCMA/QCMA and launch your exploit.
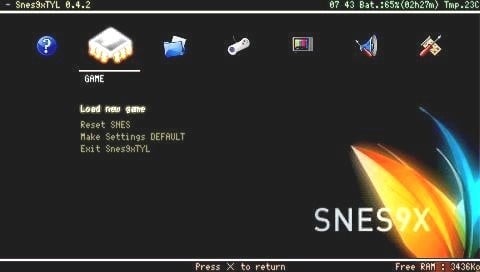
Once in TN-V all you have to do is go to your game location and you will see your new emulator. Highlight it and press triangle then install. If you have multiple emulators don’t worry, it will only show one until you install it. After installation is finished you can delete the install file when asked. Go out of game and into save data or another folder then back to game and you should see your emulator(s)! Have fun!!

nice tutorial thanks
No prob. Glad I could help!
Please help me?? I’m doing everything as it states and it never appears. I want SNES.so I put the INSTALL.ZIP where the 6.60 file is. Then I copy it using CMA and it says “do you wanna over write your previous save” I put yes. Then I go on the TNV and look at the save data utility and memory stick but it’s not there!!! Is there a video for this? To put SNES into TNV FW3.52. A video will really help me.
didn’t work for me, I’m on TN-V on firmware 3.52 (JP Vita Slim)
when I’m in TN-V / PSP mode to open my memory stick, some blue line with some text appears for less than a second. After that it freeze, it looks like it’s loading, but nothing happens 🙁
Hi!!!
What is the best tvshow streaming site list? like hulu