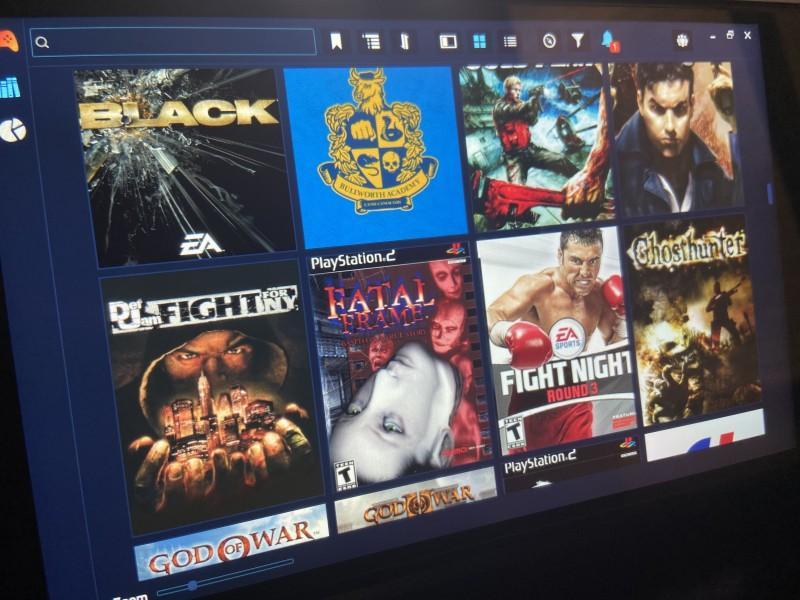
I always enjoyed Playing PS2 games on my PC using the emulator PCXS2! Just Being able to pump up the resolution all the way up to 4k (depending on your system specs) is definitely a game changer and gives your PS2 games a much sharper and smoother look!
Although the emulator give us so many features and the ability to play our PS2 games in higher resolutions on our PC, but there is two things that are missing- A Gui interface for our games and the ability to have specific compatibility settings for each PS2 game.PCXS2 does not give the option to save configs for each game therefore making it tedious to keep track of which game needs specific settings for it to work properly. Well I discovered a easy way to keep your configs organized for each title as well as to keep them looking fresh in a game launcher with cover art. In this tutorial I’m going to show you how to do just that , let’s get started shall we.
What is playnite? Playnite is a free game launcher that can store emulators and PC games in a library launcher for easy access.
What you will need:
1. Pc running windows
2.PCXS2 emulator
3. Playnite Game launcher
4. Ps2 bios ( Google is your friend)
5. A ps2 iso
How to setup playnite launcher with PCXS2 and have specific configs for each title:
1. Download the pcx2 emulator in the link above as well as playnite.
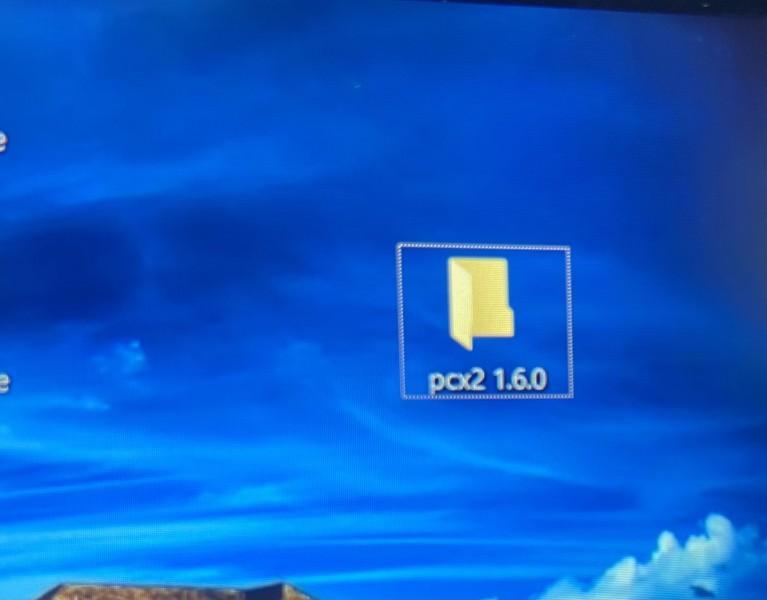
2. Create a folder called PCXS2 and put it on your desktop or whichever location you prefer, I name the folder according to the version that I downloaded – for example PCX2 1.6.0
3. After the PCXS2 is downloaded, extract it to the folder you created on your desktop. Run the setup and don’t forget to get the ps2 bios and point the emulator to the location of the bios, you can have everything installed to the folder that you created to make it easier.
P.S: You may have to uncheck off “use default setting” to point to the location of where you have your ps2 bios files at.

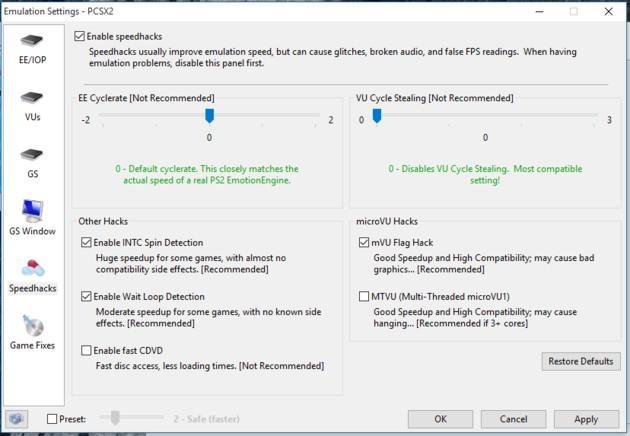
4 . Load up the emulator and select a game, we’re going to use Tekken 4 (it can for which ever game just make sure that there are no spaces when you are creating that specific folder) as a example. Configure it to the best settings that work for that game. This method will also include screen resolution, speed hacks, emulation configuration, graphic settings, etc
just a example.
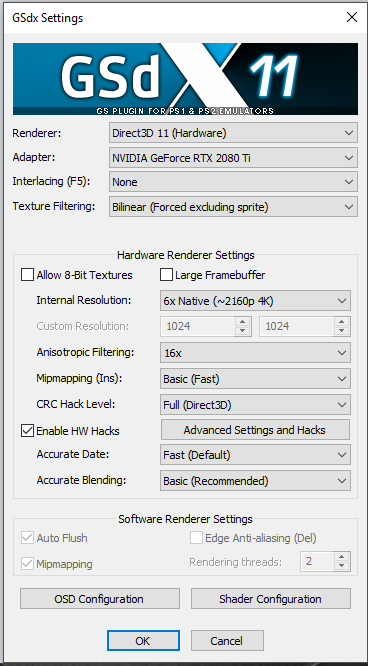
Don’t forget to set up your controller input if you havent already.
5. Now test the game and see if it runs good under the settings you chose for it, if it does then keep those settings and exit out the PCXS2 emulator.
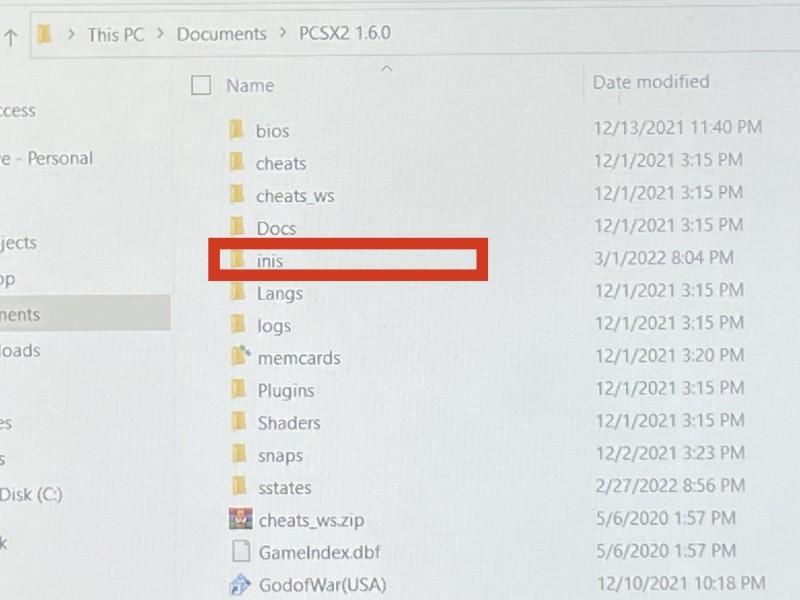
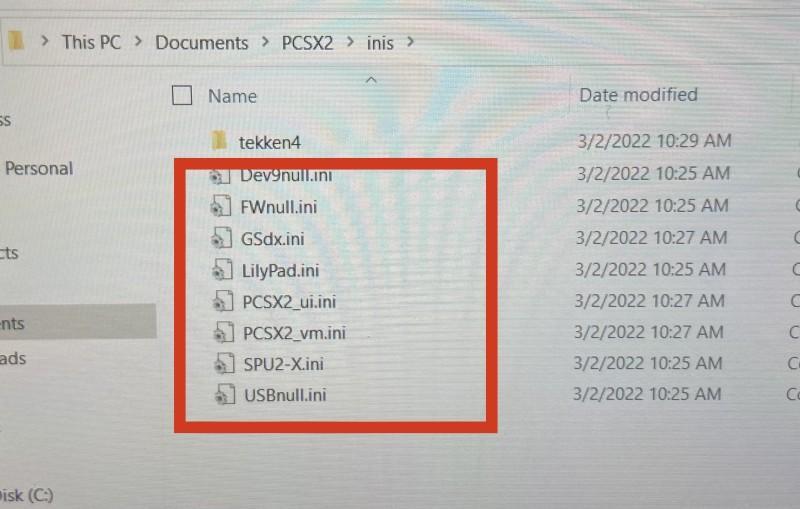
6. Now it’s time to save the Config for that game, exit the emulator and go to the folder in PCXS2 we’re you installed it at and look for a folder called ini. This is we’re the configs for each game can be stored at. Create a folder called tekken4 with no spaces.
create a folder for the game (no spaces )
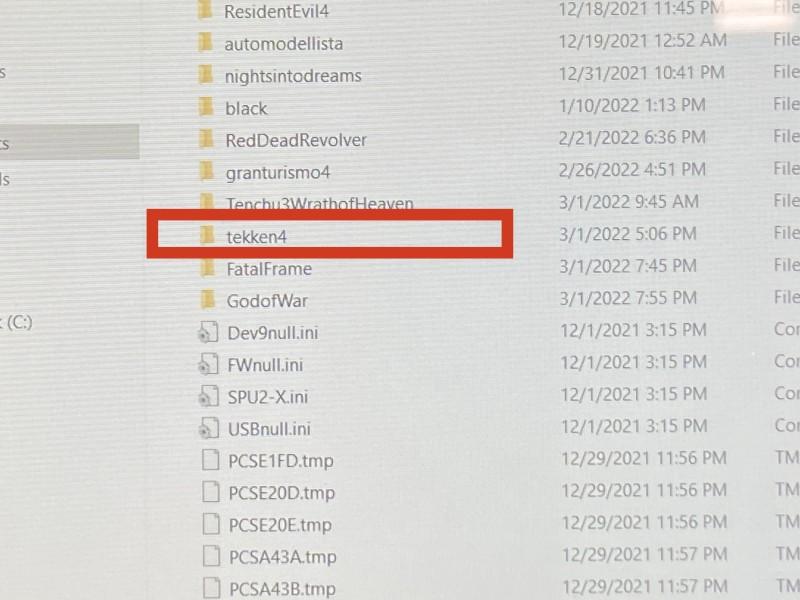
7. When you go into the ini folder you will notice some config files on the bottom, those config files are the settings for your game. But now we need to put those files in it’s own folder. Copy and paste those files into tekken4 folder
Sometimes you may just get three files when exiting pcx2 for configs ( Gsdx, pcx2.ui,pcx2_vm) that’s fine just copy those files to the respected folder for the game you want specific settings for. You can also tell which files were updated by the most recent date of the config files.
8. That’s it for the custom config file, now we’re going to add tekken 4 to playnite launcher and use the config we made for it.
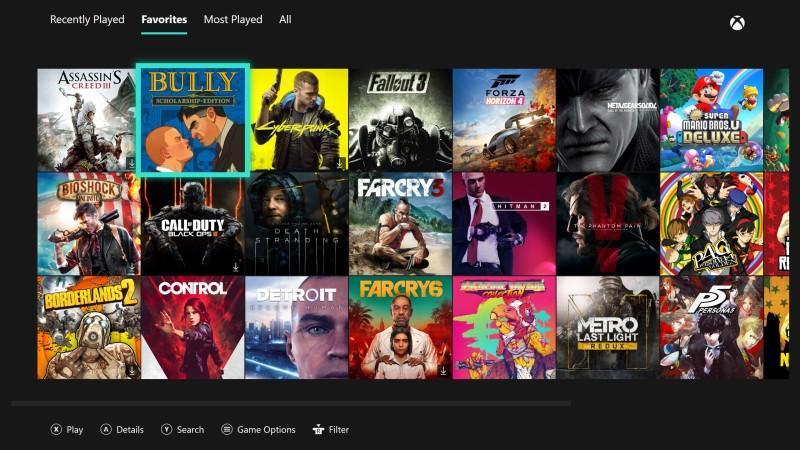
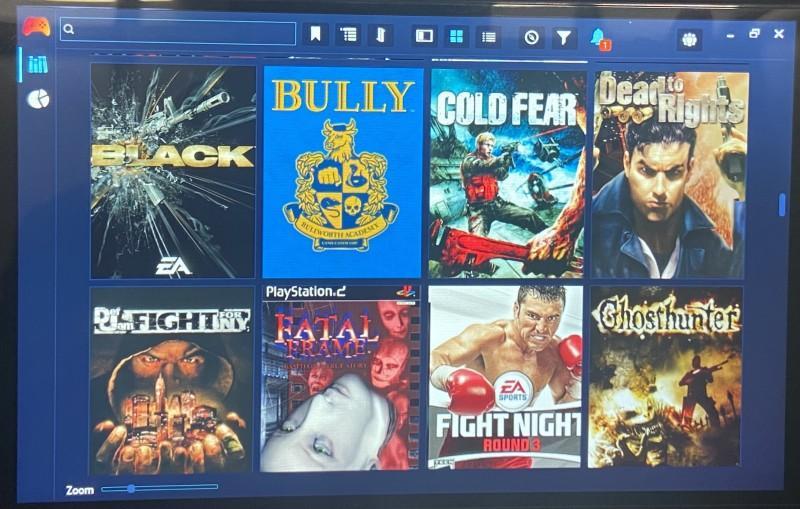
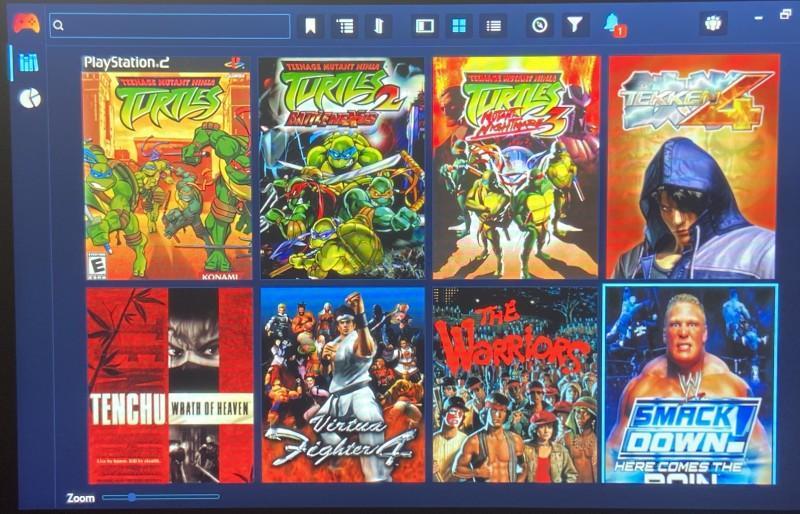
9. install playnite and follow the steps , after it finishes installing you will be presented with a screen like this- yours will be empty until you start to add games.
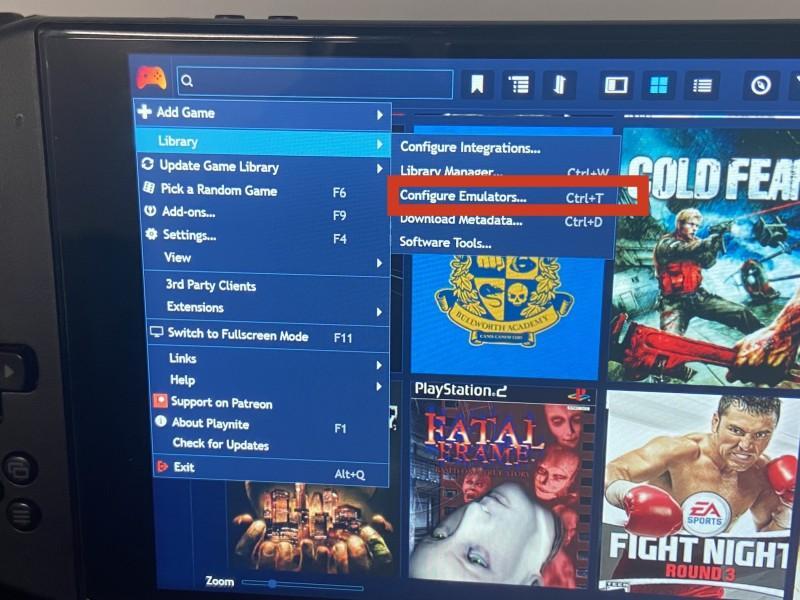
10. First we will have to add PCXS2 emulator to playnite, go to the top left corner and you will see a game pad. Select it and scroll down to library and then to configure emulators.
11. select add at the bottom and then name the emulator. I put PCX2 1.6.0 to keep it simple. Select the installation folder and point to the location we’re you installed the emulator at.
P.S: You can have more then one PCXS2 emulator for better compatibility since different versions may work differently. Just repeat the tutorial and create a new folder with the pcx2 version you download.
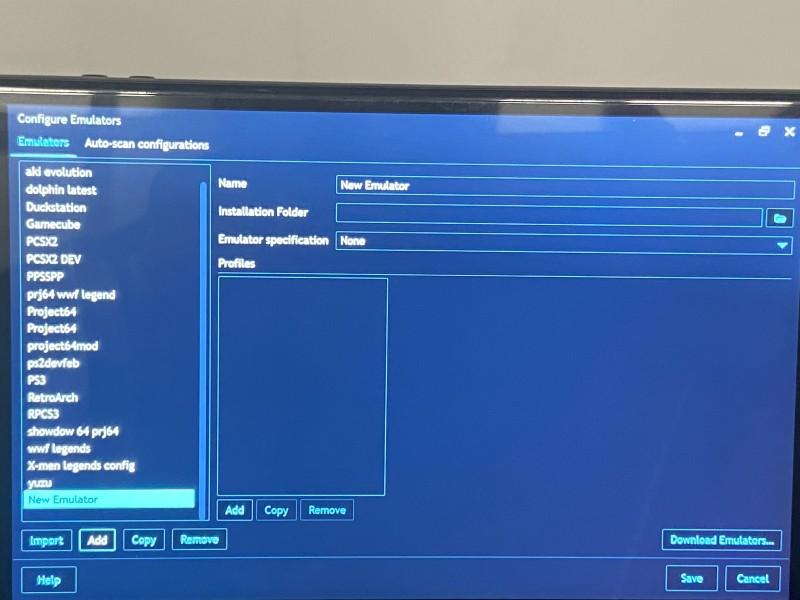
12. Select emulator specifications, then select PCXS2. Select add underneath profiles box and select built-in : default. Under General name the emulator again and leave built-in profile on default, now save it. PXC2 is now added to playnite !
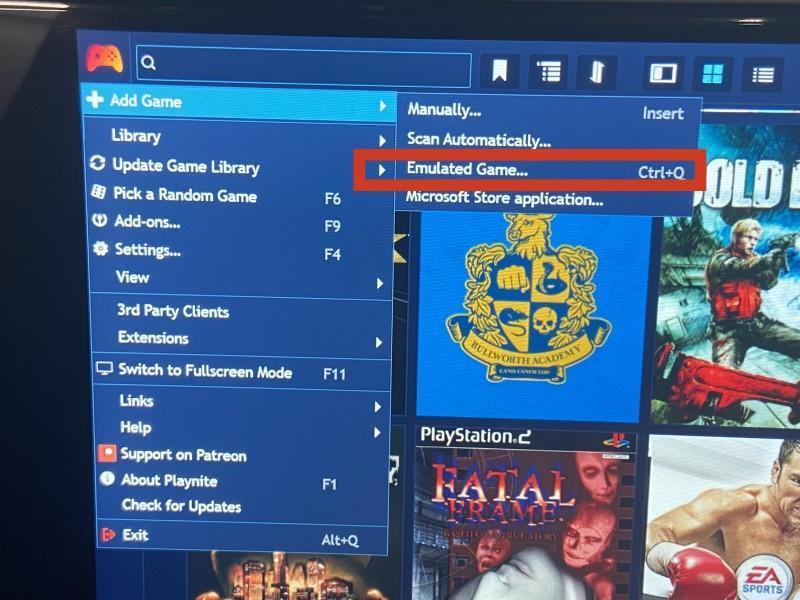
13. Now it’s time for the fun part , adding the games and getting those crispy vibrant game covers for your ps2 library! Return to the main menu of playnite and select the icon that looks like a game controller in the top left corner. Choose add Game and then emulated Game.
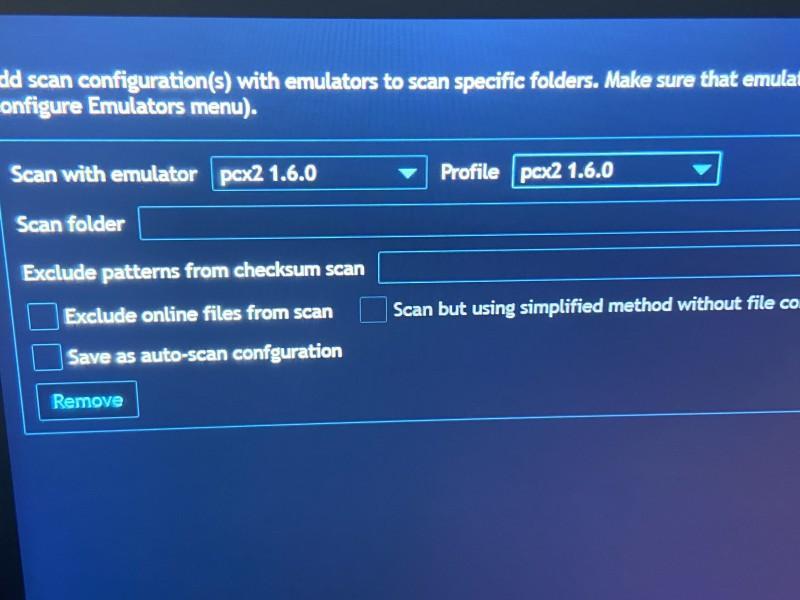
14. At the next screen you will be presented with configuration settings for the emulator, hit add scanner at the bottom left corner.

15. On the next screen choose where it says “scan with emulator “, select the emulator that you named before and added – PCX2 1.6.0 , on profile choose PCX2 1.60 again.
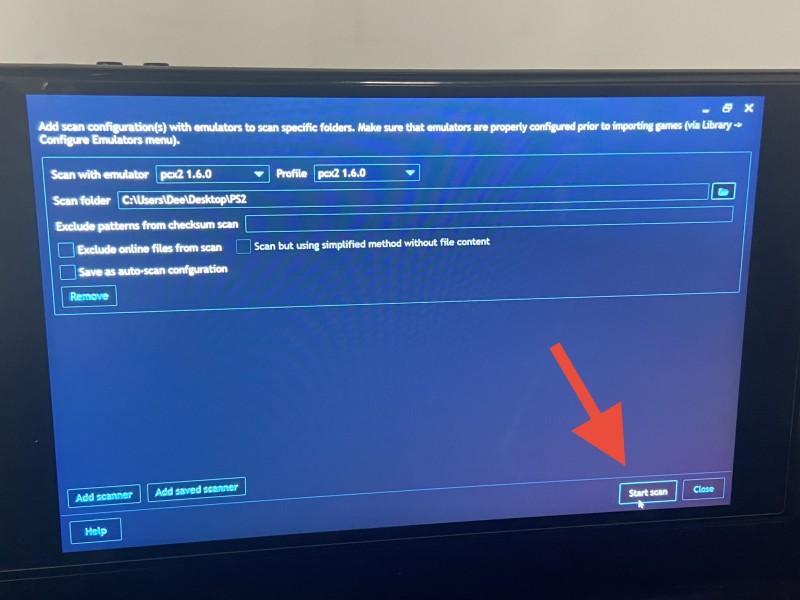
16. Go to we’re it’s says Scan folder, you are going to point the folder where you have your PS2 games at. hit start scan at the bottom right.
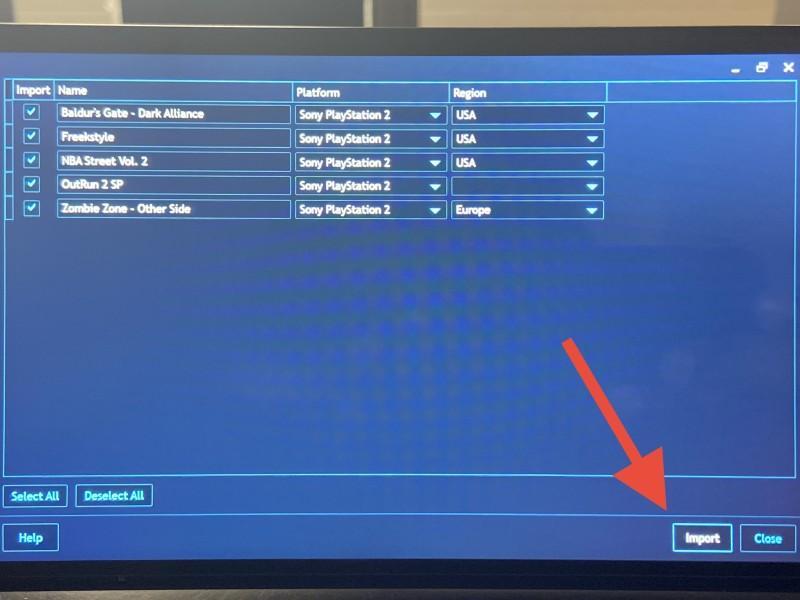
17. after the scan is completed you will see a list of games that you can import, select the games you want to import and press import
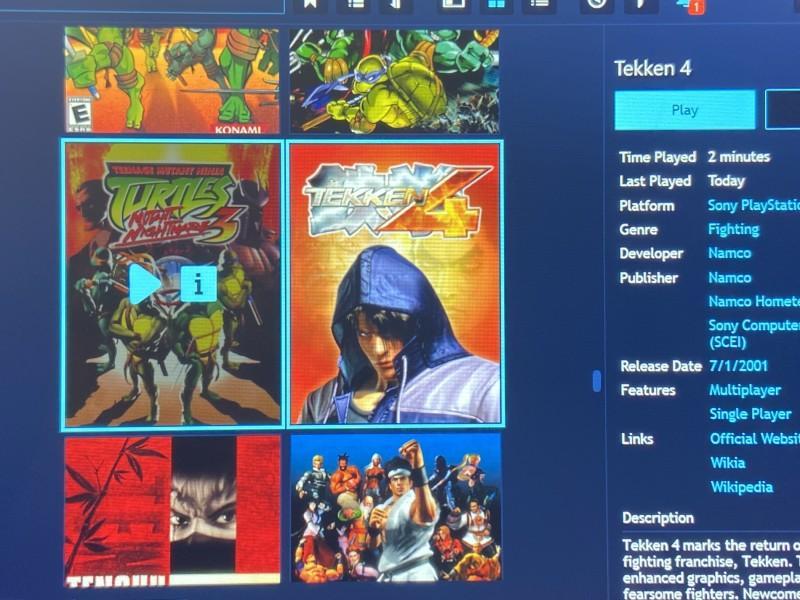
18. The game will now show up in playnite! But now we need to add a cover to that title, select the box next to the play button on the title that has no cover. Then select more and then edit

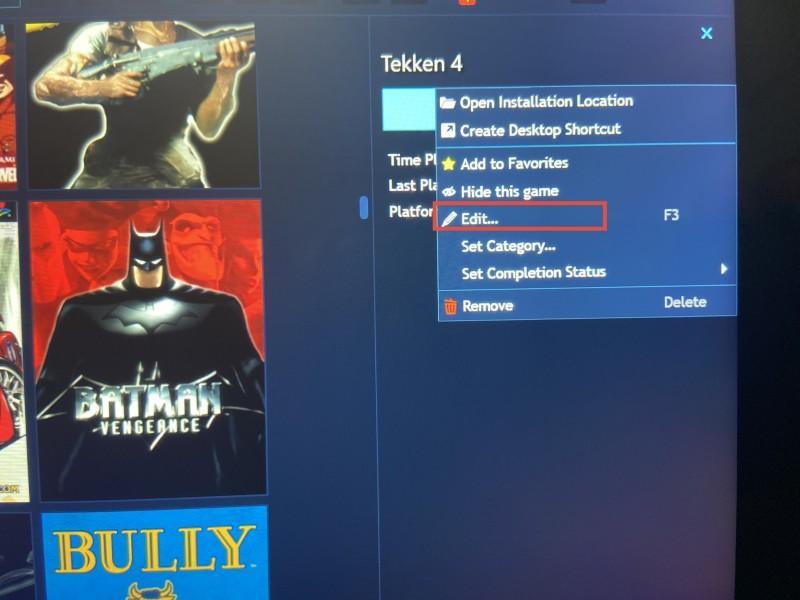
19. Here you can change the name of game add in values such as platform, genres, developers, publishers, etc. But most importantly we want to add a game cover. Scroll over to media.
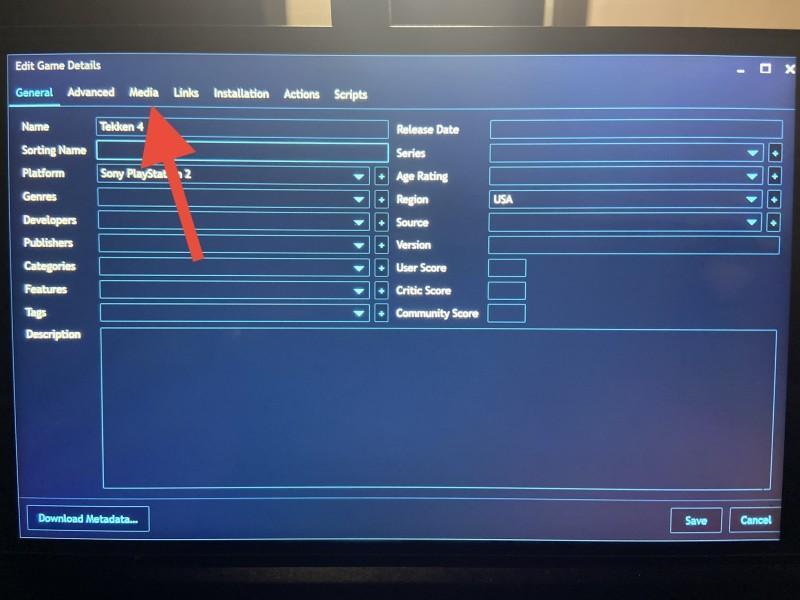
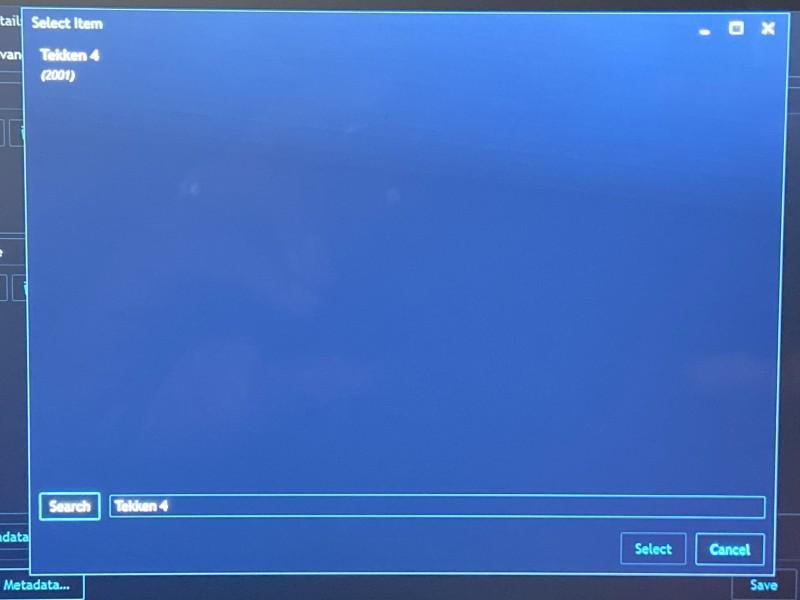
20. Here you can add a custom cover image or you can use the app cover scraper. Hit download metadata and select IGDB, you will then be presented with covers that came up from the scan. Pick the cover you want and hit select. You may also be asked to select background screens, do that as well if you like and proceed to the next step.
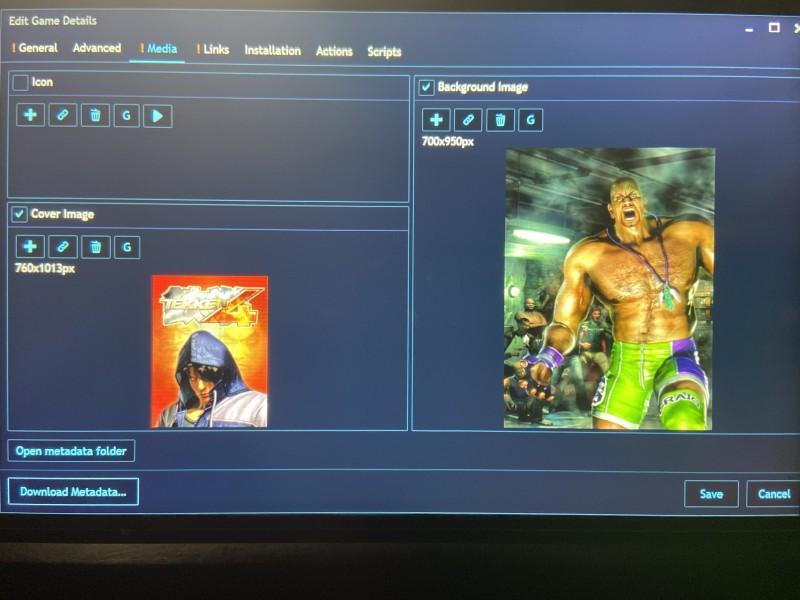
21. After you are done selecting the images, hit save. Tekken 4 now has a game cover !
22. Now for the Last part of the tutorial we are goin to set up the specific configuration for tekken 4, this is very important especially if you have a wide selection of games that depends on specific settings. Go to the edit option on the title that you want to have a specific config. On the next screen go to the tab where it says Actions.
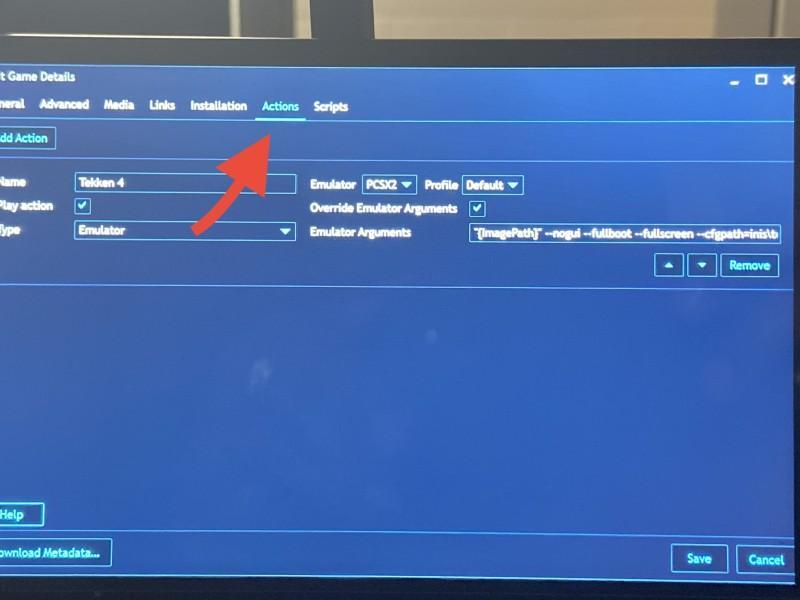
23. We’re it says emulator choose the emulator that we added in emulator configuration-PCXS2 1.6.0, then on profile select default.

24. The next part is we’re the app will go to for the specific configs, go to where it says Emulator Arguments. Enable override emulator Arguments as well. I added two arguments, and the details are as follows. You can only choose to have one argument, the one I think will be used more often is the option to return to the main menu to save games, load games , change resolution, ect. The other one is if you want a straight forward boot with no option to go to the PCXS2 menu.

Emulator Arguments:
playnite config ,fullscreen on startup,ability to return gui:
P.S. warning! Whatever option you change in PCXS2 menu will overwrite your settings in the specific folder you created.
“{ImagePath}” –fullboot –fullscreen –cfgpath=inis\
playnite config ,fullscreen,no gui:
“{ImagePath}” –nogui –fullboot –fullscreen –cfgpath=inis\
After you made a decision of which argument to go with, After the slash mark put the name of the game that we made earlier which is “tekken4” and hit save. We now have a specific config file for tekken 4!!!
Now we can have a library that shows our Ps2 collection and most of all we can have specific configs for each title, eliminating the time to fix config settings that wasn’t saved therefore giving us a smoother emulation experience!
To create another specific config, just follow steps 4-8.
Do you like to play PS2 games on your PC!! Do you have a way to use specific configs for your title? Let us know @hackinformer.com and please don’t forget to follow us on Twitter 😉