The homebrew scene for the Switch has been around practically since the launch of the console with many homebrew and emulators to run on the popular handheld hybrid. One of the most important factors in getting the Switch in a vulnerable state is by putting the system into RCM which allows the console to be exploited by taking over early execution and bypassing all signature checks.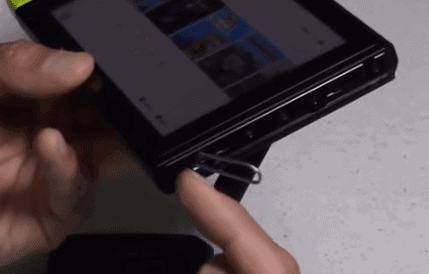
One of the popular methods that been used to get the system in RCM is by using a paper clip, aluminum foil or a 3D printed jig. Either way one of them will get the job done, I myself have failed victim to damaging the right joy con rail connectors with a faulty jig. That I purchased from eBay a couple months ago, you would have thought it was going to be the paper clip but nope it was a bad jig. The 3D printed jig required me to insert a paper clip into it but I still couldn’t trigger the mode.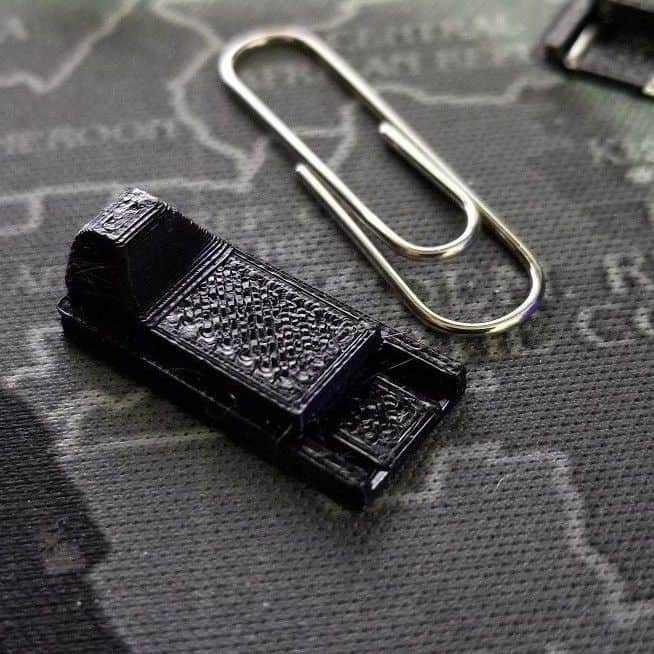
After a couple of times I was finally able to get it in RCM, when I connected the joy con back I had the problem of the joy cons not being in sync with each other. I tried everything, finding and pairing joy cons controllers, updating joy cons, nothing worked. So when I removed the right joy con I noticed a bent piece of metal from the inside railing of the joy con which is responsible for the joy con communicating with the system.
This damage was due to the result of the faulty jig that I used with the paper clip.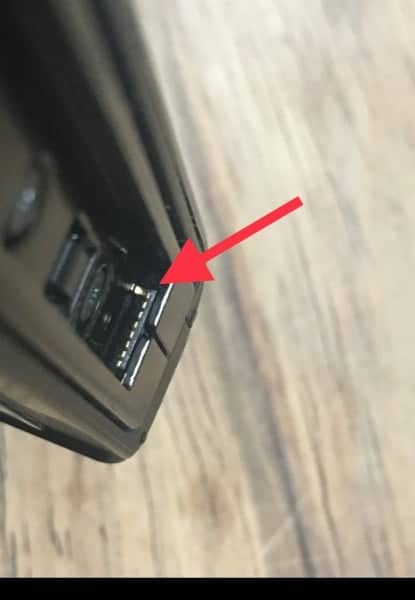
I went to a couple of shops in the city to see how much it would be to replace it, one shop said $75 and another young lady at a repair shop told me it would be a $100!! I took my Switch and walked out, there was no way I was paying for something that was so minor for a high price. Luckily I came across a good tutorial on the web on how to replace the Joy con rail. I order the joy con rail from eBay and right away I went to work following the tutorial that I got from the web.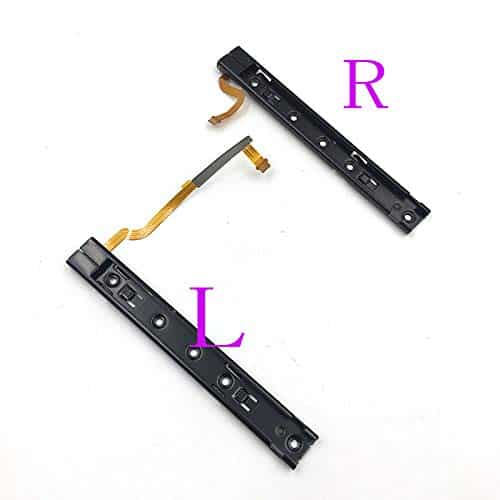
The tutorial is very well written with step by step pictures along with the required tool-set used to take apart the system. It took me no longer than an hour to take apart the system and put everything back together with the new joy con rail.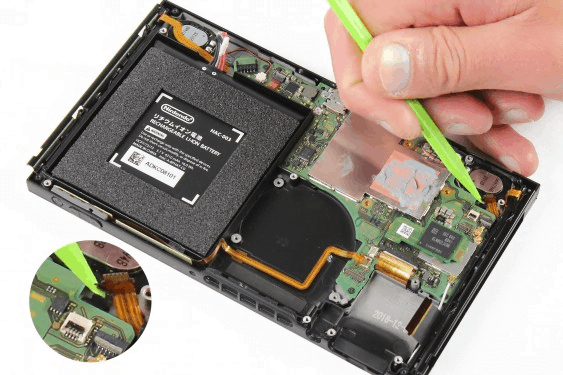 The new joy con rail worked beautifully, never again I was going to fall victim to a faulty jig! If you are interested in following this tutorial, click the link below. It saved me a lot of money in the long run, about $10.50 to be exact. I will also include links of good quality jigs along with the joycon rail from the eBay seller I purchased from. Was this guide helpful to you? Let us know in the comments below.
- Buy JOY CON RAIL REPLACEMENT cost about $13.85 dollars on Amazon. https://amzn.to/2Spp5o8
- Left & Right JOY CON RAIL REPLACEMENT for $16.85: https://amzn.to/2Sqlsyl
- JOYCON RAIL REPLACEMENT TUTORIAL
GOOD QUALITY RCM JIGS:
$3.99 Sxflashcard.com
http://sxflashcard.com/team-xecuter-sx/31-team-xecuter-officiel-sx-pro-jig.html
$7.50 from digitopz
http://www.digitopz.com/switch-rcmclip-rcm-jig-for-switch-hack-with-xecuter-sx-os-p-1693.html