Recently, we all got great news from TheFlow stating that he planned on a July release date for his next set of releases. Feel free to read about all of the details concerning that if you’d like. We then got to see the very same man demonstrate for us how the forthcoming jailbreaks looked/ran. You can see our article that covered that by clicking here. But let’s face it, if you’re here, you’re looking to us to help get you on the right track for setting up the newly announced h-encore. So, if you’re on 3.65, 3.67, or 3.68, read on! If you’re on 3.60 or below, we have another article here for you.
Warning:
In its current state, this modification is a bit more involved than the HENkaku that was released for 3.60. There is no simple website to visit or email to open, this is decrypting games, inserting save files, using command prompt, and things of that nature. If none of that scares you, then proceed with caution. If it does sound a bit over your head, I would suggest waiting until someone makes an all in one installer as it’s bound to happen.
What you Need:
- QMCA
- psvimgtools
- pkg2zip
- Bitter Smile Demo
- A PSN account on your device
- h-encore
- Memory card if you’re using a 3G or OLED model Vita
Instructions:
- Install QMCA, psvimgtools, and pkg2zip.
- Extract h-encore somewhere that you’ll remember.
- Place the demo of the game in the folder with the pkg2zip program.
- Now extract the demo. To do this, open a command window for your pkg2zip folder. If you don’t know how to do that, here’s how. Go up a folder to the previous tier and right click on your pkg2zip folder while holding shift. Then choose to Open a Command Window here.
- Once the CMD is open, enter the following line:
pkg2zip -x PATH_OF_PKG - Once it’s done dumping the contents to app/PCSG90096. Feel free to delete the BitterSmile.pkg now, you won’t be needing it again.
- Copy the contents of app/PCSG90096 to h-encore/app/ux0_temp_game_PCSG90096_app_PCSG90096. This will mean that if done right, the eboot.bin, and the VITA_PATH.TXT files are together in the same folder.
- Now you need to rename the license file that is located in /app/PCSG90096/sce_sys/package from temp.bin to 6488b73b912a753a492e2714e9b38bc7.rif
- Next, copy the renamed file to h-encore/license/ux0_temp_game_PCSG90096_license_app_PCSG90096 folder. Again, the file will be in the very same folder that VITA_PATH.TXT is in.
- Start up your QCMA. Go into settings.
- Enable option ‘Use this version for updates’ and make certain that you have the value set to “FW 0.00 (Always up-to-date).”
- Now start the Content Manager on your Vita. Then plug it into your computer.
- You will now choose the copy option. Tell it to copy from PC to PS Vita.
- Now choose the Applications option so it looks for Applications only from the PC. (If an error message pops up about you not being on the right system software, just reboot the Vita and try again).
- Once successful, the PC should now have a new folder sitting in the App folder of your Vita backup locations that you assigned when you first set up QCMA.
- Inside of this App folder is a folder that has an alpha-numerical name that is 16 digits long.
- Take the 16 digit number that was represented by the 16 X’s in step 1 of this section and then type them into the AID field on this site. This will, in turn, give you a key in the form of another string of numbers. We’ll come back to that in a moment.
- Now, as you did before, open a command prompt window, but this time for the h-encore folder. Again, go up a tier outside the h-encore folder, hold shift, right click on the folder and choose to Open a Command Window Here.
- Once it’s open, we need to encrypt all of the folders inside of h-encore using your key. So simply enter the following lines one at a time. The “YOUR_KEY” is the 64 digit key that was made on the website 2 steps ago.
psvimg-create -n app -K YOUR_KEY app PCSG90096/app psvimg-create -n appmeta -K YOUR_KEY appmeta PCSG90096/appmeta psvimg-create -n license -K YOUR_KEY license PCSG90096/license psvimg-create -n savedata -K YOUR_KEY savedata PCSG90096/savedata - Now that that’s done, in your h-encore folder, you’ll now see that you’ll have a sce_sys as well as all 4 of the other folders. Inside the folders, you’ll see stuff like X.psvimg and X.psvmd. The X stands for the same name that the folder is. You want to back up this folder so that if you have to install it on more devices with the same PSN account you don’t have to redo all of the work!
- You’ll now copy the h-encore/PCSG90096 folder to PS Vita/APP/xxxxxxxxxxxxxxxx
- In QCMA there is an option to refresh the database, do so now.
- Now on your Vita, in the Applications section of Content Manager, you should see the precious h-encore app! Choose it and follow the button prompts to transfer it to your system. (If you don’t see it, maybe exit the app and go back in. If that doesn’t work, then reboot. Rebooting didn’t work? Then you did something wrong on the PC side. The only real obvious issue is if you get a C2-12858-4 error, that means you definitely didn’t do these steps right as the size of the app is wrong.)
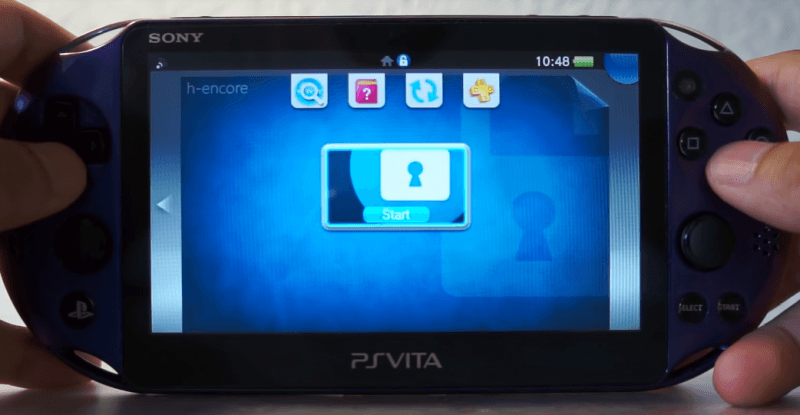
- Start the h-encore app that is now on your Vita.
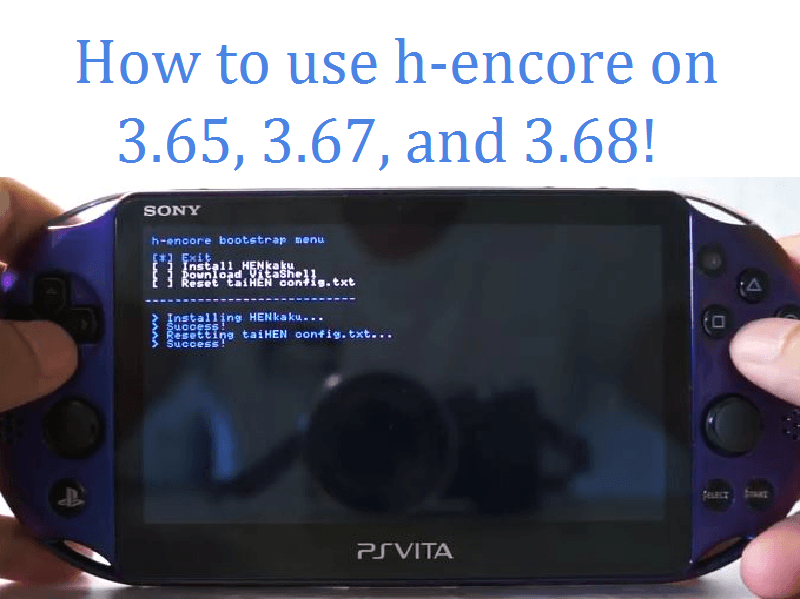
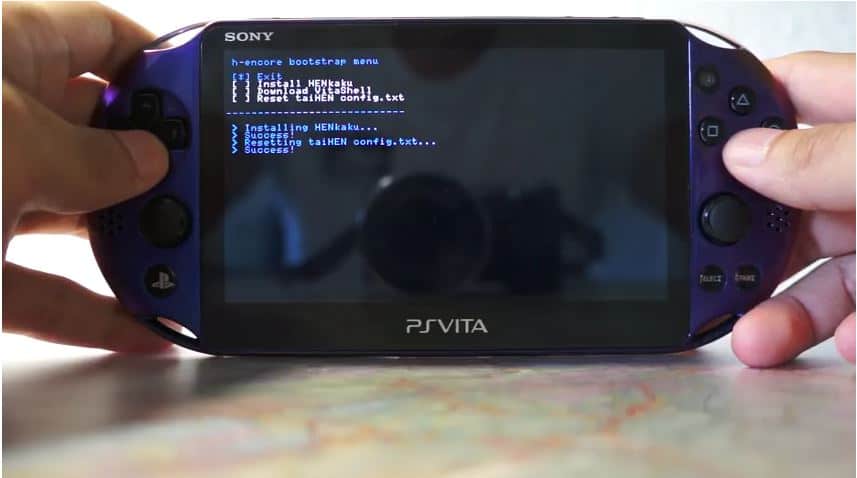
- You’ll now have the h-encore bootloader. You can Exit, Install HenKAKU, Download VitaShell, or Reset Config.TXT.
- Install HenKAKU and then install the VitaShell. It says download, but you can be completely offline. It means to install it entirely to the home screen as an app.
- That’s it! Congrats on having a fully modded Vita!
Bonus Instructions:
At some point in your time using h-encore it will eventually give you an onscreen nag about trophies for the game not syncing to your account (as you didn’t get the demo from the PSN store). Here is how to remedy that before it ever happens. This assumes that you’ve followed the other steps above.
- Go into the Settings app on your Vita.
- Now go into HENkaku Settings.
- Choose the Unsafe Homebrews.
- Start VitaShell.
- Go to ux0, then go into user, then 00, then the savedata folder.
- Highlight the PCSG90096 folder and press Triangle on it.
- This will bring up several options, choose Open Decrypted.
- You need to highlight the system.dat file.
- Choose the option to copy it.
- Now head out of there and back to the main VitaShell folder overview.
- Highlight the PCSG90096 folder and choose to delete it.
- Paste the system.dat file here in the 00 folder for now.
- Now close VitaShell.
- Launch h-encore, let it fail since it won’t have an exploit in it currently.
- After it fails, go back into VitaShell.
- It will be in the same place that you left off. Highlight and copy system.dat again.
- You will have a new PCSG90096 folder, highlight it again, press Triangle and choose Open Decrypted.
- Paste your system.dat file here now.
- That’s it! You should receive no trophy warnings now!
If you like the author’s work, follow him on Twitter @V1RACY and don’t forget to enter the weekly giveaways!
And as always, stay tuned here on Hackinformer.com for so much more and follow us on Twitter @Hackinformer