If you happened upon and purchased the Super Retro-cade from Retro-Bit, you were definitely happy about the 90 included games. There are just so many of them and this time around, they aren’t vaporware or shovelware. The system is just leaps and bounds better than their previous foray into the microconsole market, the Generations. You can read more about the Super Retro-bit in my review found here. But now you’ll have another reason to buy the device as you can add your own ROMs to it! What the heck, how?! Well scroll down and I’ll give you the full rundown!
![]()
What You Will Need:
- An SD card, the capacity shouldn’t matter as long as the games fit on it.
- Windows, Mac, or Linux computer.
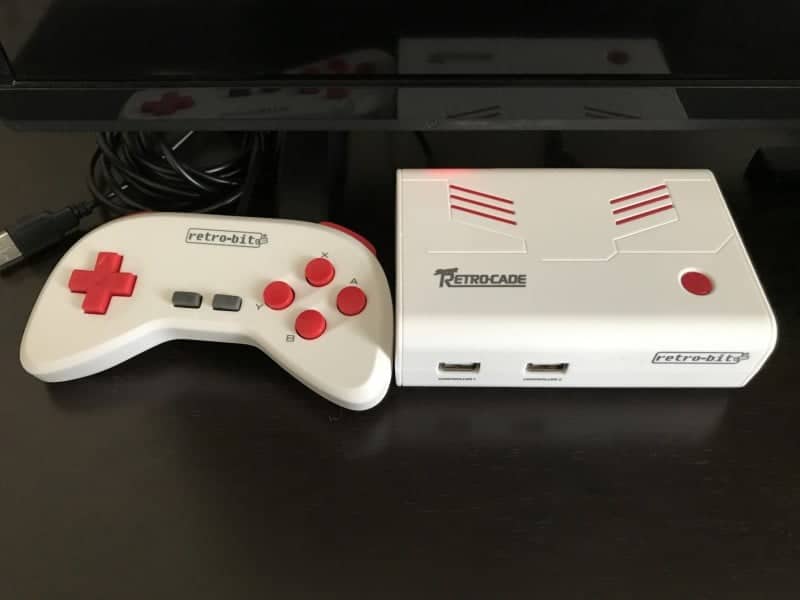
- Super Retro-cade.
Instructions, Fast Method (meaning no game art):
- Place SD card into your PC.
- Put a folder on the root of the SD card, title it “retrobit games” without the quotes.
- Now, if you have a copy of an arcade game, it’s usually multiple files. Keep it in its zip file. Do not extract it!
- Place said arcade game in the retrobit games folder.
- Eject, remove your SD card.
- Turn on your Super Retro-cade, let it load to the main screen.
- Place SD card into the back of the Super Retro-cade.
- You will be prompted with a screen that says “SD Card Mounted, Please Select Data Storage.” Choose the SD Card option.
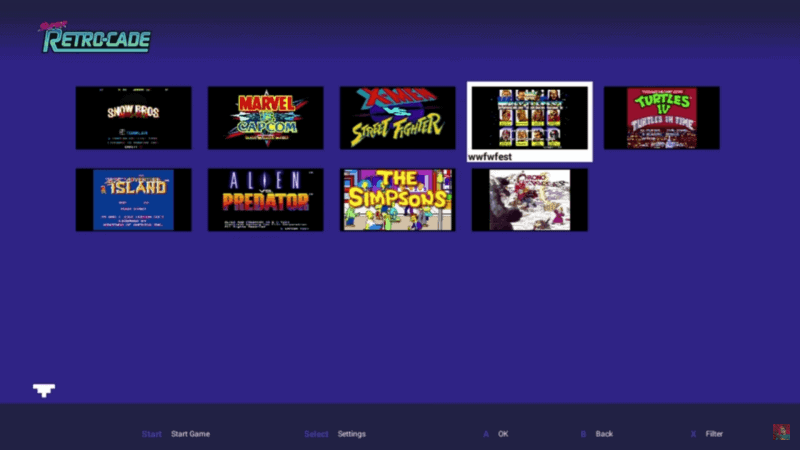
- You will now be taken to a screen where you will have your arcade game sitting there waiting for you!
- Play it the very same way you would play any of the preinstalled games!
NOTE: You can add ROMs from pretty much any system that the device already emulates. This means you can choose from not only retro arcade games but NES, SNES, and Sega as well. If other system’s games work, feel free to leave us a comment down below!
Instructions, Longer Method (with game art):
- Place SD card into your PC.
- Put a folder on the root of the SD card, title it “retrobit games” without the quotes.
- Now, if you have a copy of an arcade game, it’s usually multiple files. Keep it in its zip file. Do not extract it!
- Place said arcade game in the retrobit games folder.
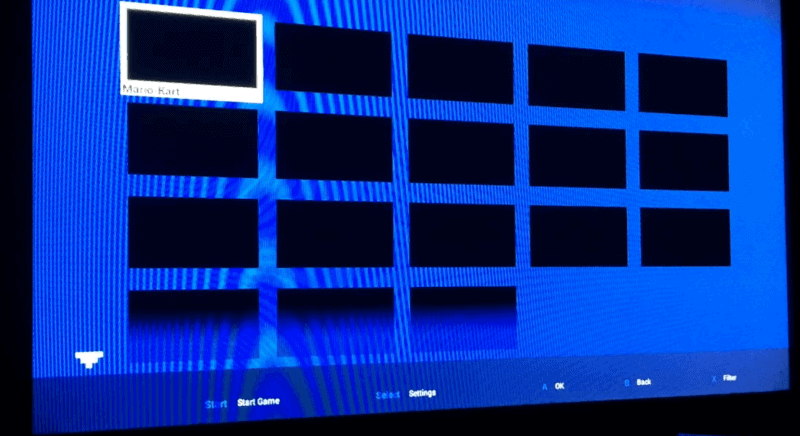
- Now, google a .png file of the artwork for the game that you just added. Save it to your retrobit games folder.
- Rename the picture to be the same name as your ROM, but with the word “game” added to it. For example, if you added the Mario arcade, and it was titled mario.zip then your picture needs to be titled mariogame.png. If it is SuperMarioBros3.nes then your picture needs to be titled SuperMarioBros3game.png. Very simple.
- Do this for any and all games on your SD card.
- Eject, remove your SD card.
- Turn on your Super Retro-cade, let it load to the main screen.
- Place SD card into the back of the Super Retro-cade.
- You will be prompted with a screen that says “SD Card Mounted, Please Select Data Storage.” Choose the SD Card option.
- You will now be taken to a screen where you will have your arcade game sitting there waiting for you!
- Play it the very same way you would play any of the preinstalled games!
NOTE: You can add ROMs from pretty much any system that the device already emulates. This means you can choose from not only retro arcade games but NES, SNES, and Sega as well. If other system’s games work, feel free to leave us a comment down below!
If you’re interested in the Super Retro-cade you can find it by clicking here.
Stay tuned here on Hackinformer.com for more reviews and follow us on Twitter @Hackinformer
If you like the author’s work follow him on Twitter @V1RACY