Hello Everyone.. I’ve just recently joined Hackinformer and I hope you will enjoy my first post.
_______________________________________________________________________________________
Do you have some old pc just laying around, collecting dust perhaps? But you feel that it still has something in it. Give it a kick with “Android x-86” These are special Android builds that can run on your PC and believe me when I say that it runs super smooth it does.
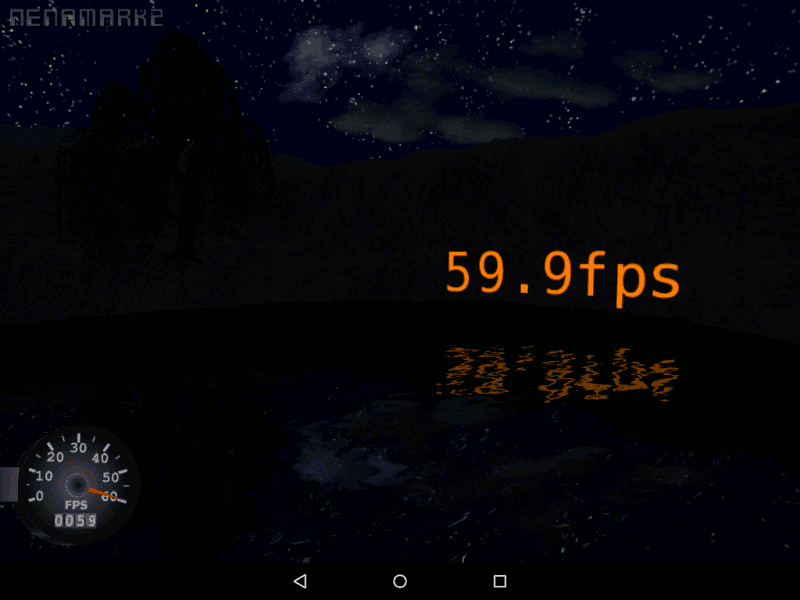
Peek:

Step 1:
First of all, we will download every single piece of software beforehand
Download:
Android-x86 Lollipop 5.1.1 Latest build:
Unetbootin (A tool to make a bootable flash drive):
All right, downloading’s done for now.
Step 2:
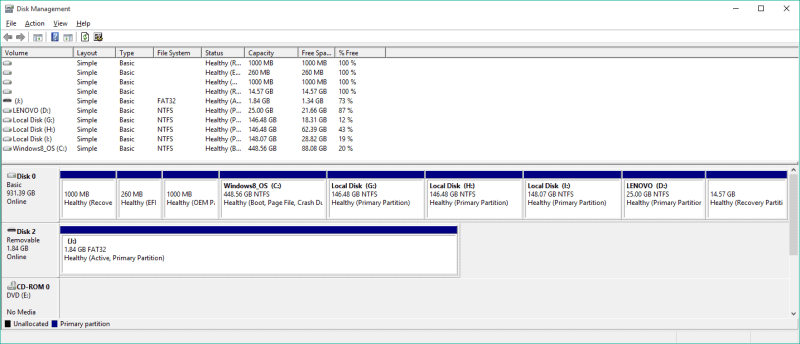
Now you must shrink out a minimum 4GB space from any of your drives.
To do this:
- Press Windows Key + X
- Select Disk Management from the list that pops out

- Select any volume on any drive that you like, press right click on that and press shrink volume from the list that shows up
- This window will show up
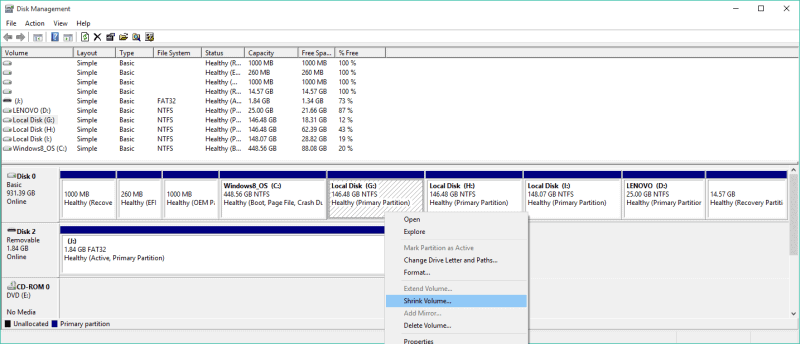

Enter in your desired value (min. 4096 and max suggestion 8192) and press shrink
- You’ll see this
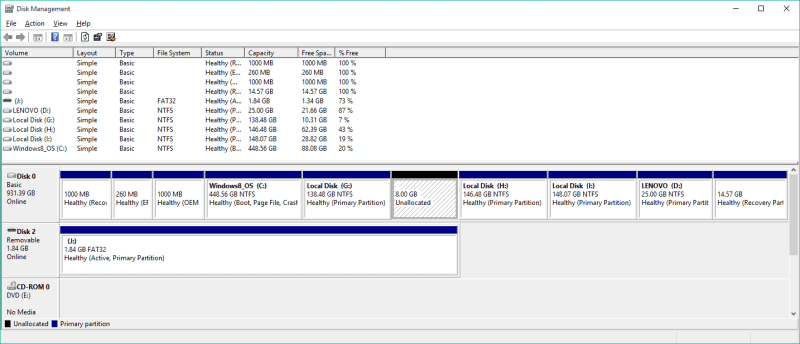
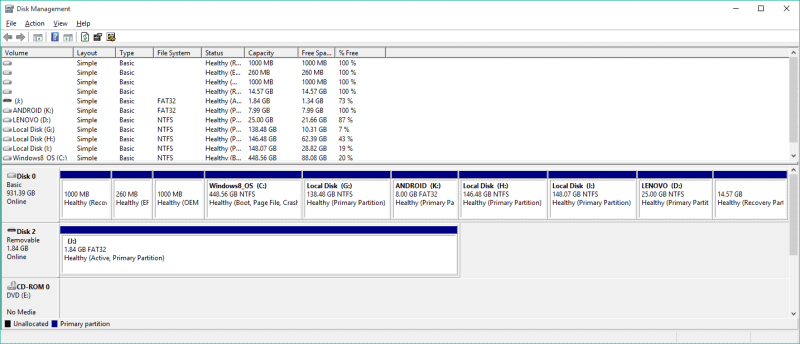
- Right Click The 8GB Unallocated and press New simple volume, Then keep pressing next till you see this window

Match your options like this and then press next, then finish
- You’ll get this, ANDROID 8GB FAT32, The drive letter need not be same, it can be anything
Step 3:
Partitioning and all is done now
Let’s move on to the bootable usb drive
- Insert your Usb Flash Drive
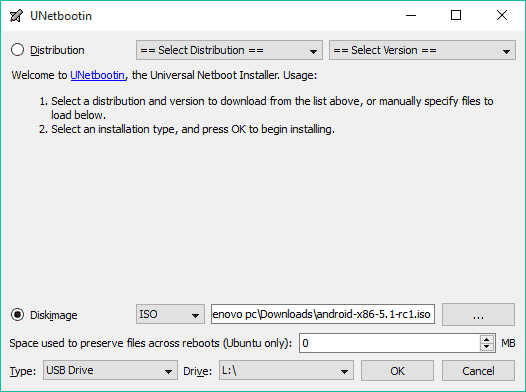
- Open the unetbootin that we downloaded earlier ,
Set the option for Diskimage, Browse for the android image that we downloaded
Set type to USB drive and the Drive to the letter that corresponds to your flash drive’s
Then Hit OK
- When it’s done, press exit, not Reboot
Step 4:
Now that the bootable disk has been made
- Power off the PC , and start it again
- Press the button that corresponds to boot menu, when the PC starts up
- A menu will open, In this menu look for your USB flash drive and hit enter
- Wait for some seconds and a menu will appear
- Using the keyboard, select “Live CD – Debug Mode”
- Let it initialize , wait for “android #” to appear
- Then type in “fdisk –l” without the quotes (It is L not one or I, it is a small L, L>l)
- A List will appear With Columns that say, Device, boot, start, end…..
- In this list look for FAT32, under the column that says System
- Note down the text in its corresponding Device column (for example. dev/sda6 or dev/sda3)
- Restart the PC now by using the hardware power or restart button on the cabinet or laptop
- Repeat steps, boot using USB
- But this time choose the installation option
- Select the partition which you got in step 10 (for example sda3 or sda6)
- In the next Option select “Do not format”
- Select Yes for installation of boot loader GRUB
- Next, Select yes for “Do You want to create a boot item for Windows”
- Select no for “GRUB2”
- And if it wants to format “dev/sda1”, select no for that. (it’s okay if it doesn’t ask this question, it may or may not ask this one)
- Select yes for the disk image to save user data
- Enter in 2047 in the text box which appears
- Installation has been successfully completed now
- Select Reboot in the next option and remove your usb flash drive after selecting reboot
You’ll be greeted with the GRUB bootloader interface, it will have four Options
- Run android-x86
- Run android-x86 (VESA)
- Run android-x86 (Debug)
- Windows
What we need is the “run android-x86” and “Windows”
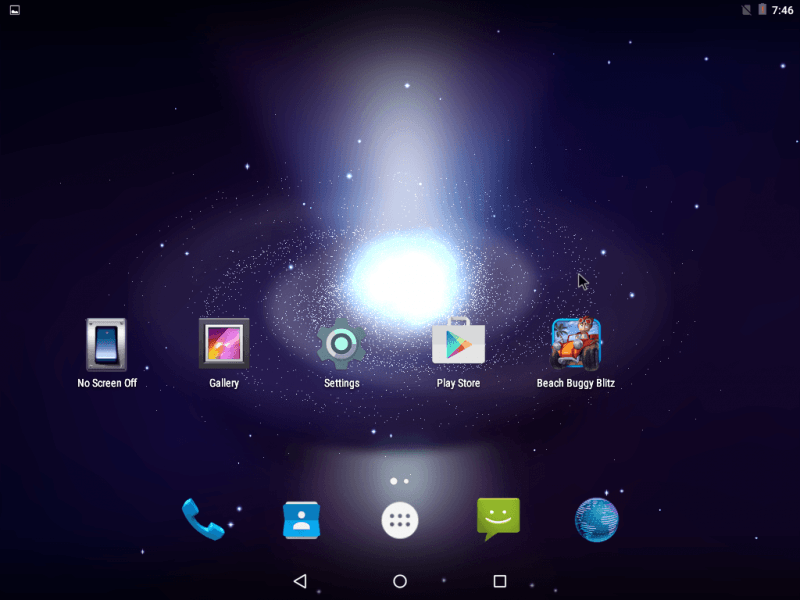
After booting up android –x86, the setup will be like any normal android device
VOILA!
Extras:
- Pc Drives:
You can easily see all your PC drives in android
The image is pre rooted. Install stickmount from Play store, Grant it root access and Press mount.
The drives will be available in the sdcard in a folder named usbStorage
- Wi-Fi Controller:
Only a few Bluetooth devices are supported on the android-x86, if you don’t have Bluetooth access, i.e. it is not switching on or working.
And you want to play games with a controller.
- Download BT Controller on Android-x86 and any other Bluetooth capable rooted android device.
- On the other device (let’s call it X),open BT Controller
- Go to Select controller, select any controller that you wish or download new ones from the downloads button in the top right.
- Open BT Controller on x86 And Start Host on that using Wi-Fi.
- Connect To Host on X, scan for the x86 or manually add it by the ip displayed on the x86 screen
- Once it connects Take a screenshot of the controller (Power button + Volume Down)
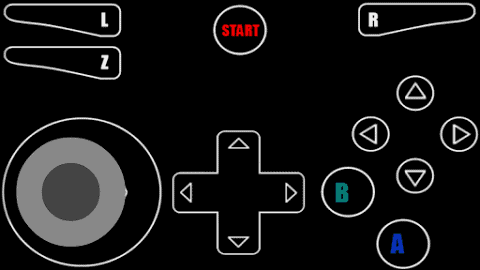
I used the Mupen64 Controller.
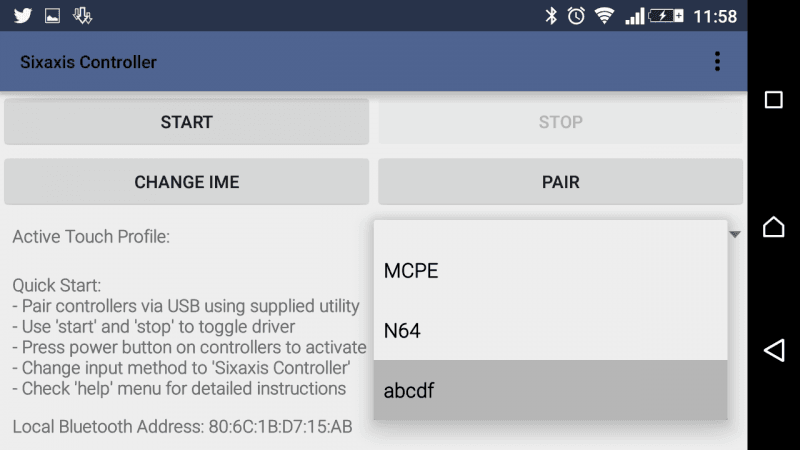
- On the other device, download the sixaxis controller tool.
- Go to its Preferences using the three vertical dots on the top right side, then “touch emulation”
- Press Edit Touch Profiles, Turn X to landscape, double tap on screen, and choose, Change Background
- Then select the screenshot.
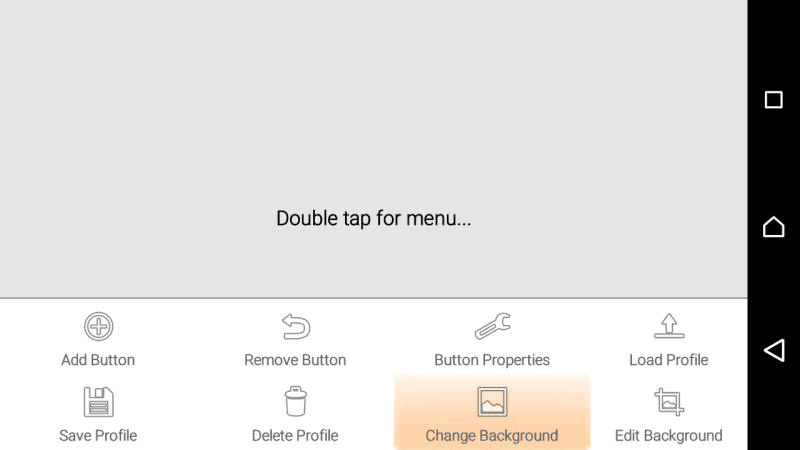
This may happen, but don’t worry

- Double tap again, press edit back ground and press the rotate button in the center till the orientation becomes proper
- Now, Double tap, Press add button, then select whatever you like and Place it wherever you want.
The button will appear in the center, drag it to wherever you want.
Then double tap and save the profile, press back and exit
- Select the profile like this
- Then Press Start, Connect the controller, Connect X to the x86 host
- The buttons will all work and you’ll only have to map them in any emulator.
Android TV:
Android TV has a sleek UI, which is pleasant to the eye, and it’s all about the aesthetics, so why not give it a shot. All it will take is installing The Leanback Launcher And Keyboard. Straightforward APK installations, nothing complicated. Downloads below. But.. Android TV works with a remote, no touchscreen or mouse input.
Solution:
BT Controller or Keyboard.
BT Controller Can Send Keycode presses So It Is Just like a Remote,
You Can Download My BT Controller file below. Also to send input from your X device, you will have to install Hacker’s Keyboard and enable permanent notification from Settings > Language & Input > Hacker’s Keyboard > Under ‘Input Mode Settings’, ‘Use Permanent notification’. So whenever using the BT Controller, either swipe from top to bottom and use BT Controller’s Provided Keyboard or tap the notification to pop up Hacker’s Keyboard (Better Choice). All apps aren’t listed in Leanback Launcher, so you need to download an app called Sideload Launcher to launch all apps from there
Downloads:
Place it in sdcar0/data/profiles/
Android TV Downloads:
BT Controller Remote map file ( Place in “sdcard0/btcontroller/”) :
Tips:
Wi-Fi might not work, but Ethernet does. To use BT Controller with Ethernet , start hosting with wifi, but ip will show 0.0.0.0, you’ll have to go to your router’s setting and see what is the ip of the PC connected with ethernet. Then on the Client device , Connect to host and manually add, by pressing the plus button on the bottom right, input any name, and input the IP you got from the router settings.
For using wifi you must have
If you are having problems with the PC going to sleep, install No-Screen Off from the Play Store.
Credits:
Android-x86 team
Unetbootin Developer
BT Controller Developer
Hacker’s Keyboard Developer
Sixaxis Controller Developer
Chainfire
Demolasher36 siging out..