We’ve already covered the EverSD in our recent review and what a treat it is! But now that you know that it exists, wouldn’t you love a beginning-to-end tutorial that has everything in one place? Sure you would. So charge up your Evercade (or plug in your VS. console), because the tutorial starts now!
1–Prep Work:
First, as of now, the newest version for the original Evercade and VS. console is 2.02 and 2.11 respectively. The current EverSD version supports that. If you’re reading this in the future, I can’t confirm that whatever firmware you may be on that is higher than 2.02/2.11 is compatible. So these instructions will tell you how to update to 2.02/2.11 if you are not already there. If you are, skip this.
- First off, if you’re running Windows 8-11, download and install this. Then restart once you have. (If you’re running Mac, I can only give you a link to the official page. Linux is further down the road.)
- Now download this and extract it to a place of you’re choosing.
- If this is your first time updating, then you need to press the “Re-Install Drivers”. It will run stuff in the background.
- Once it is done, it will now have an additional button for “Start Update” it may say “Restart Update”. Either way, this will be what you press in step 6.
- Grab your Evercade and make sure the power is off. Plug it into your PC via a microUSB cable.
- Now press the “Start Update” button. It’s going to give you the instructions of pressing and holding the menu button while you power on the device. Do so now.
- If it has been done correctly, you’ll be shown some character animation on the PC program and a progress bar.
- Remain patient for a few minutes! Once it has finished it will automatically restart. I repeat, this will take several minutes, and look like you’ve bricked your device. You haven’t.
- Once it has fully restarted, the 2.02 update on handeld is a vast difference from the 1.x.x updates. It truly improved and made the system so much better than before. But enough about that, you’ve updated it. Power off the Evercade and let’s move on to the EverSD.
2–Preparing the SD Card for EverSD:
This will need to happen before you can add any apps or ROMs to the device.
- Download EverFixer from here.
- Extract it onto your PC wherever you’d like.
- Insert a microSD card of your choice into the PC. This can be any size larger than 1GB, honestly, just make sure you have nothing of importance on it.
- Run Everfixer.exe
- Windows protector may have a popup warning you about it. Just press the words “More Info” that you see after the warning sentence.
- You now have a “Run Anyway” button, press this now. (This protection may happen on all of these Ever programs, so do the same for any that give you this issue.)
- The first thing you need to do in this program is select your microSD card.
- Now simply press the large “FIX” button. Depending on the size of microSD card, this may take several minutes. There is a progress bar though.
- It will tell you once it’s done. This program has not only formatted the card for use in the EverSD, but it has also put necessary files onto the microSD card.
3–Flashing the Evercade for EverSD:
I promise, this part is easy and not at all daunting. We’re talking 30 seconds worth of work. If it doesn’t work, just repeat section 1.
- Start by downloading EverPatcher. If you’re running the Evercade Handheld, download this version of EverPatcher. If you’re running the VS. console download this version of EverPatcher.
- Turn your Evercade off.
- Grab your Evercade and make sure the power is off. Plug it into your PC via a microUSB cable.
- It’s time to do the same action you did before. Hold down the menu button and continue holding the menu button while you power on the device.
- Press the large “Patch” button in the EverPatcher.
- It will show a progress bar and once it reaches halfway, you can let go of the menu button.
- It will reboot once it’s done to your updated EverSD operating system! Power it back off, we’re done for now.

4–Setting Up RetroArch:
Once you set this up, you’ll have RetroArch running ROMs from your collection. If you don’t want to use RetroArch, there is a way to instead install individual games that simply appear on the EverSD OS like an official Evercade multicart. You can learn about that in Section 5. There is a downside to that though which is that multiplayer games with a USB splitter won’t be an option. If you need multiplayer support, stick with Retroarch.
- Download RetroArch for 2.0x from here.
- You’ll also need to download the config files for RetroArch from here. This is a precaution so that if you mess a setting up, you can revert back. You don’t need this unless you screw the pooch but don’t want to start all of the way back over.
- Extract the contents of the RetroArch package.
- Now copy and paste them to the microSD card. If it asks you to overwrite any files, simply tell it to do so.
- Once that is done, go into the “retroarch” folder on the microSD card. Then make a “roms” folder.
- Inside of that, you can make subfolders to help you remember which game is where. So, for example, I have folders titles, “nes” “snes” “gen” “gba” “gbc” and “fami”. And then I just put the respective ROMs in their respective console folders. Make folders however you want.
- Now copy the ROMs to the folders that you just created.
- Eject the microSD card from the computer, insert it into the EverSD, insert the EverSD into the Evercade, and power on the Evercade.
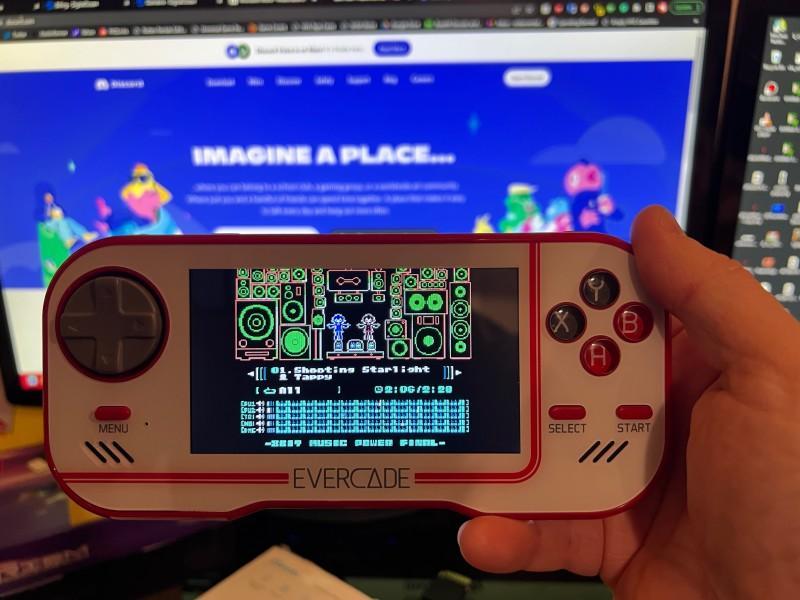
- Once it’s fully loaded into the EverSD operating system, you should be staring at the Retroarch logo. Press A to load it and then press A again on the “PLAY” button.
- When it’s loaded, press left once to get into the list of sections. Choose the “Settings” section and then choose the very last option of “Directory”.
- Scroll to the sixth option entitled “File Browser” and press A.
- Now you’ll see a list of 4 options. Choose the bottom one which is just the “/” forward slash icon.
- Next, you’re given another long list of locations. The options are alphabetized, so scroll to the “S” section of the list. You’ll find “sdcard”, go ahead and choose it.
- Now you’re shown a much shorter list, choose “retroarch” and then find the “roms” folder you made before. Select the option at the top to “Use This Directory” and then once you do it will take you back out. Now press B until you’re back at the main area of Retroarch. Now go back up to “Main Menu”.
- Congratulations! That’s it! You’re done! You can now simply go to “Load Content” and tap “Start Directory” see your subfolders containing ROMs!
- BONUS. If you want the support of multiplayer using the official USB splitter from EverSD found here, then download EverController.
- Load the program and then do the same song and dance on the Evercade to patch it. Plug it in with MicroUSB to the PC, then press the “Menu” button while powering on the device.
- Now click the “PATCH” button on Evercontroller. Once it’s done loading, the Evercade will restart. You don’t need to do anything else, it will now work with the splitter.
5–Adding ROMs to EverSD as Individual Games:
If you don’t want to use Retroarch, you can make individual games show up instead. This is cool and all but if you have more than like 3 dozen games, it’s going to get annoying and cumbersome really fast. Especially if you have issues with the fourth step below. But if you’re just someone who has a solid handful of games that they play over and over again, this is likely the better option.
- First up, download EverLoader (from here or here) to a place on your PC.
- Now start EverLoader from step 1. If it tells you that you need to install .NET core, it didn’t work for me to tell it yes and have it install. I just went to this site and chose my version. You may have to do the same.
- Once it is loaded, the left panel is entirely empty. Below that panel, you can press “Add New ROMs” to do just that. Press it and choose which ROMs that you would like to put onto your microSD card.
- From that point it will say that it is scraping games for covers as it loads. This will take time. I also found that the more games that you add to the EverLoader, the longer it seems to take to do this step. It may be better to do this one console romset at a time. If you find that it doesn’t scrape the games automatically, simply checkmark the games in question. Then right click and choose to “Auto-scrape selected game(s)”. If it gives you an error with the last line reading “montly limit: 0 remaining” and then it gives a reset date, that’s because you only get so many for free in a month. If this bothers you, you will have to wait for the reset date and continue. And no, you cannot simply put the date forward on your computer…I tried.
- Now is the tedious task of checkmarking every single ROM that you want your EverSD to play. So if you had a full ROM set but you didn’t want sports titles or gambling games, but you want everything else, then you’d checkmark everything else for flashing.
- Once you have all of your games loaded and checkmarked and are ready to flash them to the USB, press the “Select MicroSD Drive” button at the middle of the bottom area.
- It will give you a drop down of all USB drives connected to your PC. Make sure you choose the correct one otherwise you will waste a lot of time sending it to the wrong microSD.
- Finally, in the lower right, is the “Synchronize Selected ROMs with MicroSD”. Press this and let it run.
If you need anything else related to the Evercade, click here.
If you need anything else related to the EverSD, click here.


