Sure, you recently got a GDEMU. Let me help you set it up in the easiest possible ways that I’ve discovered! This combines a few different articles into one. If you still need to install the device physically, click here for help with that. It comes complete with a video so that you don’t have to read through any text. After that, head back here because this is everything else after installation up to playing a game!
You have the GDEmu installed, now what?
Everything that I’m about to mention is a way to get all versions of a GDEMU working (along with some other tips I picked up along the way). There may be faster ways, but this is the fastest that I have found that is also functional out of the gate. If you want extra things like cover art, online play, or fan mods, just know that we’re likely to update this as time goes 🙂
- Get a compatible SD Card/microSD with adapter. All SD/MicroSD cards should be compatible as long as they’re a (3) rated card or lower. It does not matter the capacity or the compression method.
- Use Madsheep’s SD card making app for adding the GDEmu menu and games to the SDCard, it’s incredibly straightforward.
- If you want to sort games, use the ‘sort list’ option on Madsheep’s app.
- The GDEmu also supports Atomiswave playability, so use Madsheep’s app to add Atomiswave games that are supported (google is your friend).
- If you want to make more games fit onto the GDEmu’s SD Card, shrink them using the shrink option as you add them to the SD Card.
- DO NOT SHRINK HOMEBREW AND WINDOWS CE GAMES!
- And that’s it, pop your newly set up SD card into your GDEmu. Once you power on your Dreamcast, you should be off to the races!

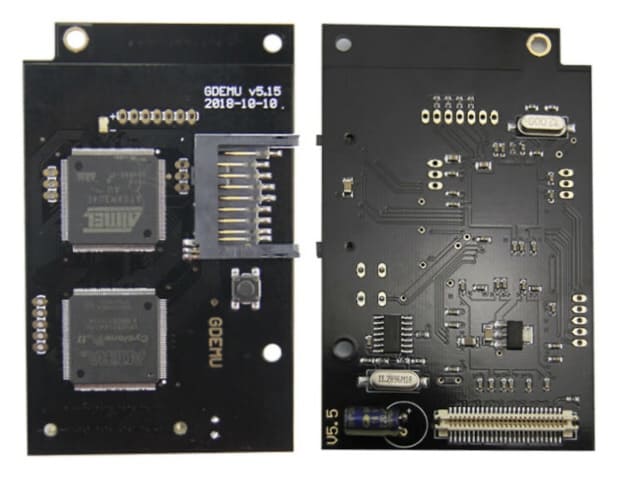
Gdemu clone for the Sega Dreamcast
Looking for more Dreamcast suggestions?
- Looking for a replacement to your OEM DC controller? I recommend the Retro Fighters 3rd party controller, simply called StrikerDC.
- Speaking of replacement controllers, if you are into the OEM controller and hate the cord, I’d recommend the Dreamconn the Bluetooth controller.
- If you’re looking to improve elements of your experience, I recommend that you find and purchase an ethernet adapter for DC.
-
If you want a nice, crisp picture out of the box, I do recommend using VGA, but do note not all games work with VGA. All games will work with a composite or component cable though if you’re just looking to plug and play without a fuss.
-
If you’re someone who is simply looking for a plug-and-play HDMI adapter without bells and whistles, there are a few options. Retrododo already has a comparative list on these cables.

Looking for more mods?
- Looking for a more robust program than Madsheep’s? Open GDEmu is available as an option. It has more features and is open source so it’s maintained by the community. Also, in my experience, it appears to be easier. Everyone’s mileage may vary. I recommended Madsheep’s option first because it is more common and any issues are easy enough to look up solutions to.
- I recommend buying and installing a mount complete with a button for swapping discs.
- There is an intermediate modification that could be done that increases the clock speed of the Dreamcast by 10%. You can find the article from the mod’s creator here.
- While I personally recommend keeping the default DC shell/body, I do like that there are shell options from 3rd parties such as Muramasa.
- Need to regulate the power better so that the Dreamcast doesn’t get warmer while using the GDEmu? You can buy 3 1000ohm resistors and then twist their legs in parallel. One end goes into the far right hole PSU hole, the one marked 12v. The other end can go into any of the 3 holes to the left of it in the PSU. They’re all marked Ground or GND.
- If you’re a confident beginner when it comes to soldering I recommend that you remove the old CMOS battery terminal and install a battery terminal that makes it easier to swap out the CMOS battery. Use “method 1” of this guide.
- I also further recommend buying a rechargeable CMOS battery. This means that you can use the battery so much longer than a standard one because the console can keep it charged. And even if it dies, you can recharge it yourself. eBay, Amazon, AliExpress, they all have rechargeable CR2032 batteries.
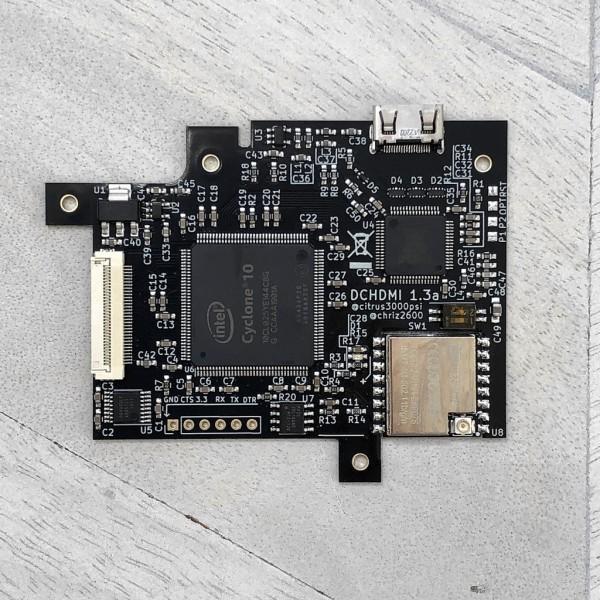
- I do not have an HDMI modification built into my Dreamcast, I have all of the mods that I care to have. However, I do think that I should mention that you can hard mod your Dreamcast to have a built-in HDMI port on the back. DCDigital isn’t cheap but if you’re more than just a casual Dreamcast player, it may be worth your hard-earned money.
What do I feel that GDEmu menus are missing or could be improved (at the time of this writing)?
- Edit game names and order of games on the fly.
- Have sorting for Windows CE games and Atomiswave games, separate from standard games.
- Sort games by title or sequence added or most played or in order of co-op player amounts.
- Automatic cover/disc art.
-
Button combination to change discs to avoid getting up and pressing a button in the console.
-
Ability to delete games from the GDMenu itself ala Swiss.
-
Not all games allow for the key combo for exiting back to the menu all of the time. Most do, no matter where you are in game. But some games only do it during gameplay. I’d like to see better implementation of this for loading screens, cutscenes, and opening production logos in all games (if possible).
LINKS FOR GDEMU:
Official GDEmu (fully updatable and supported by the official creator)
Unofficial GDEmu (not updatable, not supported by official creator, use at your own risk)