Today’s review is a long one, so I’ll do my best to keep it only with need to know facts and details. We’re going to be talking about Retro-Bit’s foray into the HDMI Gamecube adapter business. The Retro Prism HD could be a good offering for those who cannot afford the cream of the crop (GCHD MK-II). Let’s check it out!
![]()
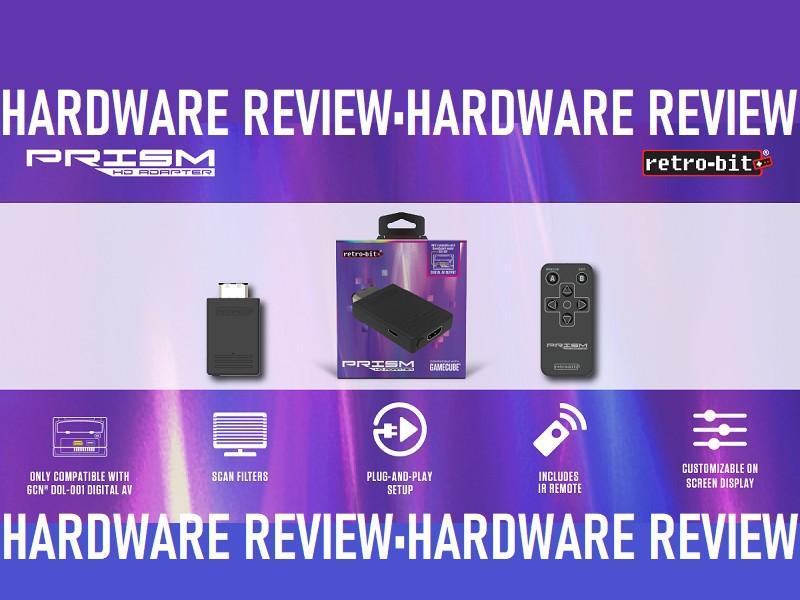
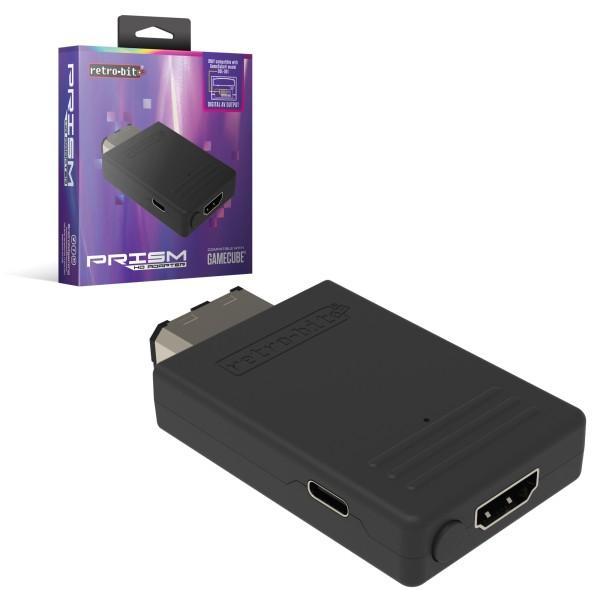
Description:
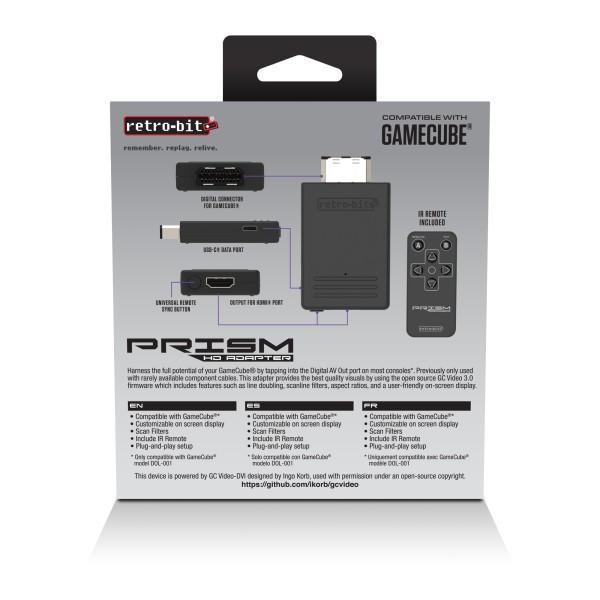
‘Harness the full potential of your GameCubeⓇ by tapping into the Digital AV Out port on DOL-001 consoles. Previously only used with rarely available component cables. This adapter provides the best quality visuals by using the open-source GC Video 3.0 firmware which includes features such as line doubling, scanline filters, aspect ratios, and a user-friendly on-screen display.’
Features:
‘Compatible with GameCubeⓇ DOL-001
Customizable on-screen display
USB-CⓇ Data port for easy installation of Firmware updates and additional languages
Scan Filters
Includes IR Remote with 3ft range
Plug-and-play setup’
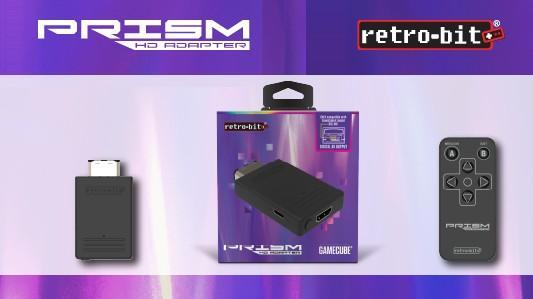
Unboxing:
Pros:
- Plug and Play-If you’ve watched the unboxing video up above or you’ve looked at the pictures, you’ll nottice one thing. What you should’ve noticed is the design of the dongle. This dongle really only plugs in and you’re ready to go. Once you plug it into the Digital Out port, then you’re plugging an HDMI cord into it and you’re off to the races. There is no resistance plugging it in either since it has a metal housing on the plug. That’s it. It’s so plug and play that you technically don’t have to do anything special. This is definitely true for those who just want to run their Gamecube on their modern TV.
.
- Upgradable-Now, I’d like to discuss the steps for upgrading firmware. I want you to see that if you decide to do this optional task, that it really is not complicated. So if you’re one of the aforementioned people who are looking for an HDMI adapter, you might actually get more out of this than you thought.
- Click on this page that has the manual and firmware for the device.
- Click the “Firmware” button and let it download.
- Extract the .ZIP file you just downloaded.
- Run the Retro Prism Updater executable.
- If your Windows OS stops you, you can click the “More Info” button in the lower corner and then press “Run Anyway”. It’s safe, people everywhere have been using it.
- Once it loads it will tell you to plug in your Prism via USB-C. A tiny red LED will come on on the device and Windows will automatically install your necessary driver (this only happens the first time).
- Now that has happened, your program will say “Device Detected” in a green font.
- With it being detected, click on the “Select desired firmware file” dropdown menu. Choose the update with the highest version number to ensure you’re on the newest update.
- Next, click update and after a couple of minutes, it will tell you “Success” and automatically tell you no devices are detected.
- Unplug the Prism and get back to playing!
.
- Operate-So, let’s say that you took the time to update your firmware before you use your Prism. With that done, you’ve now seen how easy it is to plug it up and get a picture on your HDTV. How do you maximize what you’re seeing on screen without modifying anything? Well, that’s incredibly simple to do. Most Gamecube titles on startup will ask you if you want to enable Progressive Scan. You’ll choose “Yes”. Not every game will ask you, when in doubt, just hold the B button upon launching the game. Not all games do support Progressive Scan, so if you have a game that you hold B on startup and get nothing, then you’ll simply be using the Prism as a passthrough device effectively. Still better and easier than the composite option.
- On-Screen-This is the part where I have to stress that nothing about any of the HDMI solutions available will upscale your image. The HDMI solutions are all so that you can run a Gamecube (model DOL-001) on an HDTV and up to the supported 480p (and 576p for other territories). This is still going to look better in 480p through HDMI rather than just a composite passthrough HDMI adapter. Not only does it look better out of the box, but you can also adjust aspects of the image aside from what using your HDTV’s settings can do.
If the game that you’re playing doesn’t have a 480p option, you can definitely go into the settings and enable line doubling via bob deinterlacing. I don’t mind that option, but honestly, not many games are only in 480i so I don’t even bother enabling it.
.
If you want 16:9 you must have two things going for you. You need to have a game running that supports 16:9 natively as well as a TV that supports this. “My TV is rectangular, how does it not support 16:9?” Honestly, I’m uncertain, but it’s down to the manufacturer. So my recommendation would be to simply look at this list and see which games support widescreen. Then see if your TV is receptive to you enabling 16:9 for the game.
.
I’m intending on adding a comparison video within the week, so stay tuned for that. But the bottom line is, if you’re still running AV or AV to an HDMI upscaler, you’re going to be pleased with the Prism’s results.
.
- Price-People are going to tell me that the $80 price point is the same as the Insurrection Industries’ Carby. Those people would be wrong, the Carby is 5 cents cheaper! However, for the sake of argument, let’s round them both to $80 and discuss why the Prism is better at that price point.
.
I think there is one positive point to remember first. Which is now you have two options at that price point. The main difference will likely be availability. If you wanted to buy a Carby and they were out of stock, you don’t have to look too hard on a seller’s site for this Retro-Bit option. Furthermore, Retro-Bit has been around for much longer so they have more consumer recognition and faith.
.
So if you’re iffy on the Carby (which you shouldn’t be), you now have a second affordable option that has GC Video on the backend (more on that soon). But there are some Carby downsides. The Carby doesn’t afford you the luxury of using alternate remotes if you prefer or lose yours. But they’ll gladly sell you another one for $10!
.
Lastly, the main reason why I think that you should consider this over the Carby (as of this writing) is one main feature. The feature that we’ve already discussed and that is upgradeable firmware. Yes, the Carby can do that too, but with caveats, depending on your situation. You can only upgrade the firmware by disassembling and connecting a JTAG connector or newer ones let you do so via a softmodded Gamecube. Retro-Bit really pushed the envelope by simply adding a USB port.
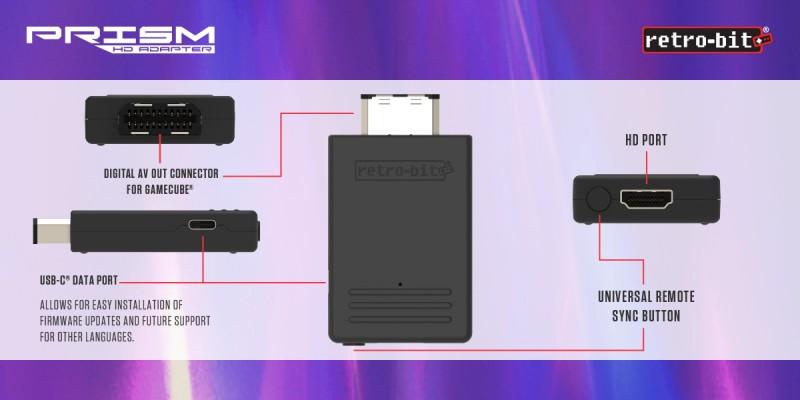
- Build Quality-Now for my favorite part. But as I said in the beginning, there is a lot to talk about with this device, so I’ll keep it quick. We’re going to go over the parts of this build and why they’re quality.
- First off, you’ll notice a button on the Prism that we haven’t really talked about. This tactile button is actually entirely optional when it comes to the Prism. This button is for helping sync up a universal remote should you lose yours or dislike it.
- The IR remote sensor, I believe is the same hole that the previously mentioned LED hole is. I haven’t found it exactly, but I’m 92.3% certain that I’m correct.
- The chef’s kiss of this build is the inclusion of a beautiful and likely future proof USB-C port! It’s getting two kudos points. One is for the fact that it isn’t a microUSB port and the other is for how tightly it holds the USB-C plug.
- Speaking of ports tightly holding plus, we’re not at the HDMI port. It plugs in so cleanly to where you think it might let the cable slide out. You’d be wrong! I tugged it gently and then harder and it to a decent pull to get it to come out. It’s crazy this HDMI port is better than the first-gen PS4’s HDMI port.
- Another point of contention that people have on these dongles is when they only use plastic for the plug. EON does this with their GCHD adapters. The metal creates a smoother entry and protects the plug better. So Retro-Bit gets brownie points for not being cheap with their plug. Solidifying their entry into this competition.
- The plastic that does exist is very strong and sturdy. You all know me, I took the time to sit on this thing. Drop it from shoulder height to the ground. I dropped it down hard, wooden stairs. Nothing bad happened to it! These are things that will never happen to your dongle, I just like being thorough when it comes to these review units that I am sent.
- With regards to the plastic body, it does have a feature that every dongle should have. If you look in the pictures of the Prism, you’ll notice some grip lines on the end of it. This is so that you can pull from the very end of the device to pull it out. I do rather wish that they were closer to the actual plug though as you risk pulling it out or putting it in at an angle.
- Now, the second device in the box was the remote controll. Not going to focus on this too much but I’m happy about a few attributes. You’ll find that the remote comes with an easily swappable battery. The battery can be found at almost any store, so no worries there.
- The battery will likely live a long time since it’s not regularly used. Technically you don’t have to use it at all if you don’t want to change settings. So if you’re worried about having to go out and find batteries, rest easy.
- If you are swapping settings, don’t worry too much about a big honking remote with a thousand buttons. It’s lightweight and has only the buttons that are necessary and even better, they’re properly labeled.
.
- GC Video-So, let’s get into what options you will find in the GC Video backend that is powering the Retro Prism HD. I’ll give a rough representation of what each option does.
- Line Doubler (for 480i only, makes those games look even sharper)
- Scanline Profile (adds scanlines profiles for you to assign, maybe for different games)
- Apply scanlines (to either the even or odd lines)
- Alternating scanlines (puts the scanlines across even and odd, alternating)
- Scanline Settings (lets you adjust brightness, luminance, and hybrid factor of lines)
- Picture Settings (adjust picture brightness, contrast, saturation, and position on screen)
- OSD Settings (adjust on-screen menu’s transparency, its tint, and IR options for other remotes)
- Output Settings (enable Allow 480p, RGB limited, DVI mode that enables 16:9, and volume/mute)
- View All Modes (lets you see all supported output resolutions and settings for each one)
- Advanced Settings (enable chroma interpolation, fix resolutions and timings, regenerate CSync, digital color format, Report 240p as 480p, and the Sample Rate hack)
- Store Settings (saves the settings that you’ve changed)
- About (credits who is responsible for GC Video)
- Input/Output (listed in the lower righthand corner, it shows what the game is running at and what it is being viewed at)
.
- Dual Output-This can be used at the same time as the standard AV output on the back of your Gamecube. This is primarily interesting because that means you could have two TVs set up side by side. As long as your secondary TV has a composite (red, yellow, and white) input. Or, if you’d prefer, you can use it only for audio out to an older surround sound or even an RCA to 3.5mm headphone plug, then it will also work.

Cons:
- Remote-I found it difficult to point the remote at the device while in use. I will give it credit for having the physical button for syncing a different remote. Of course, for me, I only used the remote for the sake of reviewing the product. I think that the default settings are more than sufficient for a casual player who simply wants to use a Gamecube on a modern TV.
.
Even if you want to look at the settings, you’re likely to set it and forget it. It’s not like each game will require different settings. Finally, I dislike how likely the remote’s buttons are to crack and break over time if you use it a lot. At least you can find and set up a universal remote. I again recommend setting options once and when you have stuff to your liking, again, leave it for good.
.
- Size-I know this complaint may be construed as nitpicking, but I just don’t care. Because for those who don’t have other Gamecube HDMI solution, they won’t know that this is the largest dongle solution that exists. I do know that they have to fit a lot of stuff inside, but I would’ve preferred a wider dongle than a longer one. I’m also saddened by the fact that the HDMI port is straight out the back.
.
Having the HDMI cord come out of the back adds weight to this already long device, thus creating some instability. It could cause an issue if the cord is ever suddenly pulled or the Gamecube falls forward. I would’ve preferred the HDMI port to be on the left side of the dongle and the dongle can be a bit wider. It definitely feels weak since so much is hanging off of the back of the Gamecube. I recommend that you get the thinnest and lightest HDMI cord you can find for it.
.
- Upgrading-Yes, it’s simple and easy to update, I’m not quibbling with that. My actual complaint is what they neglected to tell us on the packing; which USB-C cord to use! So, I’m going to preface this by saying that your results may vary, but I don’t think they will. I’m talking about my endeavors to update the Prism. I tested all of my USB-C cords on both of my Windows computers and got the same results. I also tested them in both USB 3.0 and USB 2.0 ports. Here are the results: you cannot use USB3+ USB-C cords in USB3 ports with the Prism.
.
I was only able to use USB3.0 and higher USB-C cords in 2.1 and slower ports or using 2.1 USB-C cords in the USB 3.0 port. You cannot get them to recognize at all if you use super speed cable in 3.0 ports and that should be mentioned. Neither the box nor the manual says it. The reason it matters is that while it’s great that it’s USB-C, it’s a bummer if you’re someone who doesn’t have older USB-C cords or slower USB ports. Now you must go find and buy a slow cord just to update this sparringly. They need to either add it in or fix the USB 3.0 support.
Final Thoughts:
This is a fantastic option compared to the standard RCA/composite AV option, there’s no denying that. A video of pictures comparing it to composite will be at the bottom. But I also can’t wait to show it against the Hyperkin option, which, by the way, requires a power source. And while the Prism doesn’t come with an HDMI cord like Hyperkin’s, I think that you can easily find an inexpensive one.
If you’re wondering if I recommend it as a device, on its own. I do. You plug it in, you can choose to modify some settings, start a game while holding B to enable Progressive Scan, and you enjoy yourself. It’s just too simple and it looks leaps and bounds better than composite and Hyperkin! If you want some comparison videos, I have two of them down below!
Purchase Links:
Retro Prism HD versus Hyperkin HDTV Cable:
Composite versus Retro Prism HD (watch full screen):