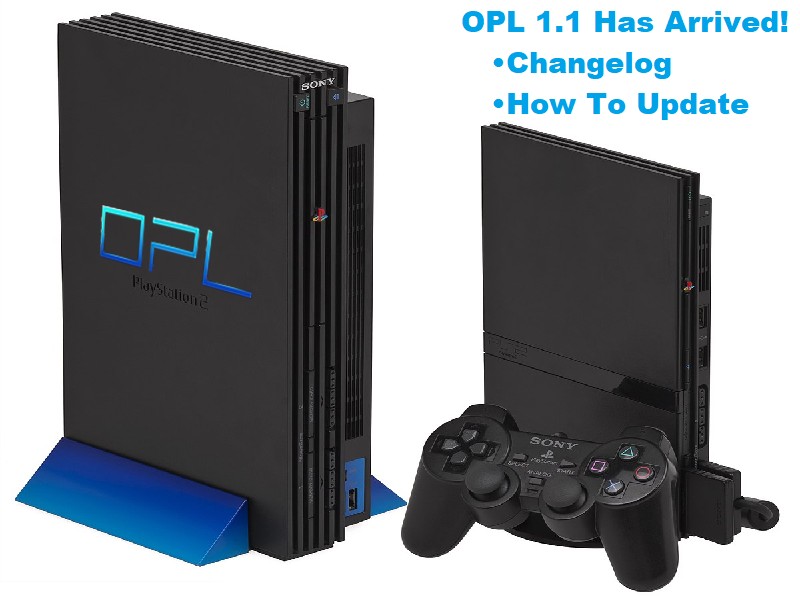
Haven’t cracked out your trusty PS2 in a while? Heck, maybe you had the release of the stable 1.0.0 release of the Open PS2 Loader months and months and months ago. OR…or…maybe you download the nightly releases, but know how unstable they could be. Well now’s the time to get updated, cause there’s a whole new OPL. Here, lemme show you (there’s some big improvements for internal HDD users)!

What is OPL?
“Open PS2 Loader (OPL) is a 100% Open source game and application loader for the PS2 and PS3 units. It supports three categories of devices: USB mass storage devices, SMB shares and the PlayStation 2 HDD unit. USB devices and SMB shares support USBExtreme and \*.ISO formats while PS2 HDD supports HDLoader format. It’s now the most compatible homebrew loader. OPL is developed continuously – anyone can contribute improvements to the project due to its open-source nature.”
Changelog:
- “gcc 11 toolchain used for both EE and IOP
- NBD server for transferring files over network
- New USB mass storage driver
- (experimental) i.LINK/IEEE1394/FireWire support
- (experimental) MX4SIO support
- internal HDD users now can change partition for storing settings.
- HDD OSD users can use OPL with OPL Launcher
- GUI settings reorganized and renamed”
Installing OPL Instructions:
- The easiest thing to do is to update your FMCB with an installer that gets you the newest FMCB and add replace whatever version of OPL they have with 1.1.0, then run the installer and it does the work for you. If that sounds too complicated, do the following.
- To do a basic install via USB, head to the github download page and scroll to the downloads at the bottom. Choose “OPNPS2LD-v1.1.0.7z”
- You’ll have to have 7zip installed to extract the files. If not, this website can extract files for you and let you download the individual files from “OPNPS2LD-v1.1.0.7z”
- Now, you’ll find that you’ve got a file called OPNPS2LD-v.1.1.0.ELF. First, rename it a very simple name, I recommend OPL.ELF. After that, copy OPL.ELF to the root of any Fat32 formatted USB thumb drive. Now safely eject the USB thumb drive.
- Head to your PS2. Plug the USB in and boot the PS2. Everyone has a way of loading ELF files, so should you. Start that app, likely a “uLaunchELF” fork of some kind.
- Press “O” on your controller if you are not already in the File Browser portion.
- Now, you can either leave this USB drive in the PS2 all of the time and simply load the ELF manually from it or you can automate it a bit more. If so, continue reading.
- Go down to the “mass” option and enter that, it will show you the contents of your USB thumb drive.
- If your buttons are still at the default configuration, you’ll navigate to the OPL.ELF file and select it by pressing the circle button. Now press R1.
- This brings up a sub-menu on the right side of the screen. Using your D-Pad, go to the “Copy” or “Cut” option, either works. Select it and it will tell you up top that it is now cut or copied.
- Press Triangle to back out to the main File Browser where you can see all destinations and go up to choose your PS2 memory card. MC0 is slot 1 and MC1 is slot 2.
- There will be a folder called “APPS”, if not, press R1 and choose “New Dir” and make an “APPS” folder. Again, you can either leave this ELF in the “APPS” folder and load it manually from it or you can automate it more. If you’d like to automate it, keep reading.
- Now that you’re inside the “APPS” folder, press R1 again and choose “Paste”. It will show you a loading window while it does the transfer.
- Go ahead and power cycle the PS2, it could be that you have a configuration already for OPL. If it is on the PS2 menu when you boot up FMCB, then you’re done, enjoy! No? Then read on.
- If you’ve ever used an FMCB installer in the past, even if OPL didn’t auto show up, you have a method to make it do so. Look through your PS2 list of apps. If you have either a “Free MCBoot Configurator” or “Free HDBoot Configurator”, then you’re in luck! Start whichever you have.
- When it loads it will give you a choice of which button you want to want for OK and which for CANCEL. If you’re in Japan, press O, if you’re anywhere else, press X.
- First thing’s first, if you’re running “Free HDBoot Configurator”, choose “Load CNF from hdd0” towards the top. If you’re running “Free MCBoot Configurator”, choose “Load CNF from MC0” or “Load CNF from MC1”. MC0 is slot 1 and MC1 is slot 2. Choose whichever one your PS2 memory card that FMCB is loading from is slotted into.
- Now, mid-screen you’ll see “Configure OSDSYS options…” choose it. The section option down on this new screen is “Configure Item 1: (APP)”. (APP) means that it says the name of an app. If it does, press right on the D-Pad until you see a blank slot. If it does not mention an app, we’ll add one by choosing this first blank slot.
- Once you’re at the new screen, it shows you two main sections. “Name” and “Path1”. For “Name”, choose it and name it however you want. OPL, OPL 1.1, Open PS2 Loader, Poops and Boobies, anything.
- After naming it, choose “Path1”. It lets you navigate to the exact place that you saved OPL.ELF just a moment ago. Once you get to it, select it. It will then take you back to your “Item 1” screen and you’ll see that “Path1” is now populated with your OPL.ELF location.
- Choose the option to “Return” under where it shows “Path3”. You’re back to the “OSD Settings” screen, choose “Return at the bottom of this screen”. You’ll be returned to the main “Free McBoot Settings” screen of the app.
- Now, if you chose “Load CNF from hdd0” earlier, you’ll find the “Save CNF to hdd0” option at the bottom to choose. Same with “Save CNF to mc0” and “Save CNF to mc1” for those who load Free McBoot from a memory card instead.
- I recommend doing a power cycle now, to make 100% certain it took. If so, congrats! (If not, I defer you to step 1 and getting a dedicated installer and running it from uLaunchELF. It’s pretty gol’ darn simple! You’ll have to do some googling for an installer though.)
Updating OPL Instructions:
- There are 2 ways to update your existing installation of OPL. Via ethernet over the internet and using a USB from PC to PS2. If you want to update using ethernet, skip to step #15
- To do a basic update via USB, head to the github download page and scroll to the downloads at the bottom. Choose “OPNPS2LD-v1.1.0.7z”
- You’ll have to have 7zip installed to extract the files. If not, this website can extract files for you and let you download the individual files from “OPNPS2LD-v1.1.0.7z”
- Now, you’ll find that you’ve got a file called OPNPS2LD-v.1.1.0.ELF copy that to the root of any Fat32 formatted USB thumb drive. Now safely eject the USB thumb drive.
- Head to your PS2. Plug the USB in and boot the PS2. Everyone and their mom has uLaunchELF (or literally any version of “LaunchELF), so should you. Start that app.
- If you’ve installed OPL in the past or used an installer to install FMCB, you likely already have an OPL elf file on the memory card. No matter where it’s installed you can do the following to replace it with the new one. Press O on your controller if you are not already in the File Browser portion.
- Go down to the “mass” option and enter that, it will show you the contents of your USB thumb drive.
- If your buttons are still at the default configuration, you’ll navigate to the OPNPS2LD-v1.1.0.ELF file and select it by pressing the circle button. Now press R1.
- This brings up a sub-menu on the right side of the screen. Using your D-Pad, go to the “Copy” or “Cut” option, either work. Select it and it will tell you up top that it is now cut or copied.
- Press Triangle to back out to the main File Browser where you can see all destinations and go up to choose your PS2 memory card. MC0 is slot 1 and MC1 is slot 2.
- There will be a folder called APPS. Inside, you should find your existing OPL elf file. Go to it and make note of the exact name of it. Then select it by pressing the circle button. Now press R1 and choose the “Delete” option. It will again confirm it.
- Press R1 again and choose “Paste”. It will show you a loading window while it does the transfer.
- Finally, press R1 one last time. Choose “Rename” and using the keyboard to name it precisely what the previous OPL elf was named. This will keep it from breaking your OSDSYS menu that you see when FMCB has loaded.
- Congrats! You’re done.
- For everyone else who would prefer a more direct approach, you can use ethernet.
- Go to your PS2, start-up FMCB and then execute OPL. Once it’s loaded, press the Start button on your controller to bring up the full settings menu.
- Go to the option for “Network Configuration”. There is nothing overly complex about it, just configure your network.
- Now that you’ve got it configured, back out to the main settings menu. Head to the option “Network Update”.
- Follow the prompts and you’ll be updated in no time! Congrats, you got it. And if it doesn’t work, you always have the USB option.
Asource, of course!