Today we’re going to be discussing the Save Manager from TX. It’s designed for their CFW on the Switch (including Mariko and Lite models). It’s unclear as of now if it also works on Atmosphere and other CFW’s not made by them. So if you’re running a “free” CFW, stick with something like Checkpoint. But anyway, let’s get into the announcement from TX and see what it has in terms of features!
Announcement:
‘Another day, another release by your friends from Team Xecuter. This time we are happy to bring you [our] Save Manager, a friendly yet very useful tool to manage your game saves and keep them safe! You requested it, we deliver  This is V1.0, although it has been thoroughly tested by TX reviewers team (thanks guys again) there could be bugs we did not find with the networking code. So we recommend for people backing up to the cloud to also backup to the SD card until we have more users reports. Thank you!’
Features:
- ‘Back up your saves files to your SD Card or Google Drive
- Restore save files from your SD Card or Google Drive
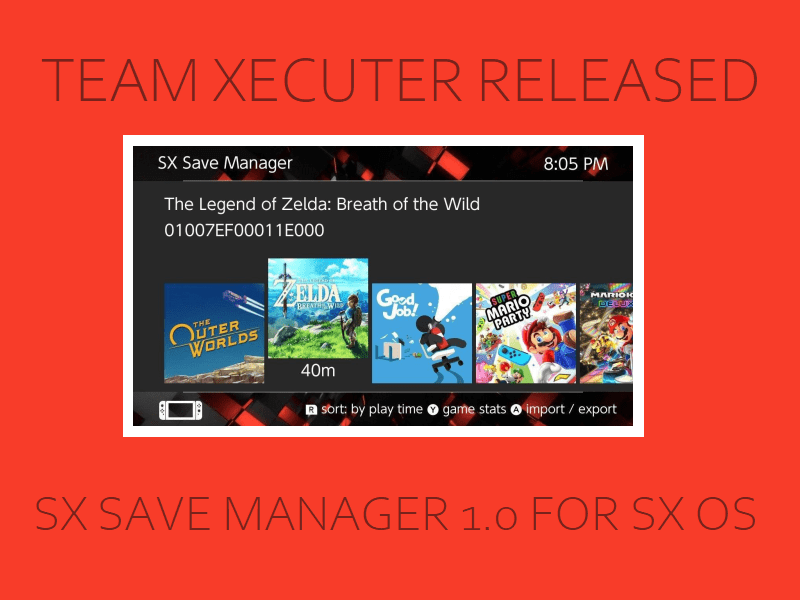
- Views extended games stats in more detail than Nintendo gives by selecting a game and pressing Y (also works on accounts that are not linked to a NNID)
- View the…game ID from the game selection menu
- Backed up save files have the date and time in the name
- A familiar UI similar to [our] “Dumper”‘
Extended Features:
- ‘Total time spent in game
- Average play session time
- First time you launched the game
- Last time you launched the game
- Both per user save files and device specific save files are supported!’
How to Use:
- ‘Install the Save Manager NSP.
- Open the Save Manager app from the homescreen.
- Select a user whose saves you want to manage.
- Navigate to a game using the left and right buttons on the dpad.
- Press Y to view extended game stats or press A to back up / restore a save.
- If you chose to restore or back up a save choose “Export” to back up the save and “Import” to restore the save.
- From there you will be asked if you want to back up / restore from the SD Card (local) or Google drive (Cloud).
- If you select cloud you will be prompted to log in to your google account via the web applet.
- From there you will see a brief please wait message and finally either a success or error message.
- You can also toggle if you want to sort the games in the list by last played or most time played by pressing R.’
