The Switch have taken the Homebrew scene by storm! It has champion the PS Vita as the number one Homebrew console on the market, but Besides playing emulators and amongst other things, you are now able to run Android on your Nintendo Switch! How cool is that? Running android on the Nintendo Switch is great because you will be able to enjoy almost all the apps that is on the play store such as streaming movies, installing Kodi and enjoy emulators. The plus side to all of this is that this will not get you banned from Nintendo online servers!
Their are lot of users that is still using SXOS, I really haven’t seen a tutorial detailing how to get android installed pertaining to SXOS, I know their are other methods of loading hekate or other payloads but SX kind of made it a little tedious to load other payloads with there SX pro dongle. So in this tutorial I will be detailing how to install android on your Nintendo Switch if you are using a SX pro dongle.
Things that you will need:
1.PC
2.Nintendo switch that can load Homebrew, check your serial number here to see if you have a unpatched unit.
3.micro sd card, ranging from 16gb-128gb
4. Sx pro dongle
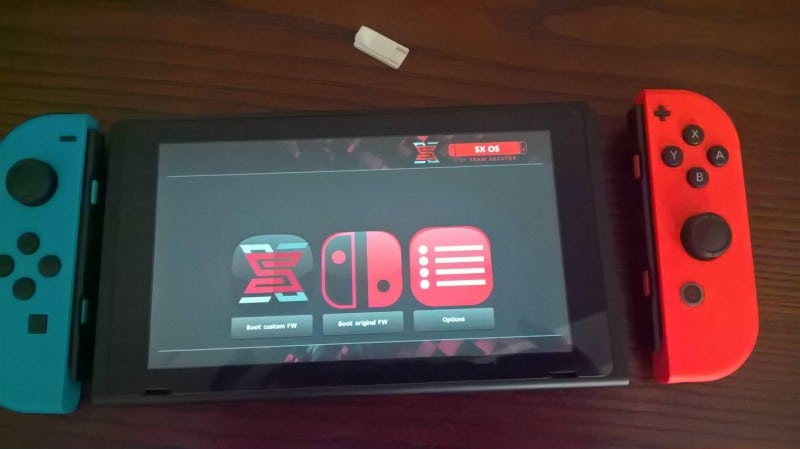
how to install Android-For SXOS users:
How to run android on the switch for SX users
1. For the time being you can only use 16gb, 32gb, 64gb and 128gb, it’s best to use a separate card for this.You can put it all on the same card along with your CFW but I will not be covering this in this tutorial!! Depending on what card you have choose the image that corresponds to the card below. Leave the image zipped !
16gb-image Direct
32gb-image-Direct
64gb-image-Direct
128gb image-Direct
2. After you download the image that matches your card size use the program balenaEtcha to flash the image to the card. Make sure your sd card is formatted to fat32 only.
3. Use this program to flash the image to the card-balenaEtcher
4. This process will take a while so give it time to finish flashing the image.
5. Once it’s done download this zip-
6. Put the bootloader folder on the card.
7. You will need to download google playstore , go to this link and select arm64,8.1 and pico and hit the red button to download.
8. Place this on the card.
9. So after you are done you should have android_switch folder,boot loader folder,gapps.zip (leave it zipped)
10. Final step for SX users you need your dongle to be able to access hekate mode. Take the hekate.bin that was in step 5 and convert it to a boot.dat with this program
11. After that is done put the boot.dat on the card
12. Boot up your switch with the jig and the dongle the same way you use to do it before, if you are in auto rcm just insert the dongle in minus the jig and tap power.
Side note: if you use your android phone to shoot a payload to your device you can also use that to load hekate to the switch, after the flash process is done. just make sure the bootloader folder is on the card!
13. Once you are in hekate mode, tap more config
And tap the android icon ,hold volume up
Till u see a new menu show up.
14. you will see a menu that says unmodified system partition. Swipe the icon on the bottom we’re it says “allow modifications”
15. Select mount and tap system,micro sd,vendor and data make sure they are all checked.
16. After that hit select storage then tap micro SD card.
17. Press the back button on the bottom and tap install, on the left of the screen you will see folders. Go to external_sd
18. You will then see the zip files you put on the card (if you have the joycon fix zip you can install that to while you at it) tap open gapps and tap install image on the bottom right. Wait till it takes you to a different menu.
19. Once you get to the menu where it says install zip -swipe to flash,wait till it finish. After that tap Dalvik cache.
20. Reboot the device after it’s finish by holding the power down and enter hekate again and just go into more configs and tap the android icon,this time don’t hold no buttons down.you will be presented with setting everything up now. Skip the microphone option or you will not be able to proceed.
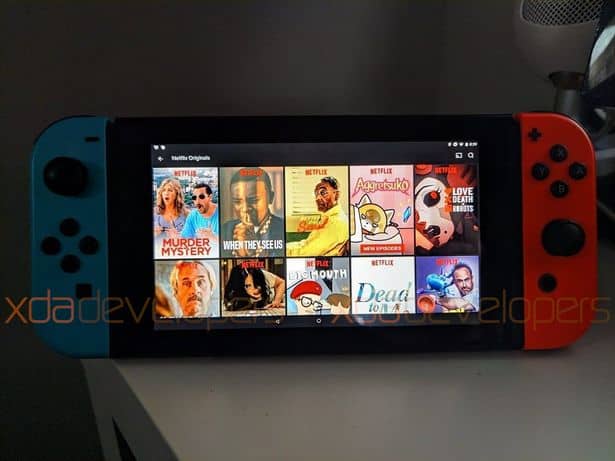
21. Congratulations you have android on your switch!!
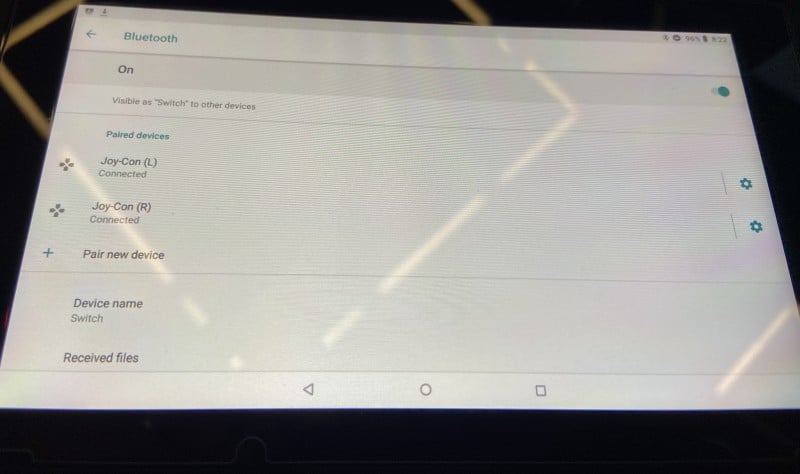
Setting up the joycons :
Go to settings and then Bluetooth and connections. Take one joycon off and tap the middle button in the middle until it starts flashing, when the message says pair comes up hit pair.Do the same for the other joycon.
Transferring stuff over in android:
You can only transfer stuff over via Ftp mode,download WiFi ftp program from the playstore and use file zilla client to transfer stuff over. Make sure you are on the same network.
Was this tutorial helpful? Please follow us at hackinformer.com on twitter for more Homebrew news!