If you have recently read our review covering RetroSix’s CleanPower Regulator Board and bought it, you may have some questions. This guide will walk you through how simple it really is to install one of these regulator boards. And if you don’t have one yet, you’ll see it’s simple and you should get yourself one. The original review article is here for you.
What You Need:
- Retrosix’s Cleanpower Regulator Board (link at bottom).
- Triwing screwdriver.
- Phillips screwdriver.
- Soldering iron (no solder required).
Video Instructions (for visual learners):
Listed Instructions (for the readers out there):
- Take out any Game Boy cartridge.
- Remove the battery door and batteries.
- Lie the Game Boy on your work table face down.
- Remove the six triwing screws from the backplate. Two of them are in the battery compartment.
- Gently lift the back half away from the front half. Be aware of the ribbon cable connecting the two halves.
- Unplug that ribbon cable from at least one side. You can unplug both ends if you’d rather be better safe than sorry.
- Set the front half of the Game Boy aside for now, you won’t need it for a while.
- Remove the two Phillips screws that are on the lower left and lower right sections of the PCB.
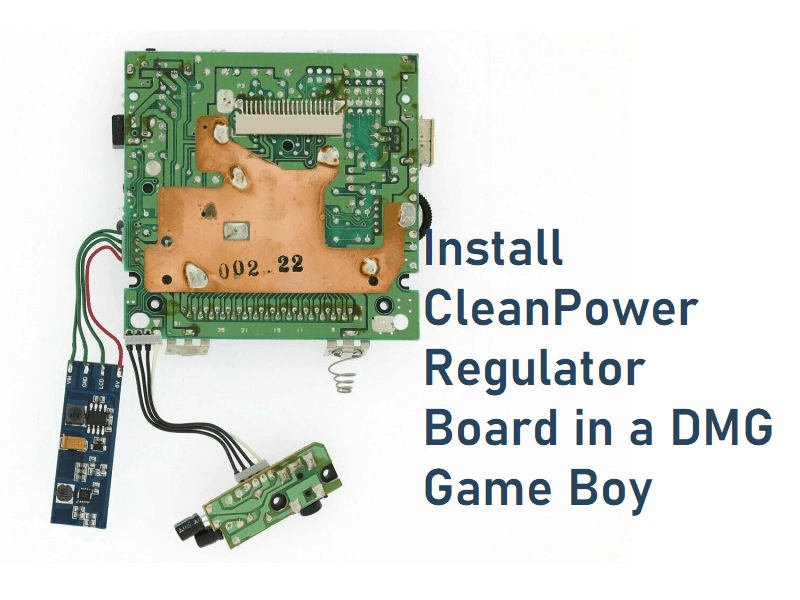
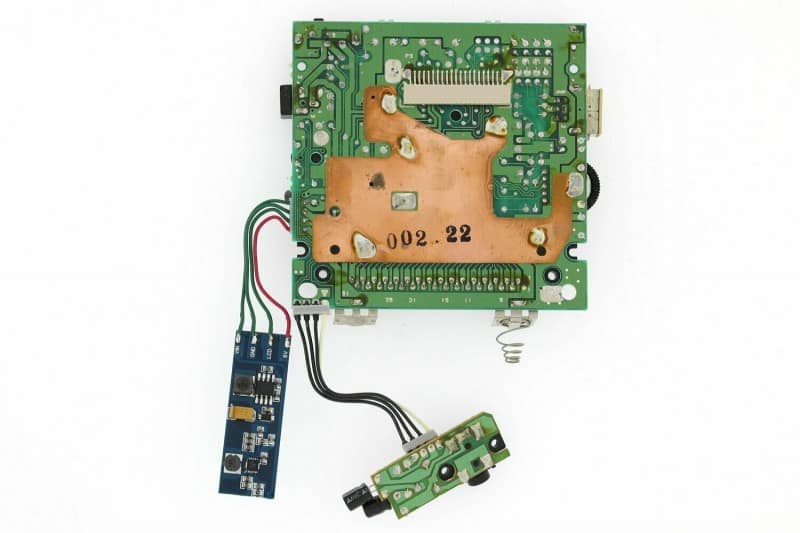
- The PCB should now lift with a little bit of gentle effort. On the one side of it you’ll see the four cords going to the small brown PCB. This is the target of the mod.
- Warm up your soldering iron. You’ll be desoldering the four points on the small brown board. I simply trimmed them away using a pair of wire cutters. I cut it flush from the board so that not to lose much cord length. But feel free to desolder it if you’d prefer.
- Now that the small brown board (old power regulator) is free, feel free to do what you will with it. Mine still worked, so I’m going to save it just in case.
- You’re left with a four cord with a bracket attaching the four cords together. I snipped the bracket so that these four cords can be independent. It’s because of the fact that the new solder points will not be as close together.
- Strip some of each wire so that there is about 1/4 of an inch is exposed. This will be what you solder onto the board.
- Now time to get the CleanPower Regulator Board out.
- At this point you’ll be soldering the wires from one side to the other in their order. The red, then the cord next to it, and so on.
- So you’ll put the red wire on the 6V pad and solder it into place.
- Do the next one in the spot and so on and so forth.
- Now you’ve got all four pads in place. At this point I recommend to gently put the pieces in place without screwing it together to test it out. If you can pop in batteries and it powers, on, you have success. If not, check your solder points and ribbon cable connection. Once your test is successful, move on.
- At this point we need to put the whole Game Boy together for closing up. You’ll set your new CleanPower regulator board in the slot where the previous one was. It will be smaller than the previous one, but will still set in the slot accordingly.
- You need to make sure that the wires are out of the way. It will be based on how much length you have and where it lands in/around the screw post.
- Once the wires are out of the way and the PCB is in place, screw in the two Phillips head screws again.
- Reconnect your two ends of the ribbon cables.
- Connect the two halves of the shell together and rest the Game Boy on your worktable, facedown.
- Now you’ll put the six triwing screws back in place.
- You can now put in the batteries and a game and get playing!

Purchase Link:
Click here to visit the purchase page. You can set your currency to any currency you need to use in the upper right hand corner of the page.