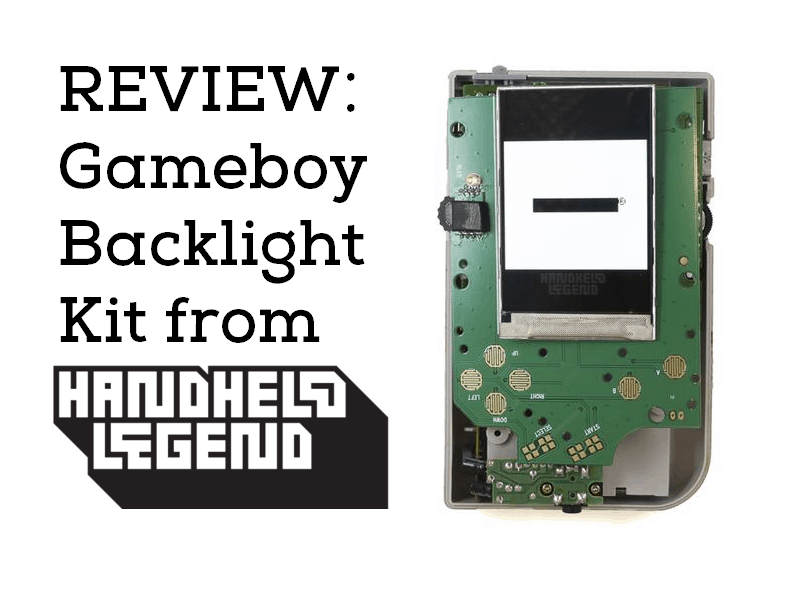
We’ve been covering handheld mods recently (and don’t intend to stop). So if you’re wanting even more mods for your handhelds we’ve got a new product today that I was rather excited about. Today we’re covering a product from the handheld legends themselves, Handheld Legend. Today’s topic of review is the newer backlight solution from them for your lovely DMG Game Boy. Whether it’s been collecting dust on a shelf, stored away in a box, or something you play every day, this mod will kick it up a notch! Let’s just go ahead and get right into it as there’s a bit to discuss here.
Unboxing Video:
Description:
‘A full size modern IPS backlight for your original DMG game boy. Although more expensive than a regular game boy v3 backlight, this LCD is a formidable upgrade and has a PCB replacement for those of you who may be looking for a replacement LCD. There is finally a solution for those who have broken or damaged their LCD or ribbon cable during a backlight installation.’
Features:
- ‘No more color palette issue with V2
- Only speaker soldering required. Almost solderless.
- RGB capability, choose from 8 different colors with a press of a button. Choose between white, blue, purple, red, green and yellow, black & white, and 2 other color modes.
- Some minor case modification required (2 posts and a ridge need to be removed)
- New PCB replacement with A/B, D-Pad and Start/Select contacts, buttons not included
- Brightness adjustment replaces contrast wheel
- Adds some color to your gray/black pixel palette
- Contacts for a new speaker
- LCD replacement and upgrade for your original console’
Kit Includes:
- ‘IPS LCD
- Display module
- Flex cable for connecting to old back PCB
- Adhesive mounting strip’
Pros:
- Build Quality. I truly have to commend Handheld Legend for what they’ve brought to the table here. It really has an incredibly brilliant build quality all over, but let me get into some specifics. I’m not certain what they manufactured themselves, but I know that the PCB’s themselves are custom-built boards (not from Nintendo). We’ll come back to the display in the kit here in another section, along with the ribbon cable. I just wanted to really pat them on the back for the PCB that’s here. They could’ve been cheap made us use the same PCB and have more junk inside with more work on our end.
When you’re done installing the new PCB it works much better than the old one. The button presses during gameplay feel like the system is brand new. So not only are you getting a visual upgrade but also you’re getting better contact. I find that it plays so much better than my DMG used to and breathes new life into the system. The last thing I’m going to mention about the quality is the strength of the screen and how well everything stays in place inside. I only know this because I’ve already accidentally dropped it as I was walking down the carpeted stairs. Granted they were carpeted and it was only like five steps, but it’s good to know it can take some falls. - Sensible. So now we can talk about the way that this modification operates. Once the device is all reassembled with the new screen, you have only one button to operate the whole show. When it comes to using the Game Boy every time, you clearly just flip on the power switch. But what I’m really driving at here is how simple it is to adjust brightness and palette colors. On the left side of the device, you now have a new wheel. You already had a contrast wheel here before, but this one operates differently. What you can now do with that wheel is turn the brightness up and down just the way the old contrast wheel worked. It also has a new function that the previous wheel didn’t before. You can press it in like a button and it will cycle through the background colors. Each button press reveals a different color to potentially game with. Sensible, right? None of that tapping the IR sensor on top like with the GB Color which only sometimes works. This is an actual tangible button and it works flawlessly.
- Easy Shell Mod. I’ll be posting an article soon that has detailed instructions on how to put this in. However, in the meantime, I just wanted to bring to your attention that the shell mods are simple. There are only four posts that you need to cut off and two flat tabs. You can do this with flush cutters, straight razors, Dremel, etc. It took me maybe ten seconds for each post and up to thirty seconds to cut the flat tabs off. I really thought I’d be sweating over it. You have a large margin for error too, so don’t stress as you’re doing it.
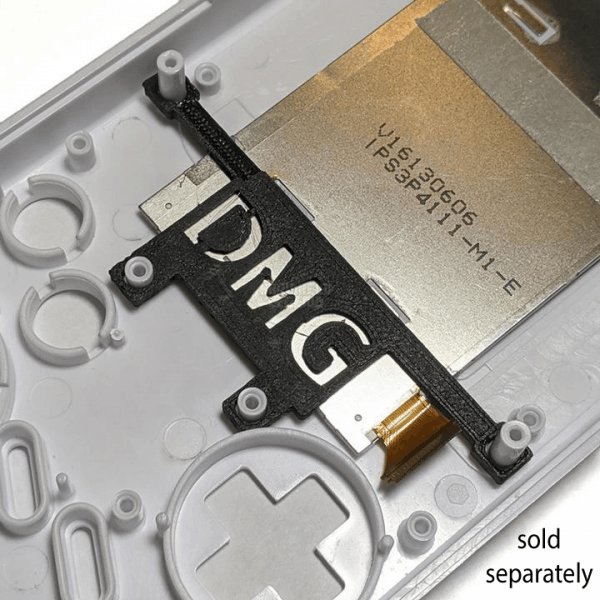
The other part that was simple, that I thought would be truly complicated, was the screen alignment. They do offer a 3D printed alignment bracket to help with this. However, the double-sided tape is strong, but not so unforgiving that I couldn’t work it to exactly position it to where I wanted it to be. A simple solution for this whole thing would be to offer a screen that was 1/4 of an inch wider, then the user wouldn’t have to worry as much or buy a bracket to help them if they are worried. But I got mine to work out, so rest assured knowing you should do just fine with this. - New Parts. We’ve already talked about the fact that you get a new front PCB. I wanted to also mention that you get a whole new flex cable and of course the new screen. First off, the new flex ribbon cable is there to connect the front and back PCB’s. Is it necessary to have? No, not if your old one was working just fine, but it’s always good to upgrade if you want to keep your classic hardware alive. The flex cabling in your DMG is probably seeing its final days anyhow, especially if you play it a lot.
So yes, the kit also features a new screen which will be the main feature of this section. The screen that is supplied is an IPS LCD display. The only unknown is the exact screen size and resolution. Most of that knowledge is unknown because they don’t mention it on their website. I tried to search the numbers on the back of the screen to see if it yielded any information. Unfortunately, all that I could find is that it came from China. Luckily for you, there isn’t much of a need to know the resolution of the display as the screen only uses the necessary real estate. The top and bottom of the screen is dormant and left unlit. The resolution available on the screen, while unknown, is what I would call “overkill”. It’s awesome. - Shipping. If I could, I’d like to take a moment to discuss the shipping. I think Handheld Legend deserves a brownie point for properly packing the item against potential damage. The glass screen was definitely a cause for concern when they first said they’d send it over for review. While you breathe a sigh of relief when you first take it out and see no cracks, you still don’t really know until it’s all plugged in. As you’ll see in my assembly article that is coming soon I have a screen that does work upon firing it up.
- Power. I had to buy new batteries and I set it to the highest setting on the whitest setting to see how long it would last. Not surprisingly, I didn’t gain much battery time. I had wished I had gotten an actual measurement of how long a DMG lasts with the standard screen as a control. Wikipedia clocks it at around fourteen hours in total. When I checked with the Duracells I bought, I got around nine to eleven hours. I only bought one pack of batteries to test, so I couldn’t get an average either. If you take that number as truth, it’s a loss for those who want to play on the brightest, whitest setting for as long as they used to play. The silver lining here is I didn’t test every type of battery on the market. I’m willing to bet if you use high capacity rechargeable AA’s, you’re going to get closer to that fourteen hour mark with the brightest settings. If you dial the brightness down to half brightness, I assure you that that’s plenty bright and you’re bound to get longer gaming sessions. But if you’re going out to the park or out on your balcony in the bright sunlight, you may want to set it higher to see. That’s on you though, just know you’re going to have less fun time.
- Picture Quality. Looks great as I was saying. However, you will find that there are no more pixels. I did also leave it on that opening Nintendo screen with no cartridge in to test the battery life. I was truly concerned that I would come back to it with that black rectangular box burned into the screen. I’m happy to report that for the time that the Game Boy was running on one single screen it didn’t leave behind burn-in. Does that mean I could leave it on that screen indefinitely and come back to it and never have burn-in? Probably not, so don’t get greedy, still treat the screen with respect.
Now, I can imagine that people are wondering if there is any screen tearing or artifacting. I can conclude that there truly isn’t any of that as you play. Or I should say that I can confirm that the games I played didn’t have any of that. The strength of the screen is further enforced by the lense that is a 1/8″ in front of it. As I said before I wouldn’t be concerned with screen damage, Nintendo built a brick and this kit benefits from that.
Last of all, I wanted to bring up an interesting point about the picture quality. It’s more to do with the color and brightness than anything. Remember before when I was talking about how you adjust the brightness and colors? One great thing about this product is that it has memory. So you’re playing a game and have it set to blue and full brightness. You don’t want to have to set that brightness again and again every time you play. Well this will keep the color and brightness in “memory”. This seems to last until the battery dies. Or it did for me anyway. This is a great feature that they should be shouting from the rooftops. It totally saves a lot of grief.
Cons:
- Instructions. Yes, there are instructions online. I’m not going to harp on this issue too much, but at the very least it should be on a QR code in the kit or mention the exact link. I understand it may be a bit too much to print out and expect people to follow. However, I think that if someone were needing instructions, they should be able to easily pull it up on a phone right next to them. This isn’t a massive complaint by any means. However, I always say that if instructions were readily available, you’d have people buy more of your products. They’d be less apprehensive of the task at hand.
- Speaker. I believe that there should be an option for users who are awful at soldering. By that, I simply mean there should be a $70 version of the kit that comes with the speaker. Or maybe give the person purchasing it the option of paying an additional $10 to have it come equipped with the speaker. There is undoubtedly someone who was about to buy it and then saw that they’d have to do some minor soldering and that still scared them off. Let the users have the choice.
Overall Thoughts:
There’s just a lot to like about this kit. And what you get out of this kit valued at $65 is a lot. You get a backlit screen with new color options. And what the screen lacks in pixels, it makes up for in a durable, long-lasting display. The power consumption is trivial at best. If you have rechargeables, you’ll be just fine here. Are there any downsides, only one if you don’t know how to solder very well. The bottom line here is that in half an hour you can swap out your old sad screen, front PCB, and the ribbon cable with new ones. You can breathe new life into your old Game Boy. You can bring back your childhood. And you can do it on original hardware.
Purchase Link:
Click here to purchase the IPS v2 kit.
Click here to purchase the optional aligning bracket.