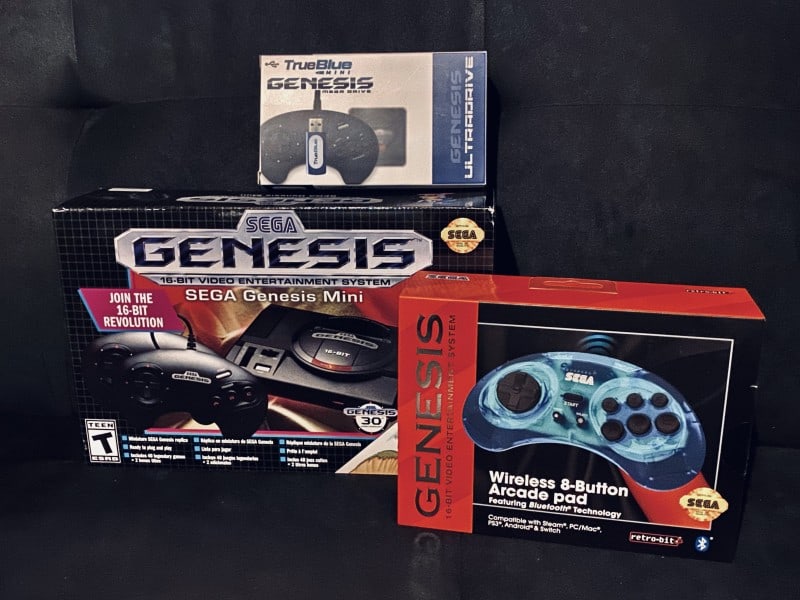
Recently we’ve covered True Blue’s Ultra-Drive for Genesis Mini. We’ve also covered both Project Lunar and Hakchi2’s solutions for adding games to your Genesis Mini. Today’s tutorial shows you how to go one step further than adding games. The tutorial covers adding folders, overclocking, and using USB storage. Let’s do this thing!
Notes:
This instruction set is only for those who already have Hakchi2 3.7.0 installed on their Genesis Mini. If this isn’t you or you haven’t done it yet, head here to get the instructions. The instructions also assume you have the base understanding of adding games to the Genesis Mini using said Hakchi2. If not, again, you must familiarize yourself with it first. Some other notes, when it comes to folders, you can’t exceed 100 items on the screen. This means games or folders. The instructions I give will be for alphabetizing only. If you choose a different method, it should be about the same steps except step 3. Finally, if you choose to overclock your system to 1.334 GHz versus the 1.0GHz that it comes with, you get the same warning as anything you overclock. You risk power consumption issues and heating issues. If you only play this system casually and/or have good cooling and ventilation in the space around the Mini, you should be better off taking the risk. But remember, at the end of the day, it is your choice!
Instructions for Overclocking:
- Connect your Genesis Mini to your PC using FEL mode.
- Up in the top left corner of Hakchi2 click on the “Modules” tab. It is the 3rd tab in the row.
- Choose “KMFD’s Mod Hub” from the drop-down menu.
- You now have new tabs along the top. Click the one in the middle of the row titled “KMFD RetroArch”.
- You’ll now see a list on the left of a few things. Under the “System” separator, there is a “Xtreme Overclock”. Click it once to highlight it.
- Now down in the bottom center, you’ve got a button to “Download and Install-Module”, click it.
- It will give you a loading bar or 2. You simply have to wait for those to finish going. This could take 5-10 minutes.
- There will be no “Done” pop up window like everything else on the system, just know that once the bars are gone, your module is installed.
- Unplug your system, make certain it’s entirely powered off. And then plug it up into your TV to play it!
Instructions for Folder Structuring:
- Whether you’ve already flashed the games from hakchi2 or you’re about to, you still have a chance to structure the folders for the games.
- Connect your Genesis Mini to your PC using FEL mode.
- So at the top right of the list of your games, there is a button called “Structure” press it.
- You’re now given so many options. For alphabetizing all games default and added, choose the option that says “Folders, split by first letter”.
- Now, this step you have to do even if you’ve already synced your games already. Press “Synchronize selected games with mini” in the lower right-hand corner.
- You’ll get a new pop up window, from here just press the “OK” button.
- There will be a new loading bar that comes up, from here simply wait while it transfers those games.
- Now you’ll have a green checkmark logo on a Done! window. Press the “Ok” button. And now you’re all done!
- Unplug your system, make certain it’s entirely powered off. And then plug it up into your TV to play it!
Instructions for USB HOST Support
- Let’s say that you want to load more legally owned ROMs than what your Genesis Mini can hold. You want to use a USB stick. Plug in said USB stick to your PC now. (Fastest results will come from a USB 3.0 drive if you have a spare one).
- Format it as Fat32. It says that it can support NTFS, but most people have had issues with that, versus zero issues with Fat32. If your USB is larger than 32GB’s, there are 3rd party programs for free online that let you format your incompatibly sized drive to Fat32 anyhow.
- Now head over to Hakchi2. Make certain you have your games loaded into Hakchi2 and ready to be transferred. Once they are, proceed to step 3.
- At the bottom center, there is an option called “Export to USB”. Click it.
- It’ll now give you a window asking which drive you were wanting to use. Select your properly formatted drive using the drop-down menu and then press the “OK” button.
- You’ll see a new popup window. It’s telling you the new games are moved to an “Unsorted” folder. Just press “Ok”.
- Now you’ll get yet another new pop up window, showing you a folder on the left-hand side called “Unsorted”. You can either leave it and skip to step 9 or change the folder structuring explained in step 8.
- If you wish to simply have your games all out, not in folders, then highlight the contents of the “Unsorted” folder and drag and drop it outside of the folder. If you want to further alphabetize the games you just brought out of the folder, click “Split by the first letter” on the right side of the window. Once that is done, feel free to delete the “Unsorted” folder.
- Click the “OK” button in the lower right-hand corner of the window.
- You’ll get a loading bar that comes up, from here simply wait while it transfers those games to the USB.
- Now you’ll have a green checkmark logo on a Done! window. Press the “Ok” button. And now you’re all done!
- Safely eject the USB and then plug it into your Sega Genesis Mini’s to play it! If you need both controllers you can either get a USB hub for the front or an OTG adapter for the back.


