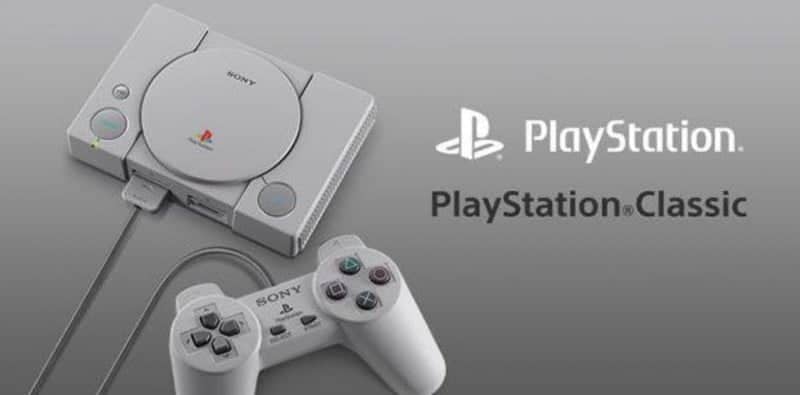
AutoBleem and BleemSync used to be the choice people had to choose between on their PlayStation Classic. Nowadays, it just appears that AutoBleem is the preferred method. We recently got a huge update for AutoBleem and then the day after, we got some small bugfixes. So today I’m going to talk about what AutoBleem is, why you should have it, and what new attributes it gained over the last 72 hours (of the writing of this article). Let’s do this!
What is AutoBleem?:
- ‘AutoBleem is a tool to make your PlayStation Classic more useful. It is a relatively safe way to add games, change look and feel, change the advanced configuration of your mini console. This is my personal project not related to BleemSync. I started it on the day when lolhack was published. The idea was to create “something easier to use” than lolhack/gpghax. Soon BleemSync was released, but I was not fully happy how it worked at that time, so I continued to develop AutoBleem as an alternative/(initially an extension for BleemSync). As BleemSync changed over that time drastically I decided to continue working on AutoBleem as a separate alternative mod for PSC.’
Features of AutoBleem:
- ‘Replaces Bleemsync, Bootmenu and SonyUI fully for better experience
- Integrated functionality to share memory cards between games
- Separates games and it’s save states into separate folders
- AutoBleem does not need to run anything on the PC. Just copy games to usb dongle and plug it in.
- Does not use any internet or usb connection
- Modifies or replaces (selectable in options) the stock UI to show added games
- Uses GAME NAMES as folders instead of numbered folders
- Can create game folders automatically
- Supports multi-disc games
- Includes offline metadata and cover art databases – no download needed during sync
- Runs on boot of the PlayStation Classic as it was designed to do so from the beginning
- Speaks your language
- Makes your PlayStation Classic a great device
- Starting with v0.6.0b3+ includes prebuild distribution of RetroBoot by genderbent – RetroBoot is a PSC tailored distribution of RetroArch – an open source emulator that can emulate other consoles and makes you able to play more and more games. The package is provided by RetroBoot developers.
- Integrates RetroBoot to run PS1 and other console games directly from EvoUI
- Integrated Memory Card Manager/Editor’
Changelog:
- ‘Finished MemoryCardManager – a tool to copy and delete save games between memory cards
- Improved Retroboot integration
- AutoBleem now creates basic playlist for scanned games in RetroArch
- Ability to run PS1 games directly from EvoUI by pressing Square button on game cover (AutoBleem resume points are not supported in RA)
- Ability to start any RetroArch game directly from EvoUI (support for other emulators) Note: Playlists need to be correct for autobleem to see the games for other consoles) – Use L2+Select to select RA platform
- Memory Cards are automatically copied from/to RetroArch on PS1 game start in EvoUI
- All settings for PS1 games (including global widescreen and filter settings) used on PCSX are also applied on RetroArch when starting from EvoUI (warning if settings override for core is set in RA AutoBleem will not be able to change any settings)
- New PCSX build with the ability to QuickSave/Load
- Fixed PCSX code to save AutoBleem configuration file (pcsx.cfg) from menu that was incorrectly written by Sony
- Language updates
- Routine to remove “full stop” from publisher names
- CHANGED “OPTIONS MENU” to use CIRCLE AND CROSS to apply or cancel settings change (if you get used to autosave on circle you may need to get used to it for a bit of time)
- New about screen listing all contributors and AutoBleem Team members
- New updated aergb theme (by rubixcube6)
- Many minor bugfixes/code cleanup (thanks to Axanar)
- We do not call it beta as looks that some people just do not like this word …. so let’s call it … “Ultimate” this time :)’
- FIXED: ClassicUI incompatibility’

Instructions for Modding PlayStation Classic:
- ‘Download the ZIP file from the release page HERE. You can select one of these packages–autobleem-0.7.x-full – contains all covers for any region. autobleem-0.7.x-ntscU/palE/ntscJ – contains only covers for selected region. autobleem-0.7.x-clean – no cover databases [have to be installed manually]. autobleem-0.7.x-RetroBoot – a version based on full package but also including RetroBoot preinstalled [Only this version can use full RetroArch integration].
- Extract the contents to the root of your FAT32(recommended) or ext4 formatted USB flash drive
- Name your flash drive SONY. This is a requirement.
- If you decided to use clean installer – download Cover Repository databases (three separate files for NTSC-U, PAL and NTSC-J)
- Copy Cover Repository databases into /{Your USB}/Autobleem/bin/db not needed if you downloaded full or region packages
- You may want to install additional themes … find them on reddit/autobleem.tk and copy to themes folder (follow folder structure)’
Instructions for Adding Games:
‘To allow AutoBleem to scan your games they need to be inserted into Game folder. Just take your game folder and drop it there. As soon there is .bin file inside this folder AutoBleem will try to generate all other needed files for you on console boot. So structure can be as follows:
Games/
     Resident Evil 2 Leon/
           Resident Evil.bin
     Silent Hill/
            Silent Hill.cue
            Silent Hill.bin
     Revolt/
             Revolt.PBP
This version can also create those folders for you if you drop them directly to Game folder, but it is based on an assumption that game image files are correct (especially CUE files) and some games may not be added this way. There are databases attached to this file with all covers and metadata. Also AutoBleem will create folders to store your save data and configuration.’
If you like the author’s work, follow him on Twitter @V1RACY and don’t forget to enter the weekly giveaways!
And as always, stay tuned here on Hackinformer.com for so much more and follow us on Twitter @Hackinformer


