The time has been coming for a while now and it has finally come to be. The 2.0 release of SX OS from Team Xecuter has finally dropped. Is it really that big of a deal? Yes, it absolutely is. I encourage you to scroll on and see what it is all about this time. Team Xecuter was not messing around with this one.
Changes:
- ‘NAND Dumping, Restoring, GPT Repair
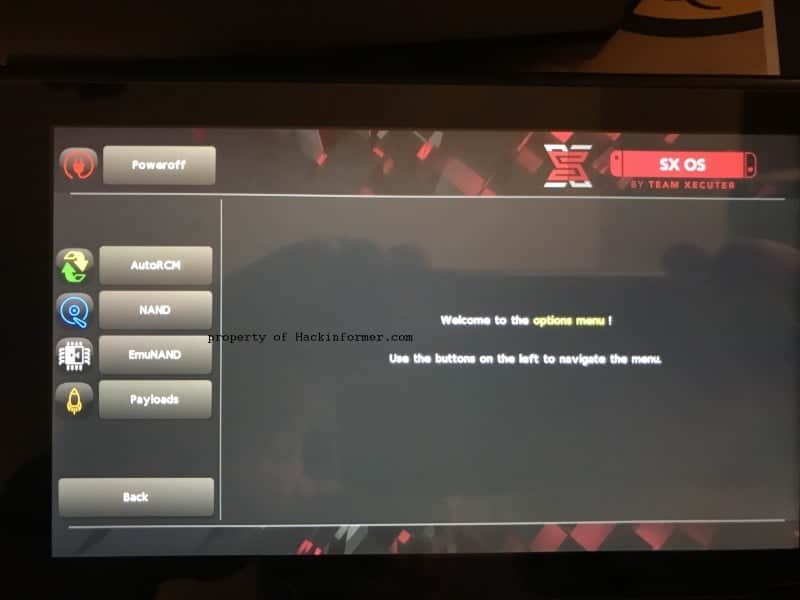
As mentioned in the previous section we have revamped our SX OS boot menu’s option screen quite a bit. For the tinkerers and advanced users we introduced an easy method of dumping/restoring your NAND flash storage. Another neat addition for people who had an unhappy accident while playing with their NAND is the “GPT Repair” option. This will repair your NAND’s partition table if you ever need to. Again, this functionality is for advanced users who know what they’re doing only. Please be cautious when using this functionality.
- LayeredFS working on 6.0
With our (early) support for 6.0 we introduced a regression where “LayeredFS” would no longer work. This has been corrected and you can now enjoy your game modifications/hacks again on the latest official firmware.
- Homebrew NSP Compatibility
We got word that the community has started distributing homebrew titles as NSP files recently. These NSP files cut some corners in the way they are crafted, but we decided to introduce support to make them usable with SX OS anyway. So you can now enjoy your favorite homebrew titles that comes as installable NSP files and launch them directly from the home screen!
- EmuNAND
Those who have a background in the Nintendo 3DS hacking scene know what this is, but let’s quickly elaborate for those of you who are new to the game:
The Switch uses a NAND Flash storage chip to store all of the system software, as well as your save games and other assets. With EmuNAND we create a shadow copy of this storage from which you can run SX OS. The benefits from doing this are that you keep your SX OS “world” separated from your original firmware. This also means you can keep your switch on an older firmware, while running the latest and greatest firmware inside of your EmuNAND. As we all know, older is better.. when it comes to defeating system security at least. And newer is better when it comes to enjoying the latest content! 
Another upside of consolidating your SX OS usage from your original firmware usage is vastly reducing the risk of a network ban. You can run SX OS in EmuNAND, of course with our Stealth Mode enabled, and anything that is littered on the EmuNAND’s filesystem is not visible to the switch in Original Firmware mode.
One thing to note is that SX OS EmuNAND works a bit differently compared to what some of you might think of as “traditional” EmuNAND where the entire NAND is copied to a separate partition on the MicroSD card. With SX OS EmuNAND your EmuNAND partition lives inside of your regular NAND. The primary reason for this is that occupying 32GB of a MicroSD card is a bit wasteful. The secondary reason is by utilizing the existing flash storage we can guarantee performance and reliability.
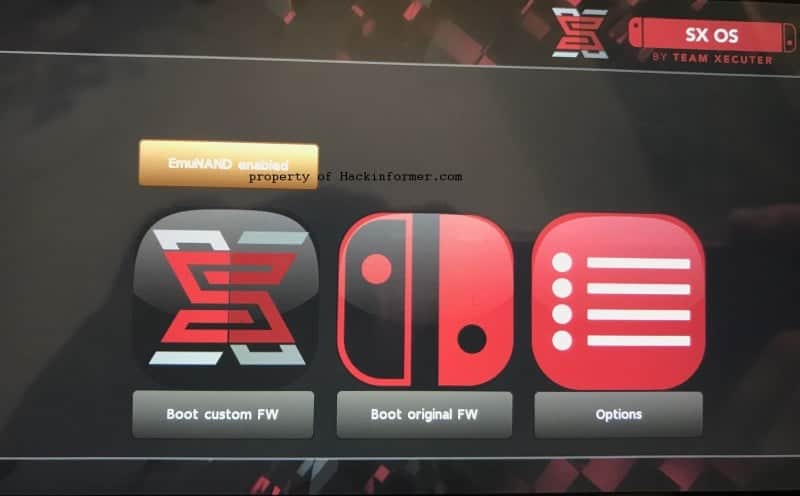
You can set up EmuNAND by booting into the SX OS boot menu (hold Volume + during boot) and going into the revamped “Options” menu. There you will find a section called EmuNAND which will guide you through the setup. By default SX OS will allocate 15GB for your EmuNAND partition. If you want to use a different size hit the “advanced” button before creating your EmuNAND.
SX OS will boot into EmuNAND by default if it finds a valid EmuNAND partition. If you don’t want to boot into EmuNAND, there’s a button in the SX OS Boot menu which will allow you to continue booting with EmuNAND disabled.’
Instructions:
- Download the latest SX OS boot.dat file from xecuter.
- Insert your Switch’s microSD card into your computer.
- Drag and drop boot.dat file to the microSD card. If you have an old boot.dat file, let this overwrite it. If you’re a new SX OS user, this just sits on the root.
- Return your microSD card to your Switch and use it how you always have.
- Boot the system using the SX Pro dongle or the payload injection method as you always have.

If you like the author’s work, follow him on Twitter @V1RACY and don’t forget to enter the weekly giveaways!
And as always, stay tuned here on Hackinformer.com for so much more and follow us on Twitter @Hackinformer