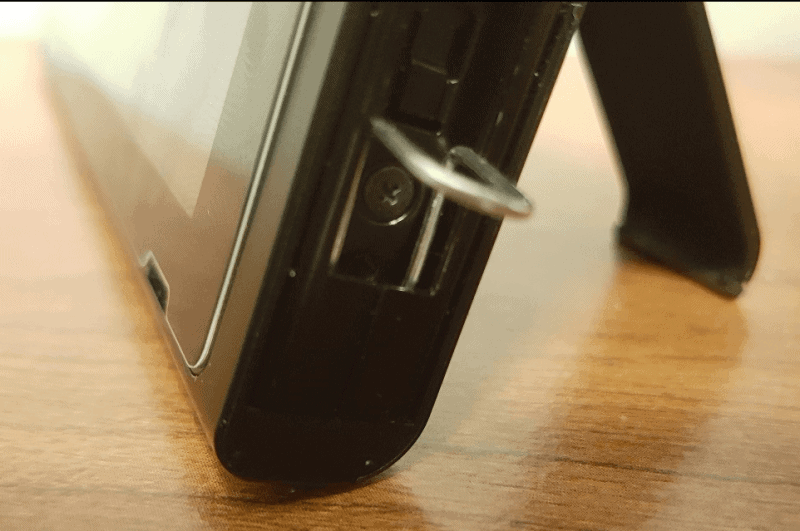
Running CFW (Custom Firmware) to play homebrew and emulators on the Nintendo Switch is pretty simple but it does require you to have a few things handy to do it.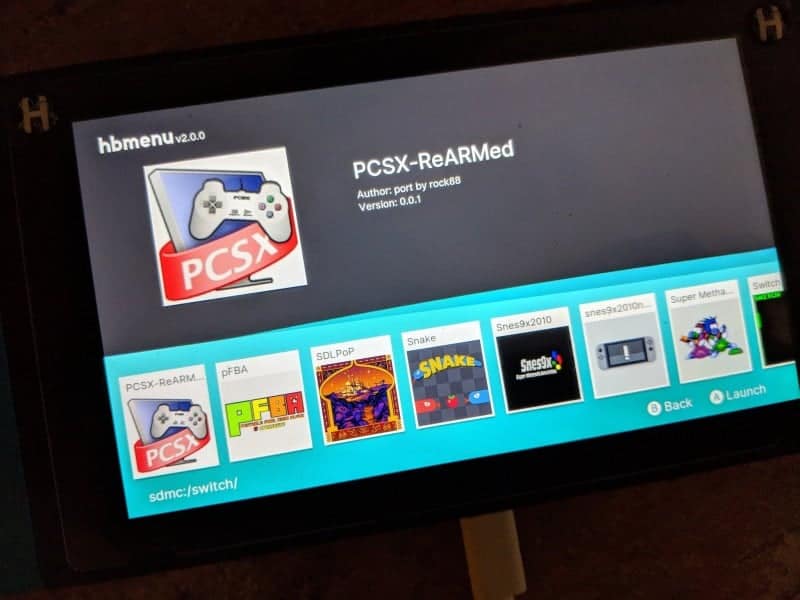 The first thing that makes it a little difficult is getting the Switch to go into RCM mode, which can be done using a 3d printed jig, paperclip or modifying the right joycon to trigger RCM mode. If you can’t get a 3d printed jig or don’t want to modify the right joycon the paper clip trick will work just fine but it may take you a few times to get it in the right spot to trigger RCM mode.
You can do the JoyCon Tin Foil trick but there’s always a risk that you could short out other pins on the joycon or Switch. So if you’re going to use this trick beware that it could do more harm then good. The best way to get the Switch into RCM mode is using either a paper clip or 3d printed jig.
Now there’s a few CFW out there but for this guide will be showing how to get the beta version of atmosphere working with Hekate payloads.
Whats needed:
This works on all FW at the moment but this does not work with the new Switches out in the wild since they have been patched to block this method.
Medium side Paperclip but almost any of them will work.
USB-C cable
PC or mobile device
TegraRcmGUI_v2.2_installer.msi
Payloads & CFW files for SD card
Extra tools, emulators and more….
The first thing you need to do is download the sdfiles and unzip them, then put them on the micro sd of the Switch. Next, bend the paper clip so it will fit on the joycon rail and touch pin 1 and 10 to put it in RCM mode. It may take a few tries before you get it down pat.
Once you have the paper clip in the right spot its time to see if it will go into RCM mode. Turn the Switch completely off then press the power and volume up buttons at the same time. The easiest way to tell if it’s in RCM mode is using the TegraRCM program but you should be able to tell its in RCM mode as the switch will just sit on a black screen. You will also be able to tell that it’s in RCM mode when you plug it into the PC as you should hear a dig that a new device is connected.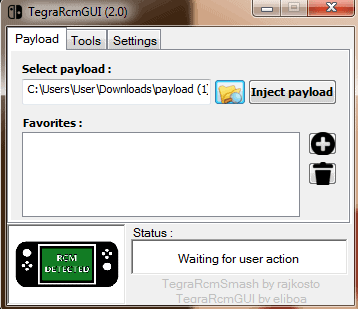
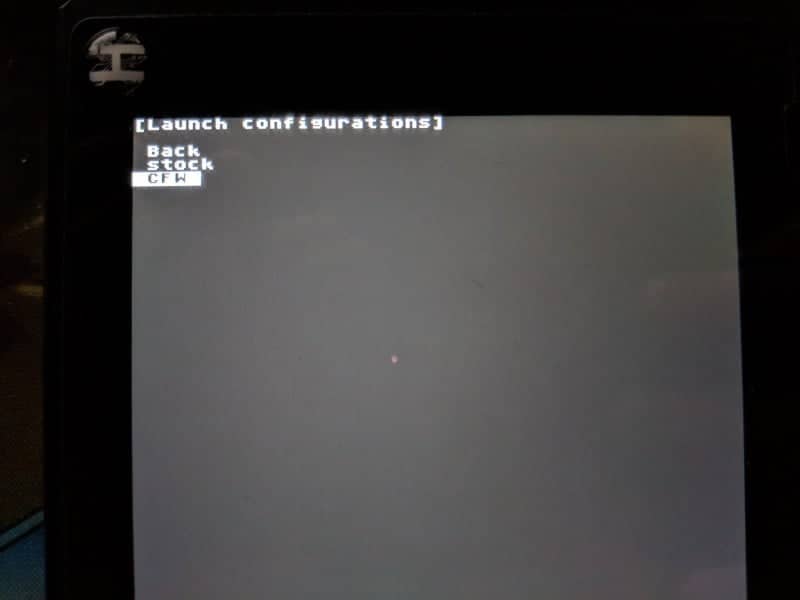
Now that it’s in RCM mode its time to send the payloads to load the cfw using TeramRCm or NXloader. Load up either program and plug in the USB-C cable into the Switch and PC/Moblie device then pick the payload you just downloaded and inject it. The Switch screen will flash for a second and you’ll see the options to launch Firmware, Tools and more. Using the + or – volume buttons to navigate and the power button as enter, pick launch firmware and then pick CFW.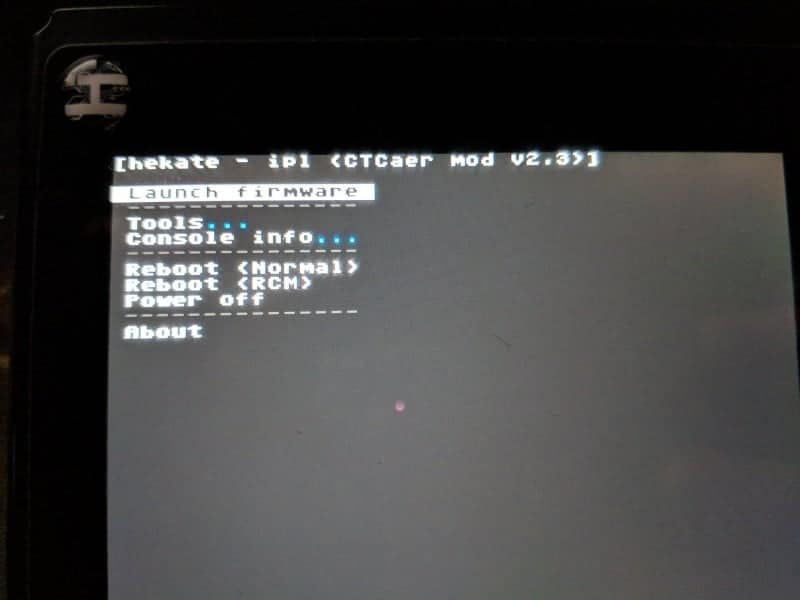
The Switch will start up just like it normally does and nothing will seem different until you hit the album app on the Switch it will go into the Homebrew menu. That’s it now your Switch has CFW and you’ll be able to use homebrew and emulators on it now. If you turn off the Switch it will go back to stock firmware and you’ll have to repeat this process again.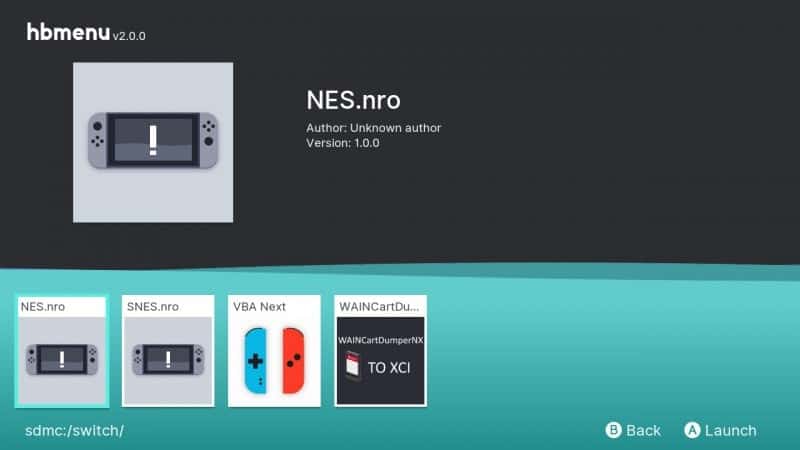
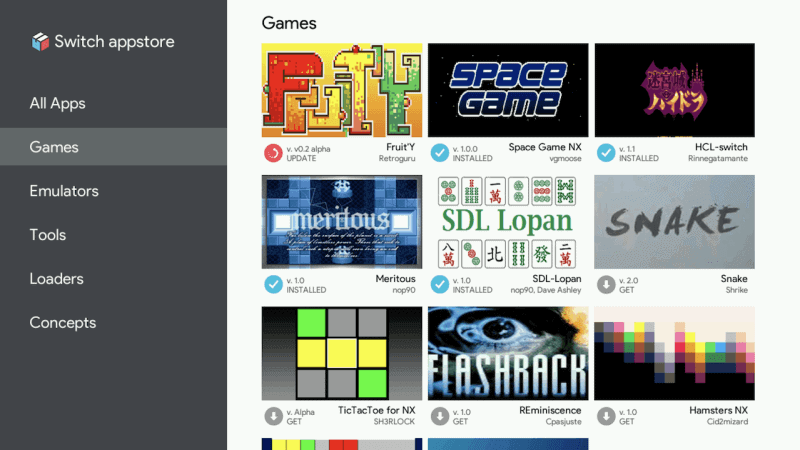
To run homebrew just place them in the Switch folder on the micro SD and when you launch the homebrew menu they will appear. You can use the app store to get homebrew and emulators and it will install them for you. Now the first time you use the app store it can take a while to load up but it’s only that the first time you load it after that, it will load very quick unless there’s a bunch of new stuff added.