The Chromebook has been out for a while now and it’s very easy to put Linux on them but there are a few Chromebooks that can be a problem to get running right. Just like all my other devices, I start looking for other things a Chromebook could run than just run a few apps.
I see that installing Linux on a Chromebook is very easy to do using crouton. I go through the step just like they say too, and it seems like everything is going good until I try to run Linux and get errors with it.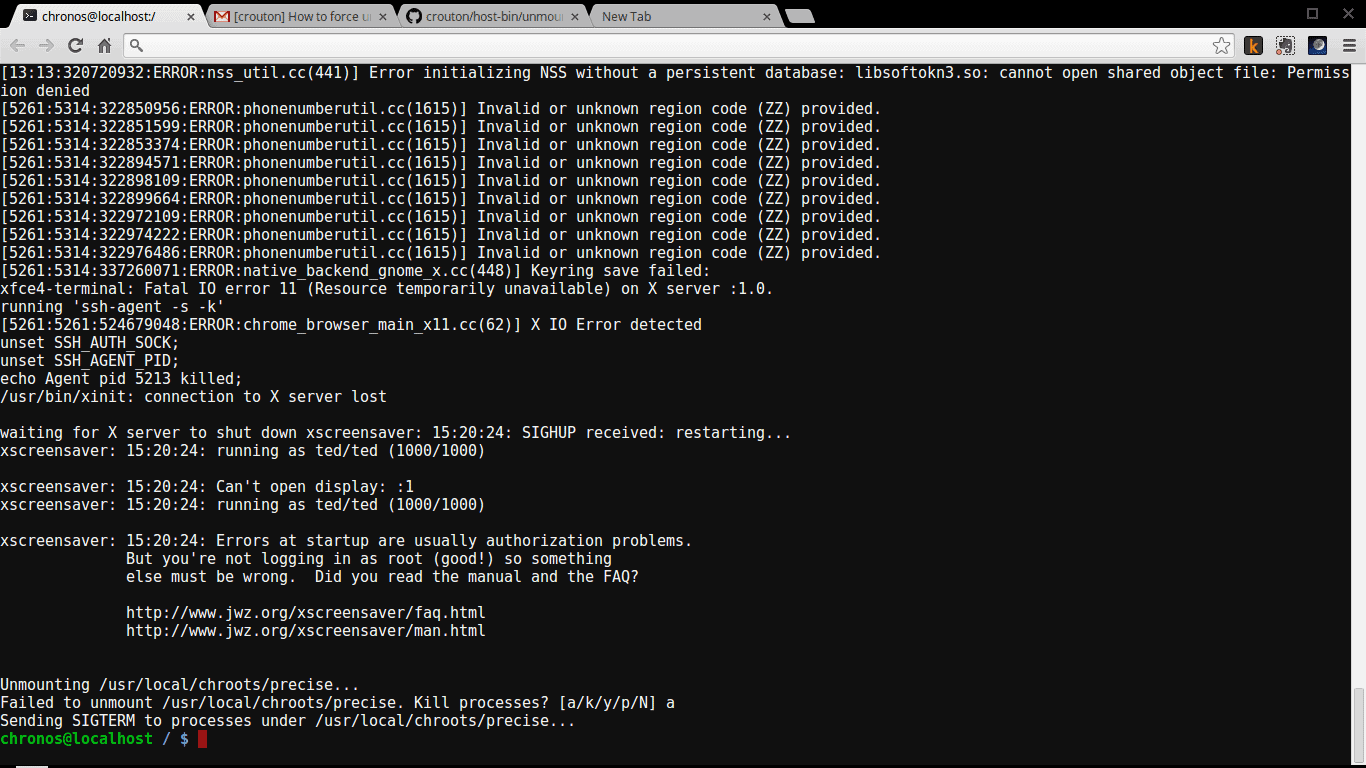
chronos@localhost / $ sudo startlxde
Entering /mnt/stateful_partition/crouton/chroots/trusty…
/mnt/stateful_partition/crouton/chroots/trusty doesn’t appear to be a valid chroot.
Unmounting /mnt/stateful_partition/crouton/chroots/trusty…
I don’t know what went wrong with the install and thought maybe it’s because it’s a lower-end Chromebook, maybe the Arm processor or did something go wrong with the setup of chromeroots. I tried multiple times to install different distro’s of Linux and would still get the same error. So I started to try different commands to install Linux, then the ones most guides have on them.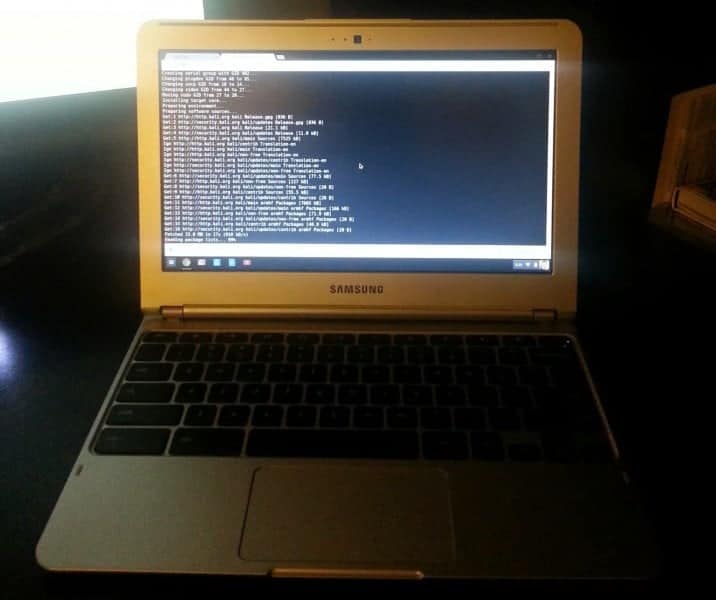
I found that the sudo sh -e ~/Downloads/crouton -r trusty -t xfce command worked just fine to install Linux on the Samsung XE303C Chromebook. Instead of the sudo sh -e ~/Downloads/crouton -t xfce command that is listed on almost every guide out there. 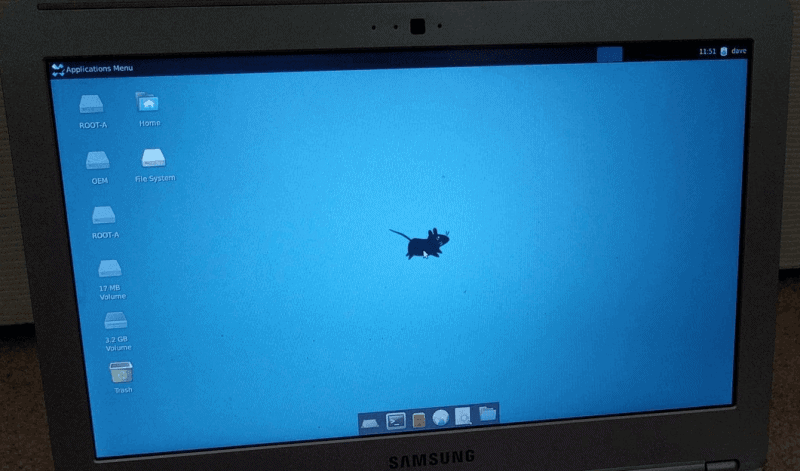
Now that it was working I tried all the distro available and found that Xfce ran the best on the Samsung XE303C Chromebook compared to KDE, Ldxe or E17. The other distro’s like unity, cinnamon, or gnome would not run on the Samsung XE303C Chromebook and just error out or would not install.
Step One: Enable Developer Mode
This will wipe your local data, so make sure to back anything up that you don’t have stored in the cloud. To put your Chromebook in Developer Mode:
- Press and hold the Esc and Refresh keys together, then press the Power button (while still holding the other two keys). This will reboot your Chromebook into Recovery Mode.
- As soon as you see Recovery Mode pop up—the screen with the yellow exclamation point—press Ctrl+D. This will bring up a prompt asking if you want to turn on Developer Mode.
- Press Enter to continue, then give it some time. It’ll pop up with a new screen for a few moments, then reboot and go through the process of enabling Developer Mode. This may take a little while (about 15 minutes or so), and will wipe your local information.
- When it’s done, it will return to the screen with the red exclamation point. Leave it alone until it reboots into Chrome OS.

Step Two: Install Crouton
Next, we’re going to install Crouton and get Ubuntu up and running. To do so, follow these instructions:
- Download Crouton from the top of this page (or by clicking here) and save it in your Downloads folder.
- Press Ctrl+Alt+T to bring up a terminal on your Chromebook.
- At the Terminal, run the following command to enter an Ubuntu shell:
- shell
- Next, run the following command to install Crouton:
- sudo sh -e ~/Downloads/crouton -r trusty -t xfce
- Let your computer install Crouton. (This can take a while) When it’s done it’ll ask you for a username and password for your new Ubuntu installation, so enter them when prompted.
- After it’s finished installing, run the following command to start your new desktop environment:
- sudo startxfce4
If you want Ubuntu’s other distro’s instead of the XFCE desktop environment, you’d change “xfce” to “lxde” (no quotes) in the above commands, including the last command (which would become “startlxde“). You can also install E17 or KDE if you prefer. See the Crouton GitHub page for more info on what you can do, and our guide to desktop environments for the difference between each one.