Developer Pluuto released his Homebrew Launcher for Firmware 3.0.0 yesterday after having delayed it for roughly 2 weeks because of unforeseen circumstances. With it now released you can finally enjoy easy Homebrew access on your Switch (When the first Homebrews drop that is).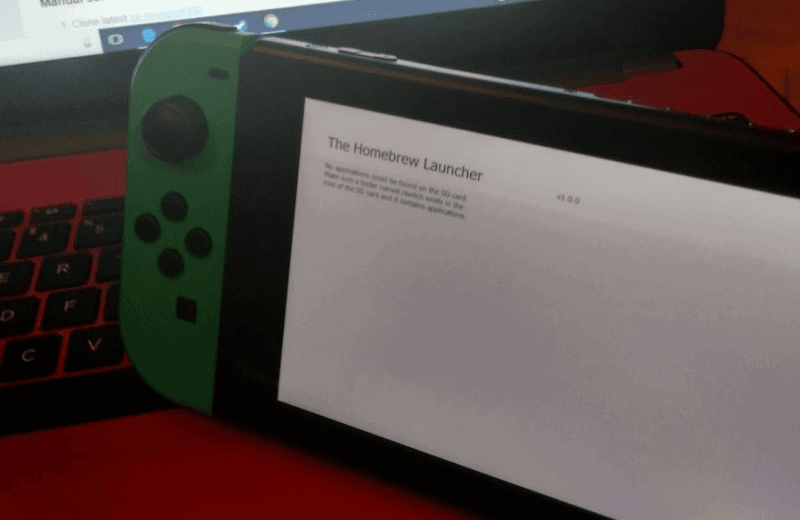
Since some Users still had problems even though the Installation Process is pretty simple and straightforward I’ll try to help in setting up your Switch with Homebrew Launcher in this Post.
First of all, you’ll obviously need a Switch on Firmware 3.0.0 and an SDCard.
1. Format the SDCard as Fat32 on your PC. You should be able to just change the Label to whatever you like and that shouldn’t affect anything. If you format your SDCard as exFat though your Switch will prompt you to update your Switch Firmware so you’ll need Fat32. If you have a 64GB+ SDCard and Windows won’t let you format as Fat32 just use fat32format to format it with Fat32
2. Download latest nx-hbmenu and put the hbmenu.nro on the root of your sdcard.
3. Insert the sdcard into your Switch.
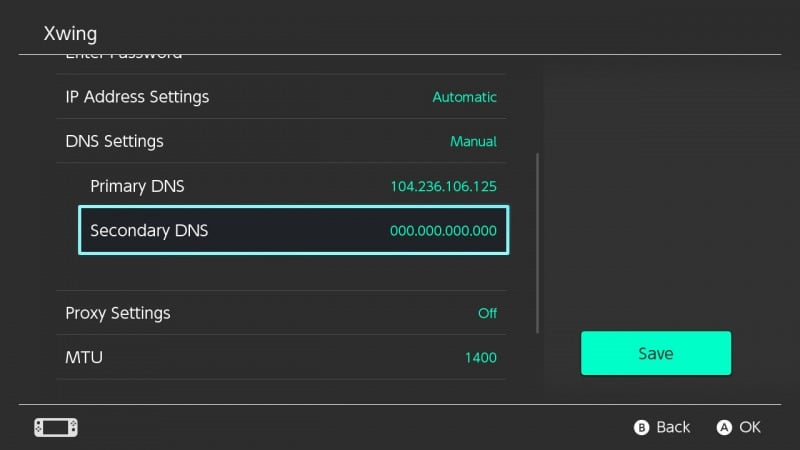
4. Go to your Switch Settings->Internet->Internet Settings and choose your access point. There choose “Change Settings” and set “DNS Settings” to manual. Finally, change Primary DNS to 104.236.106.125 and save.
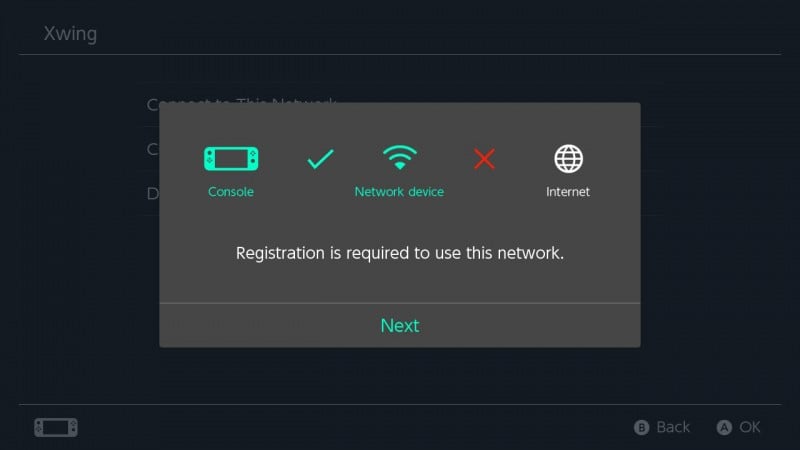
5. Run a connection test. It should say “Registration is required to use this network”
6. Press “Install” and wait until you get a Error Screen with Error-Code 2000-1337. If thats what you get just press the power button to restart your Switch.
That’s it you now have the Homebrew Launcher installed. Next up is launching it which is quite easy.
1. Open Settings and make a Connection Test. When it asks for a Registration again just say “Next” and when you get to the Homebrew Launcher Screen choose “Run” this time. Wait a bit until it says “This screen will now be closed”. Then exit the browser by pressing the Home Button (Do NOT press OK. At least that never worked for me, Home Button works reliably). The Switch will appear to freeze so give it a few seconds until you end up in the Home Menu.
2. Click the Album Icon and it should now start the Homebrew Launcher and you are able to run Homebrew.
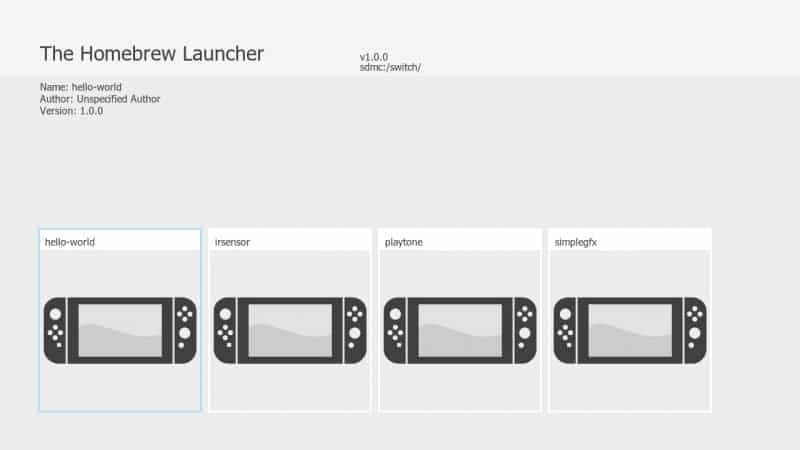
Since there isn’t any Homebrew yet you’ll have to just use some samples, for now, to play with 😉
I have compiled all currently available Samples that were mostly also in Pluuto’s Release Video. Download them from here. After downloading just create a folder called “Switch” on the root of your SDCard and drag all the samples inside it.

Hello World does exactly what it says 😉

playtone “should” play a sound but for some reason, it doesn’t on my Switch. Either my compiled version is just broken or it’s not entirely working <.<
SimpleGFX just flashes the screen white to show, well… Simple Graphics *badumts*
IRSensor seems to initialize the IR and its functions but nothing else (I’m somehow looking forward to a remote control plugin like irShell did on the PSP1000 :D)
And finally there’s usbds which I think can be used to maybe use the Switch as a Controller on Your PC later on or maybe internal storage access, who knows. I had it shortly pop up on my PC as usbds-example but after that there was nothing else.
This Homebrew Launcher will hopefully really kickstart the Homebrew Scene on the Switch since you can now easily run Homebrew on your Switch by just putting it on your SD and running a Exploit on your Switch just like with the good old 3DS 😀
Let’s see when we’ll get Retroarch, Doom and more for our beloved Switch 😀