Most of us have always wanted to buy one of those small little LCD displays that are commonly seen in consumer electronics such as miniature TVs, GPS’s, handheld game systems, car displays, and more. Then hook them up to whatever device we wanted to have its own display or make it portable but the problem was that they were always little too expensive for my taste.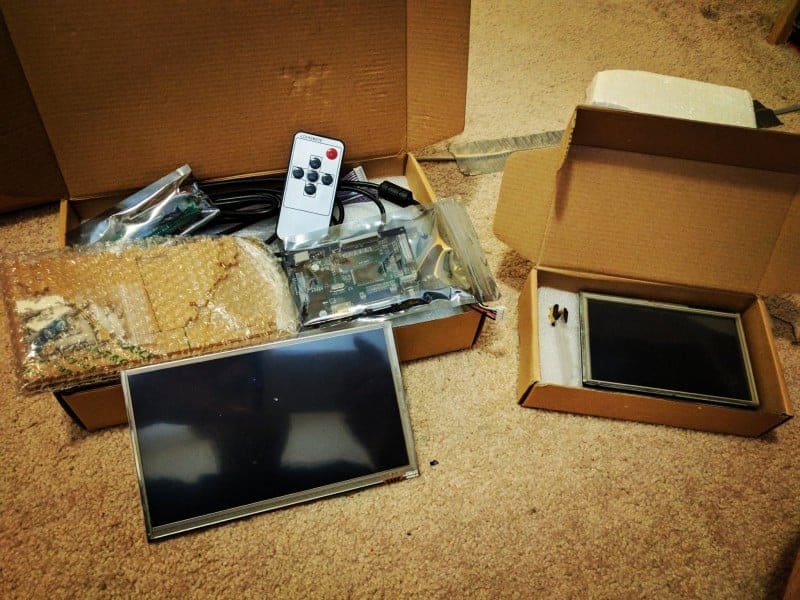
These small LCD displays always cost about $70-$100 and that just too much in my opinion. The debate for me was I could buy this small LCD screen for about $110 or $120 with shipping or I could buy a nice TV/Monitor and really get my bang for my buck. That was always the problem for me and probably same for a lot of you with pet projects.
So for the past few months, I noticed that some of the LCD displays started to come down in price and they finally wouldn’t kill your hobby/project budget. So I decided to pick up two different types of LCD displays that I wanted for a while, one was the 5-inch touch screen made just for the Raspberry Pi and the other a 7-inch touch screen with four inputs; HDMI, VGA, & AV just like a TV.
5 inch HD touch screen display review
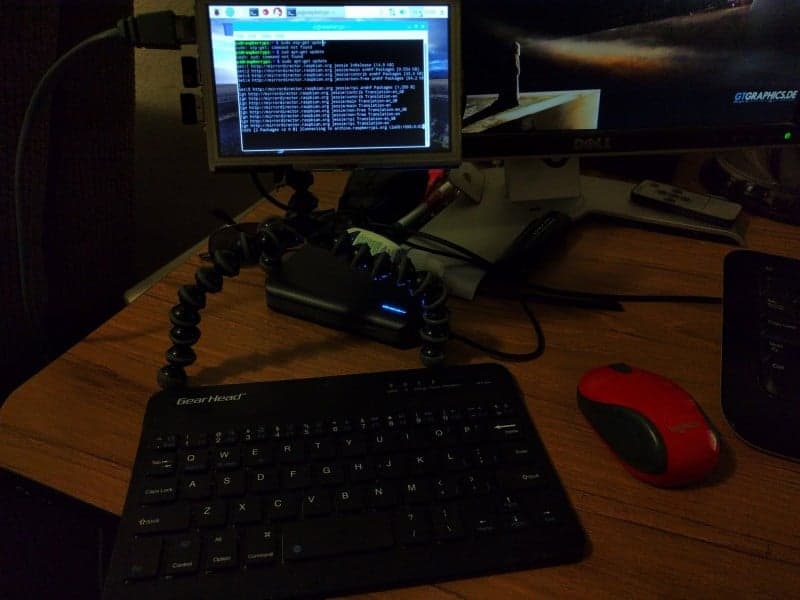
The first display I got is made for the Raspberry Pi it’s a 5-inch touchscreen that attaches to the GPIO to power it, that normally go for about $60 and sometimes even $80 but recently the price drop to $30/$40 making them affordable.
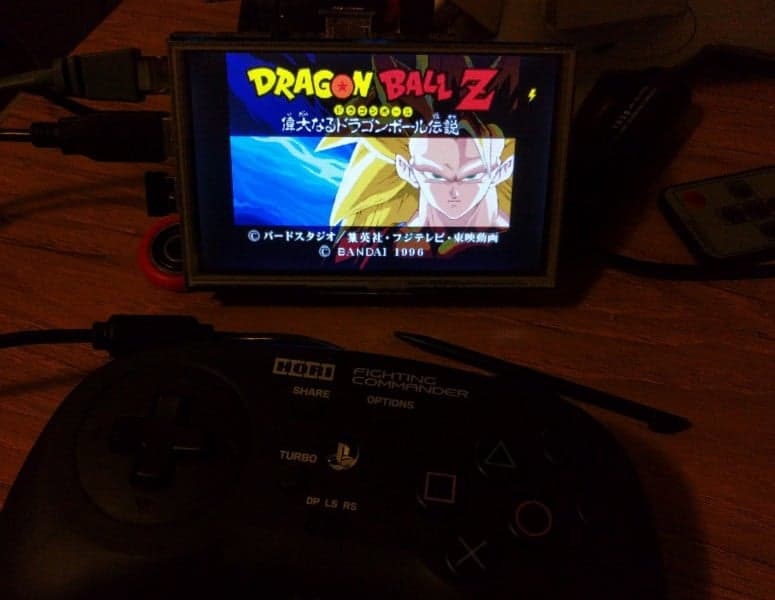
They do make a 3.5-inch touch screen that fits the Raspberry Pi perfectly in a case and it’s even cheaper now but in my opinion, it’s just too small. Where the 5-inch is the perfect size especially if you’re going to be using Linux OS on it and even better for gaming with either Retro Pi or Android TV. The screen display is very colorful and makes it look like true HD plus having touchscreen makes it even more portable without having to carry around a mouse or keyboard once its setup.
Setting it up it’s very simple all you will need to do is add a few lines to the config scripts so it will display properly on any OS.
The only tricky part is getting the touch software installed and configured properly. It’s not too hard to do you just need to use terminal to download the software and install it. Once it’s installed it’s like any other application you just run the software to configure the touch screen.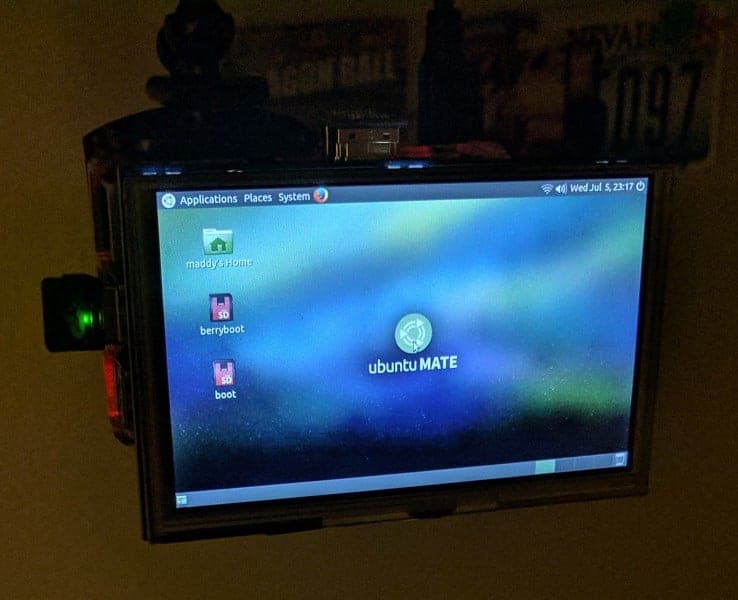
Waveshare already makes a pre-configured image for you to download but it is an older version of raspbian that you can update via terminal. I find it best to install everything manually yourself, to get the best results as sometimes the pre-installed image doesn’t always work properly.
Once you have all the software installed and everything set up you can just power it on and enjoy your new 5-inch display on your Raspberry Pi. For sound, you will have to use the 3.5 headphone jack or Bluetooth to have sound as these screens don’t come with audio hookups.
Our beta tester Playing Minecraft on the Raspberry Pi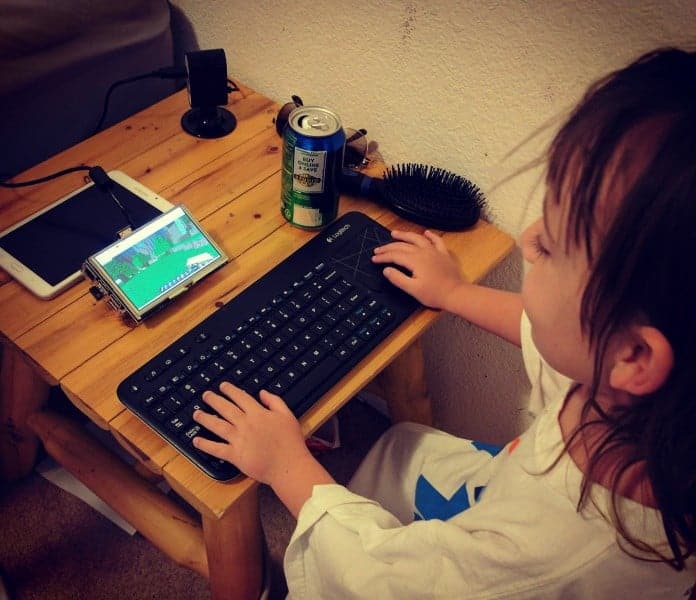
I would definitely recommend this if you have a Raspberry Pi and looking for a little extra fun to add to your project. Especially at these prices…
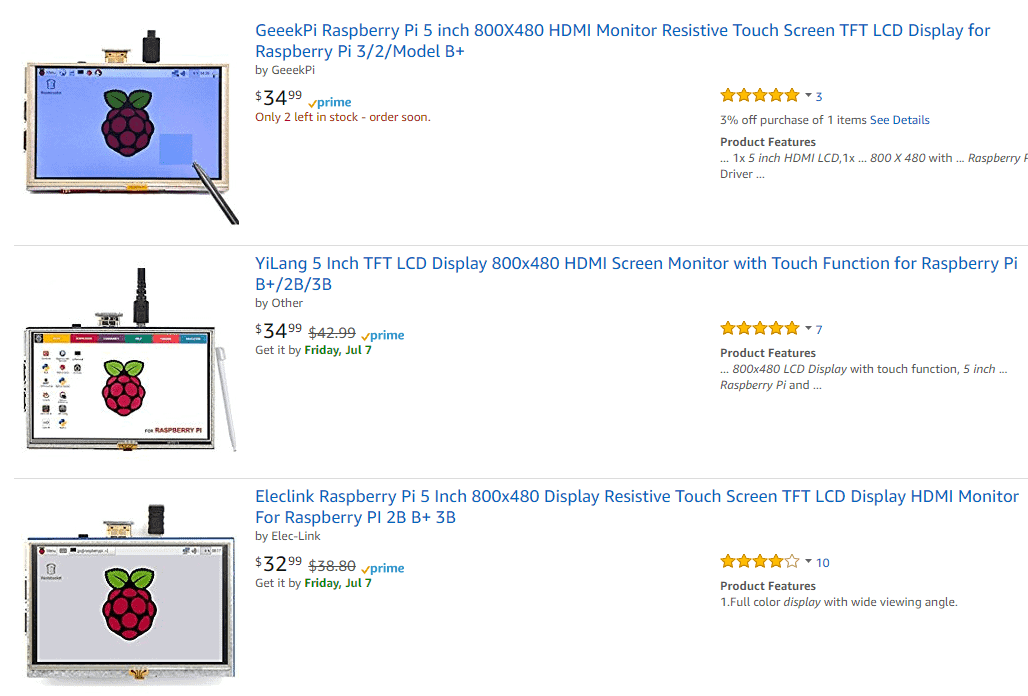
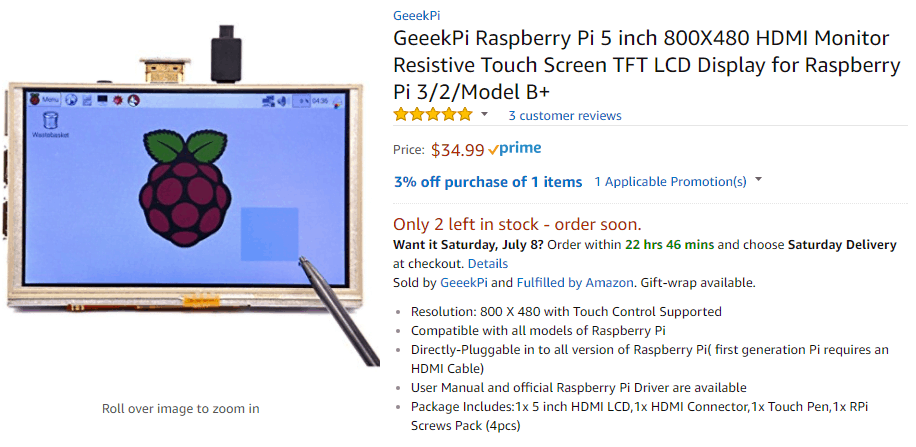
You can find the 5-inch displays at Amazon here.
Raspberry Pi 5 inch 800X480 HDMI Monitor Resistive Touch Screen TFT LCD Display for $34.99
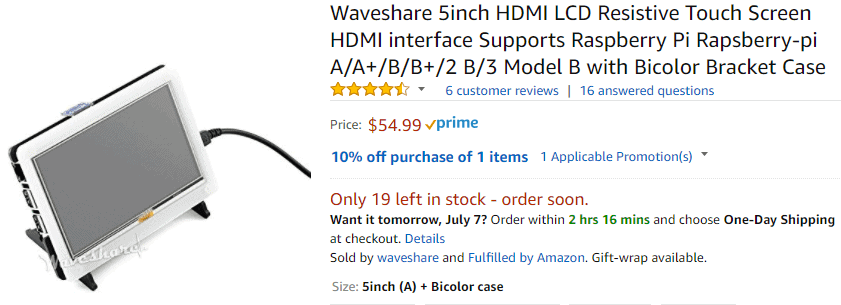
Raspberry Pi TFT LCD Display 3.5 Inch 480×320 Touch Screen Monitor for $19.99
I give the 5-inch touch display may just for the Raspberry Pi an 8 out of 10, because it’s it is very simple to install and hook up, anyone can do it. Next, it is backlit and very colorful. The touchscreen was spot-on and very responsive. The only two things that hurt it was I could not use my fingers with the touch screen or go outside with it as like all devices in the sun it became a mirror but other than that it’s a great little display for your Raspberry Pi and just the right size.
7 inch HD touchscreen display review
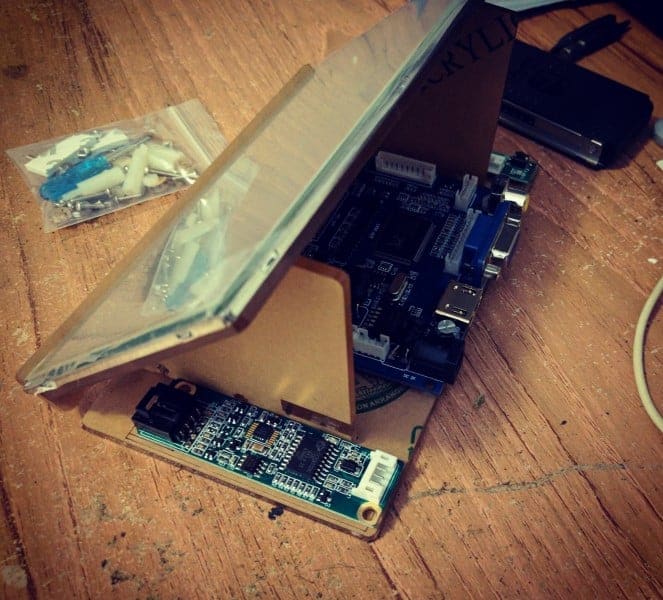
The second screen I picked up was a 7 inch HD touchscreen display. This touchscreen display comes with three parts one controller board for the HDMI, AV, & VGA inputs the other for the channel changer/ input menu and touch screen controller board. It also comes with an acrylic bracket stand. Now this will not come with any instructions and you will have to just put it together as I couldn’t find any on the net but if you have the knack for building it’s very simple. This display also doesn’t come with any audio board but depending on the one you buy some have sound output on the display board but you’ll have to solder your own speakers to the wires.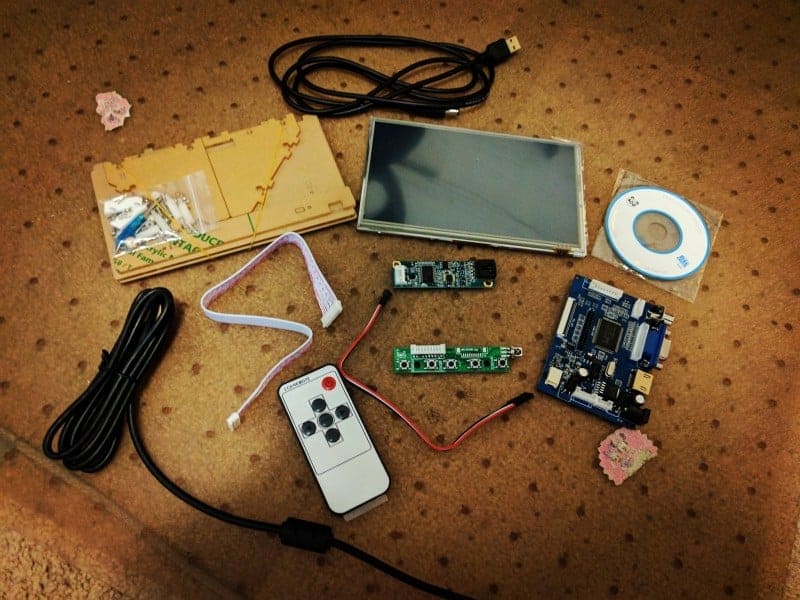
Once I had everything together and tested it out to make sure it worked. Once I double checked that all the parts were working it was time to start using it with anything that could hook up to the display.
The first thing I tried was the PlayStation TV which displayed at 720P and looked beautiful. You can get it to use the whole display by going into the setting and adjusting the PSTV to fit the display.
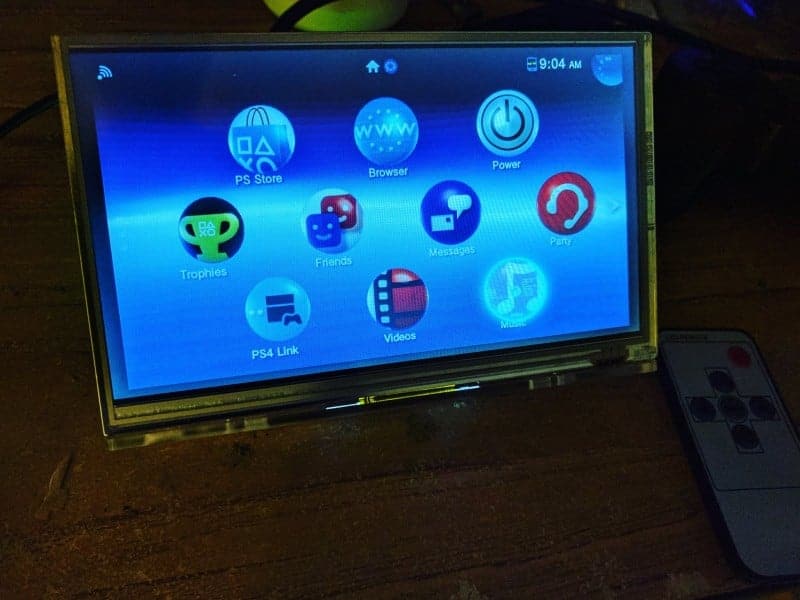
Next, I tried the AV inputs with the Sega Saturn and once again it looks beautiful did not have to change any of this settings and it said the resolution was sitting at 480p. 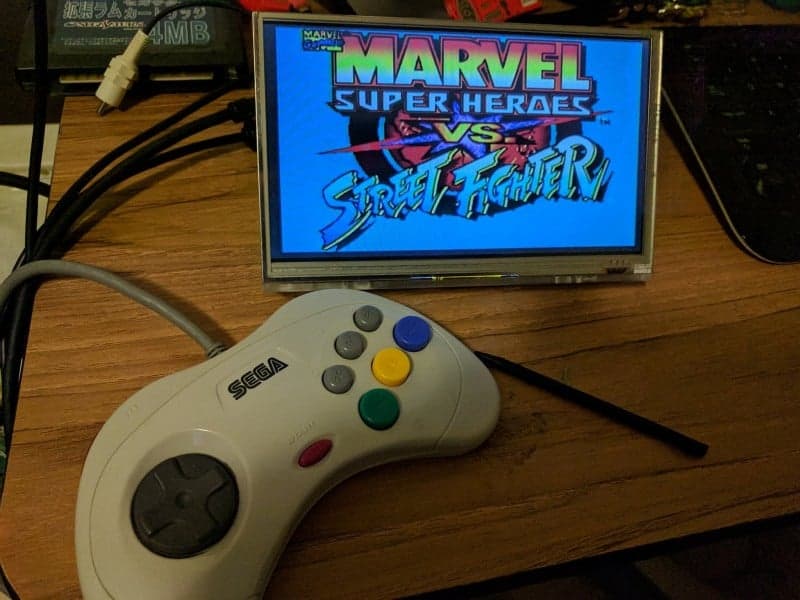
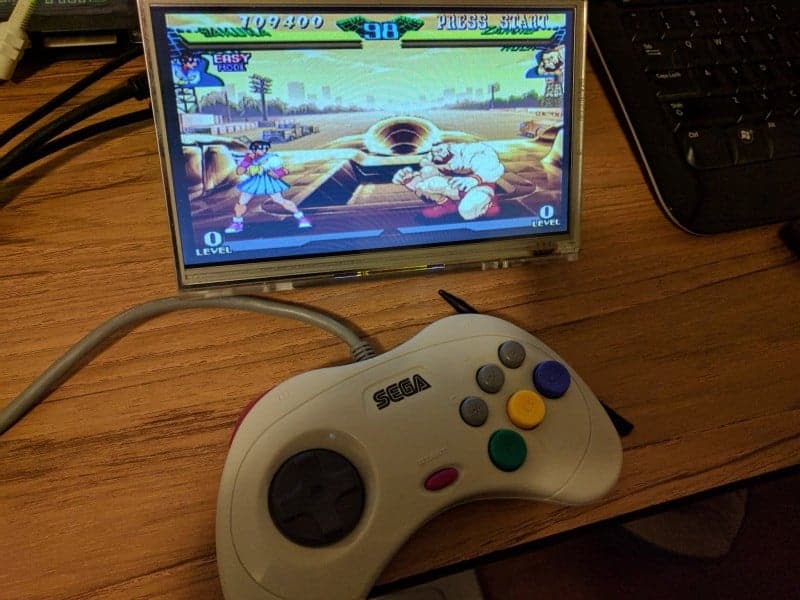 The next two devices I tested with the display was the Raspberry Pi and PC since they can utilize the touch function. The first was the Raspberry Pi which was very easy to set up since it comes with a disc and drivers for the touch function and the same with the PC.
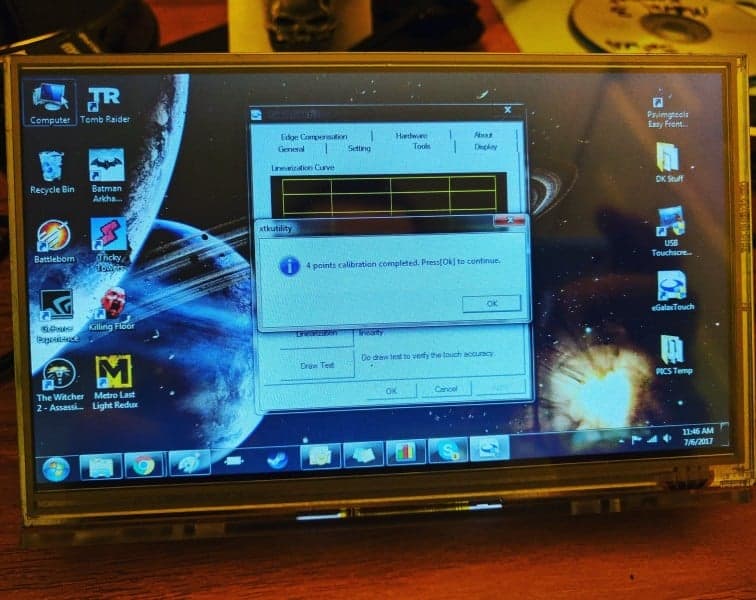
Windows calibration software
I was able to get a 1080p resolution out of it with the PC and touchscreen capability ran fabulous with the Windows since the calibration software has more functionality and its super user-friendly compared to the Linux software.
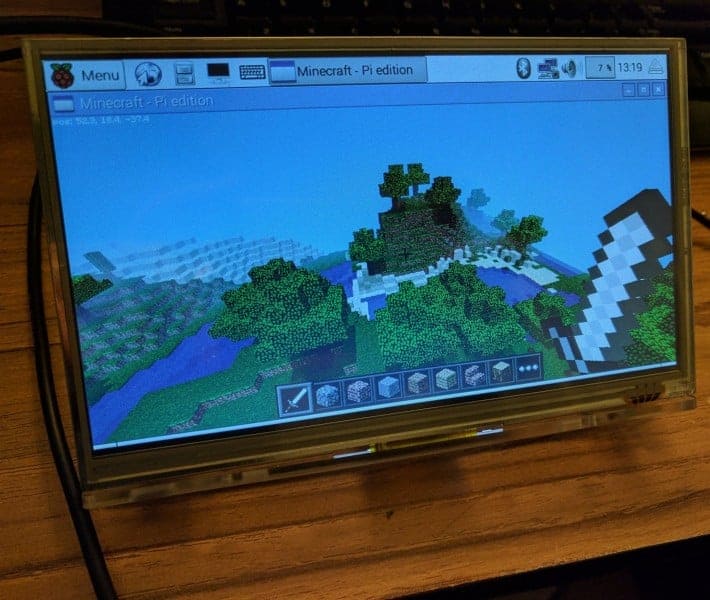
Just like the 5-inch touchscreen, I had to use the terminal to install the software for touchscreen capability with the Raspberry Pi but once it was installed the touch screen works great and was very accurate even when using your fingers but I still recommend using a stylist for the best results with the touchscreen.
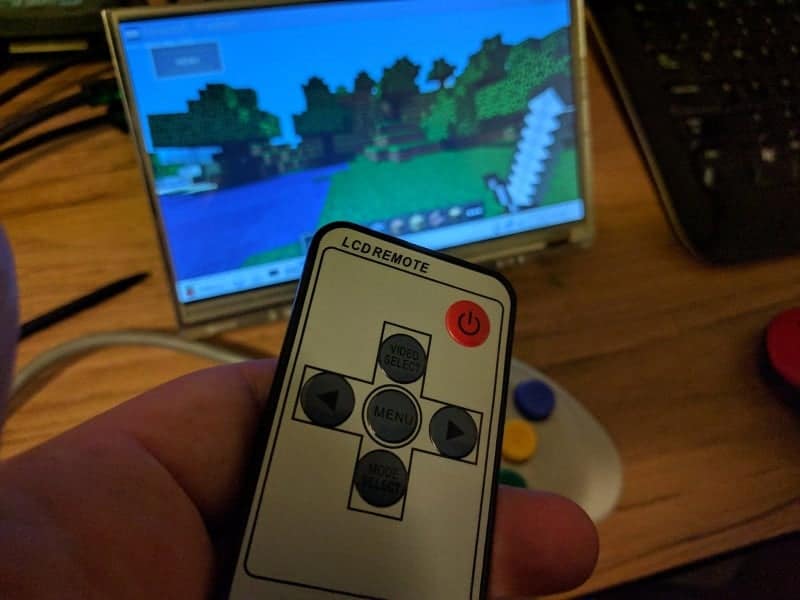
The LCD display remote works just like any other remote with a distance of 10ft. You can use the remote to switch inputs and change the display settings like brightness and such with it. You can also use the buttons to change it manually.
You can find the 7-inch displays on Amazon here.
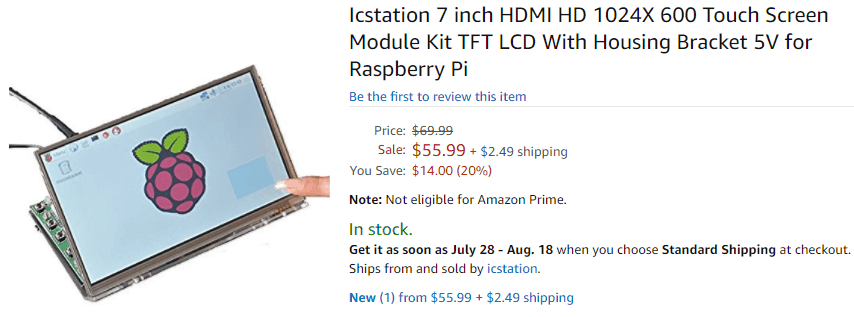
7 inch HDMI HD 1024X 600 Touch Screen Module Kit With Housing Bracket
You can also find this 7-inch display at Newegg here.
The 7-inch touchscreen can be the same price as the 5-inch touchscreen for the Raspberry Pi depending on where you get it. So it might better to just buy with the 7-inch touchscreen but depending on your project you might need a 5 inch more than a 7 or vice versa. Both screens are great to buy at this time and would recommend them to anyone looking for an LCD touchscreen display.
I give the 7-inch display a 7 out of 10.
I really enjoyed the 7-inch screen as I was able to use multiple devices on it. It’s very colorful and the touch screen is super responsive. It comes with a remote to change settings & input. Anything with the remote is a plus in my book. Outside the display did not turn into a mirror and you could see it outside in the sun but with direct sunlight, it was hard to see what was one the screen but if it was in your car you can see it no problems.
Installing and hooking it up did not come with any instructions even though it’s self-explanatory but it would have been nice to have some instructions. Also having to solder the speaker wires to the video board is not an easy task to have audio with HDMI but for the price, you can’t beat it. Now you could always get a different display control board or an audio board to add to it later down the road.
