With Henkaku Enso just released and SD2VITA Adapters having grown extraordinary in popularity over the last few days. I thought it would be a great time to make a simple guide on how to properly format the SDCard for your SD2VITA Adapter and set-up your Vita. The only difference will be that with Enso we can finally have the SDCard mount at cold boot which allows for easy database rebuilds and more with the adapter.
(Credits for the Video go to TheModshia )
Formatting the SDCard:
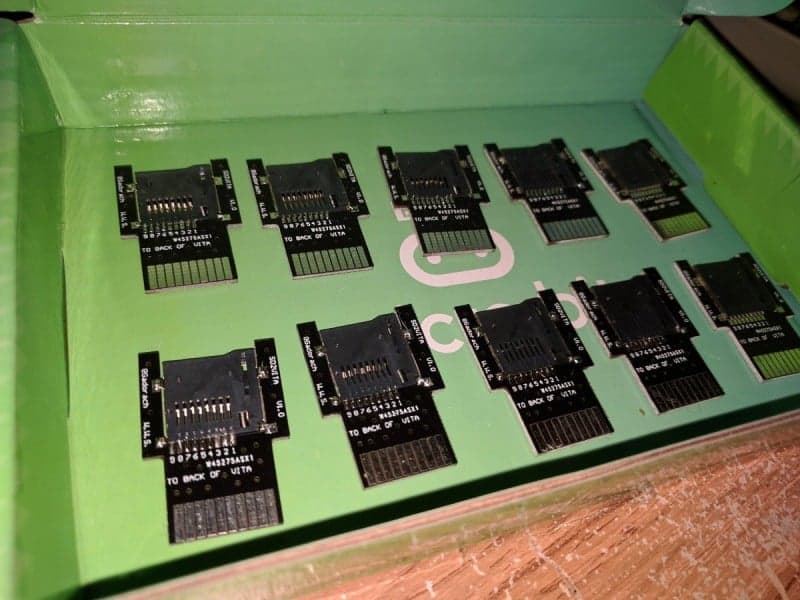
First of all, you’ll need an SD2VITA Adapter and a MicroSD card. Every MicroSD Card should suffice but it’s advised to use at least a class10 card. You’ll also need this software package.
Now let’s start right away by formatting the SDCard…
1. Put the MicroSD card into a reader or SD adapter and put it in your PC. Extract the Software Package
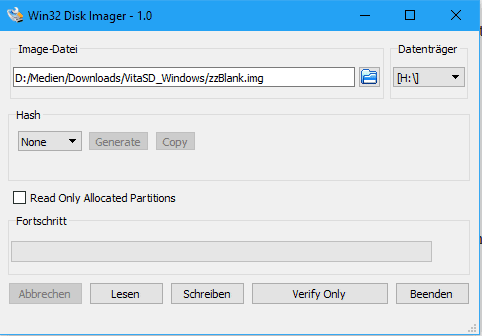
2. Install Win32diskimager and open it up.
3. Select your MicroSD card and select the zzBlank.img and then press “write”. Wait for it to finish then continue with the next step.
4. Pull out the sd card and insert back in
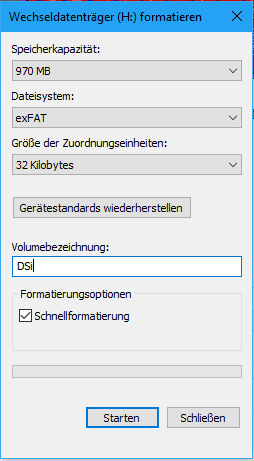
5. Now go to the MicroSD card in the explorer and do right click->format.
6. In the now newly opened window select “exFat” as file system and DON’T set a volume label. Other settings should be allocation size=default (32kb) and quick format. If you’re done just press start and wait until it’s done.
7. That’s it for formatting. Now safely eject the MicroSD card and put it into your SD2VITA adapter
Now we’ll set-up your Vita to automatically mount the MicroSD card in the SD2VITA adapter as soon as Henkaku boots. For this, you’ll have to copy the plugin and your config.txt to ur0:tai.
Download the automount plugin from here. (This plugin will mount the sd as ux0: and the original memory card as uma0:)
1. Start your Vita and boot Henkaku. Then open up Vitashell and connect over FTP to it (Only FTP works since you need access to ur0).
2. Now we want to copy the mount plugin to your Vita and edit the config.txt to load the new plugin.
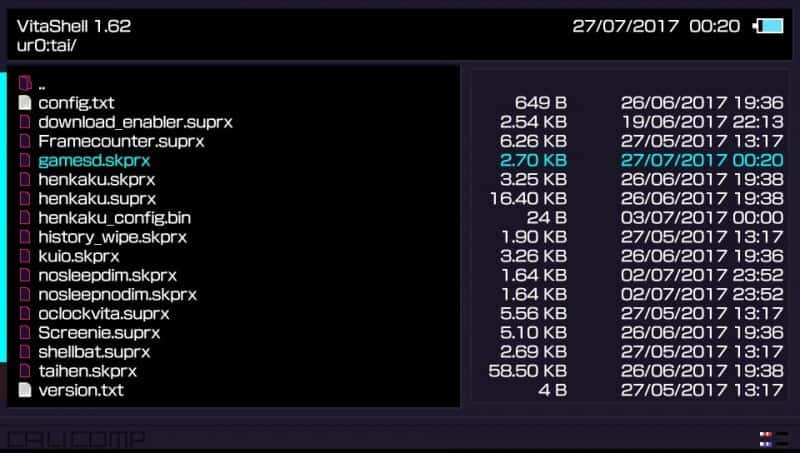
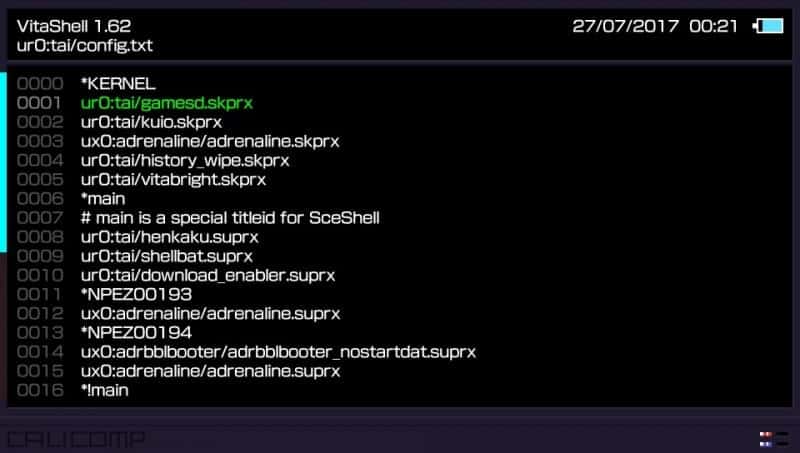
3. Copy the plugin to ur0:tai. Then go back to ux0:tai and open the config.txt. Add a line that says “ur0:tai/gamesd.skprx” without the quotation marks under #KERNEL. After that copy the config.txt to ur0:tai and delete it from ux0:tai.
4. That’s it. Just reboot your Vita now and load Henkaku.l It should now automatically mount your MicroSD card if you followed the instructions completely.
As much as I hate sacrificing the game card slot to use MicroSD cards with my Vita the idea is great and it works perfectly and with the release of Henkaku Enso this will evolve into a great hack that will allow us to use a 256GB MicroSD in our Vita for the price of a 64GB Memory Card from $ony. (Yes there are more than enough games to fill 256GB, the Vita has a few Games I know 😉 )