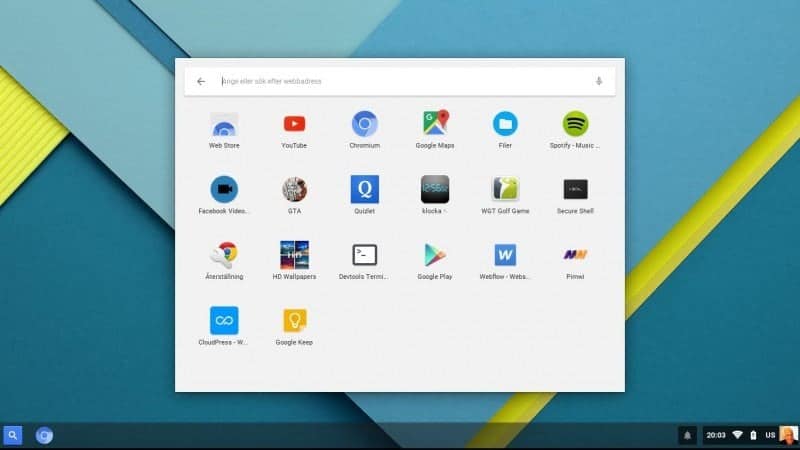
We’ve all tried different Operating Systems on our PCs, ranging from Linux to Windows and even Mac OSX. Another one of these OS is ‘ChromeOS’, it’s the default system on a Chromebook. It’s been specially made for the normal ‘nontech-savvy’ person or people that just don’t need a heavy Operating System. The Apps all reside in one place, same with documents, images, and videos. It is used best to ‘Rejuvenate’ an old PC that’s lying around, turning it into an able Netbook in today’s age. It focuses around the Chrome browser, or in our case ‘Chromium’.
The problem earlier with ChromeOS was, whether ‘ArnoldTheBats’ ‘s builds or ‘Hexxeh’ ‘s, they refused to be installed alongside Windows (although there won’t be much use for Windows after you get ChromeOS running full-fledged)
This was overcome by a company named ‘Neverware’ that built its own version of ChromeOS; ‘Cloudready’. Cloud ready offers extremely easy instructions for installations, with an almost vanilla ChromeOS experience. They’re also offering different versions for, ‘education’, ‘organisations’ and ‘individuals’, like most Linux distros do, with a couple of options being paid alternatives to the free variant and have more in-built software and support, including customer care helpline and real support. Dual-booting is only supported on machines that have UEFI, and if you want to give it a go, I recommend installing it in a Virtual Machine like Oracle Virtualbox, before you install the real thing.
CloudReady is easy to install so let’s jump right in.
You could end up with your PC turning into a potato, and we’re not responsible for anything that might happen, do this at your own risk and make backups of important data you wish to keep safe.
- First off, grab your copy of the CloudReady OS from here
- Once that’s done downloading, have your USB drive ready and plug it in your machine.
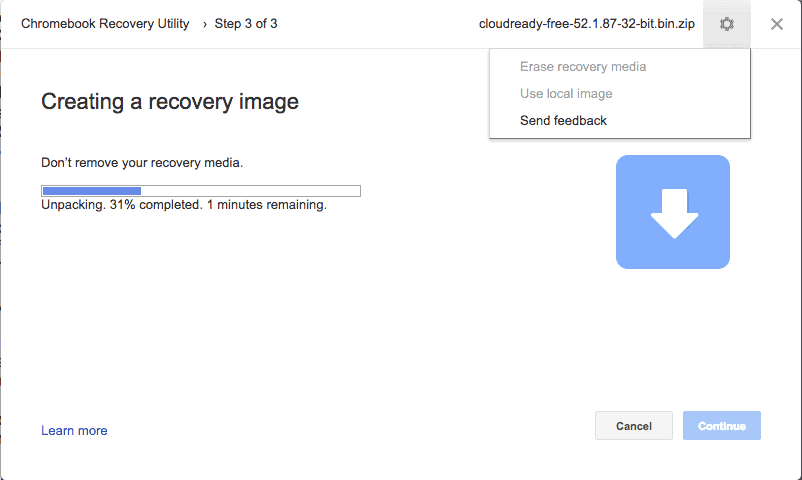
- Next up, download Chromebook Recovery Utility , this allow you to make a bootable USB drive
- After that’s done, fire up the Recovery Utility, a small gear icon should appear on the top, click on it and select ‘use local image’, point the file selector to the ‘.zip’ file we downloaded. Then proceed through with the installer, it should take anywhere between 6-20 minutes depending on the PC to complete writing to the USB drive. (Make sure the USB drive is at least 8GBs in size)

- Once that is done, plug the USB drive in whichever PC you wish to transform, and boot your device from said USB drive, if you don’t know how to carry this out, simply visit this sweet site to know how to reach your boot menu. From there the name should usually be either the USB drive’s Manufacturer name or the model name. Select that and press enter. Make sure everything on your device works, i.e, sound, display brightness, Wi-Fi and touchpad, if it all works (it mostly will), then you’re good to go.
- As far as the dual-booting is concerned, if your machine supports UEFI , it’ll all work out in your favor, but if that’s not the case I’ll just recommend you to do a standalone install of CloudReady.
For dual-boot installation:
Once the OS boots up, you’ll be greeted with a setup kind of screen, just click on the Wifi/Time area on the bottom right, then go ahead and click ‘Install CloudReady’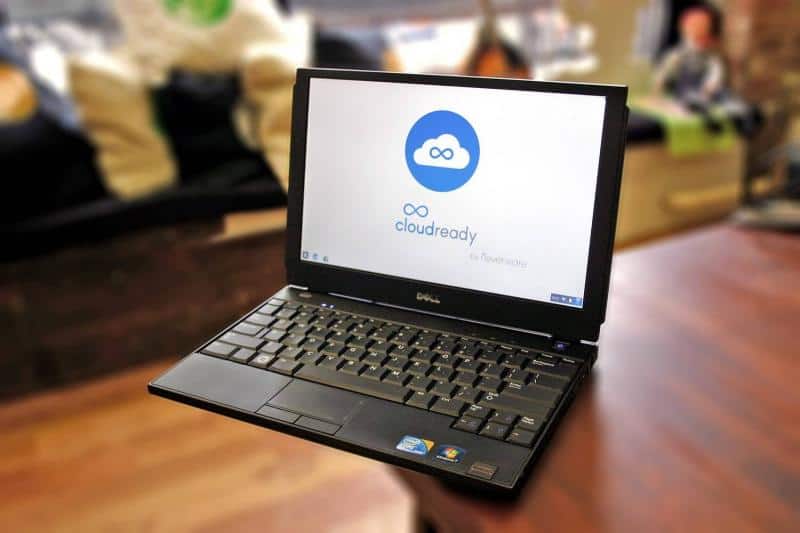
The installer should open, press next and select Dual boot as your option. Once it’s finished you’ll be greeted with an option to boot into CloudReady the next time you start your machine.
For standalone installation:
Boot up windows and copy over files that you want to carry to ChromeOS as the whole Disk Drive will be wiped. Once that’s done, boot from the USB again, you’ll see a setup screen, ignore that and just click on the Wifi/Time area on the bottom right, then go ahead and click ‘Install CloudReady’
The installer should open, press next and select Standalone Install as your option. Once it’s finished your device will either shutdown or reboot, start it up again if it shuts down, and Voila!
There it is, your new Chromebook.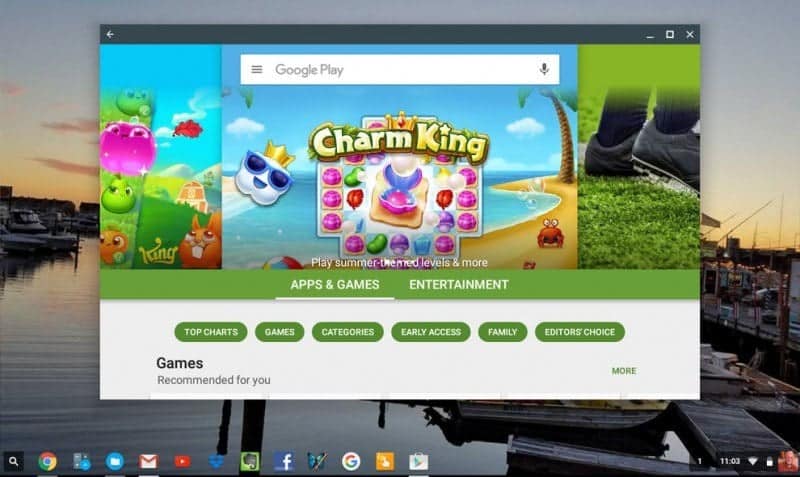
Set up your Google Account, go ahead, download some Apps, and enjoy the heck out of your old PC that ate dust in a corner, and believes me it makes for a great net browsing machine.
Also, guess what, you can also run android apps on ChromeOS, not out of the box on CloudReady, but a couple of tweaks here and there, and it works like a charm. Stay tuned for the next guide on, ‘How to install Android Apps on CloudReady’.
Demolasher36, signing out for now.