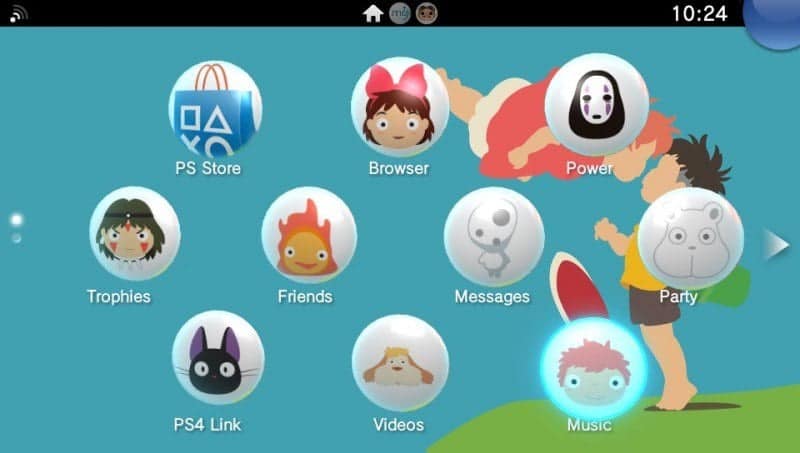
PSVita DB Theme Installer just got a quick update to take advantage of the new possibilities brought by Henkaku for PSVita. The new “360” edition is in fact a specific version for Firmware 3.60 that implements an internal FTP client to allow the user to connect directly to his PSVita via FTP. Thanks to this, the program is now much more automated and it allows you to install any Custom Theme in 4 easy and quick steps.
Before to analyze in detail these 4 step, here is a couple of words about the program if you don’t know it yet:
PSVita DB Theme Installer is a PC tool written in JAVA that is designed to automate the process of installing Custom Themes on PSVita. In simple words, the program automatically writes in the app.db file the tables necessary for the recognition by the firmware of the theme, so that, in PSVita menus, it appears to be installed and selectable just as an official theme!
In the past versions you had to get the app.db manually (using the old mail trick) but now, thanks to the new Henkaku, we have direct access to the filesystem and so, with a FTP connection, the program can now do it automatically, making the whole process completely automatic and fast. The most important news of this “360” edition is indeed the presence of an internal FTP client that when connected to the PSVita allows the program to access PSVita filesystem and so editing the app.db file and uploading the custom themes files automatically in the correct path.
For these reasons, installing a Custom Theme is now really all about 3-4 clicks and less than a minute, as you can see from the following video:
And now let’s analyze together the four steps in details:
1. Connect the program to the PSVita via FTP
First of all you need to activate the FTP server on your PSVita. To do that simply launch molecularShell and press SELECT on your pad, a new window will appear at screen with the address of your FTP server (with the format ftp://host:port):

Now just insert host and port in the program:

And then click on CONNECT button. In the log text area you should read a confirmation of the FTP connection now:

2. Load a Custom Theme folder in the program
Now that the program and the PSVita are connected, it’s time to choose a Custom Theme to install. You can find a great selection of Custom Themes just here on Hackinformer (HERE or HERE).
When you have your Custom Theme downloaded and extracted on your PC you can click on LOAD A CUSTOM THEME FOLDER button and select the Custom Theme’s folder:

The program will acquire all details about the theme automatically (please note that this process requires to read inside the file theme.xml, so if the Custom Theme has not a valid theme.xml file the program can not load all its details automatically!):

3. Check if theme’s details are correct:
Now the program will show you the details it acquired about the theme. Before to install it please check if the details are correct and, in case, edit what you wish. In this example I changed the Installation Path in a shorter one:

4. Install the custom theme
When you’re ready to proceed, just click the INSTALL CUSTOM THEME button (it’s a good idea to keep enabled the Create a backup option, just in case something goes wrong). Just as the confirmation dialog will say, please be careful to don’t disconnect your PSVita FTP server during the whole process!

You can follow the installation process thanks to the log text area. The program will now proceed to edit your app.db file and to upload your Custom Theme’s files inside the PSVita Memory Card:

When the process will be complete, if no error, you’ll can read a “CONGRATULATIONS” message inside the log:

All done, now your Custom Theme should be installed and, after rebooting your PSVita, ready to be used just as an Official one:


A couple of final important notes:
- After the installation please remember to reboot your PSVita before to use the new Custom Theme or you could run into a few bugs (such as no icons or white icons, no backgrounds, etc…).
- In my tests installing the Custom Theme inside the same folder of Official ones (ux0:theme) resulted in a corrupted theme that could not be used. But I don’t know if it was just an issue of my database/console.
- If you get any corruption/issue with your PSVita after installing a Custom Theme just try to restore an app.db backup (if any) with the specific function of the program or, as last chance, rebuild the database using the Recovery Mode of the PSVita
Download: PSVita DB Theme Installer 360

