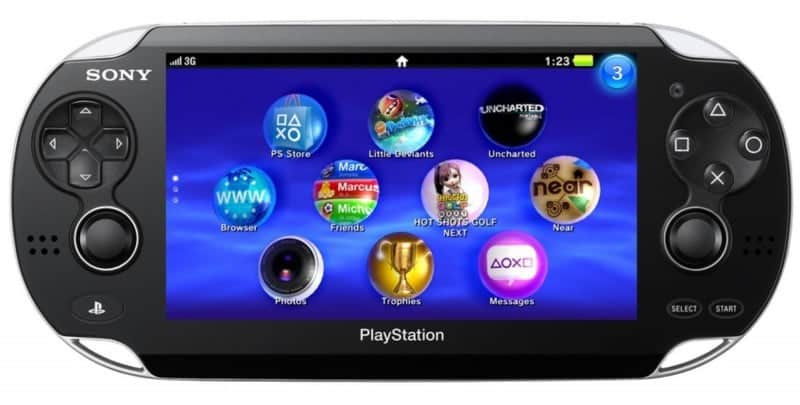
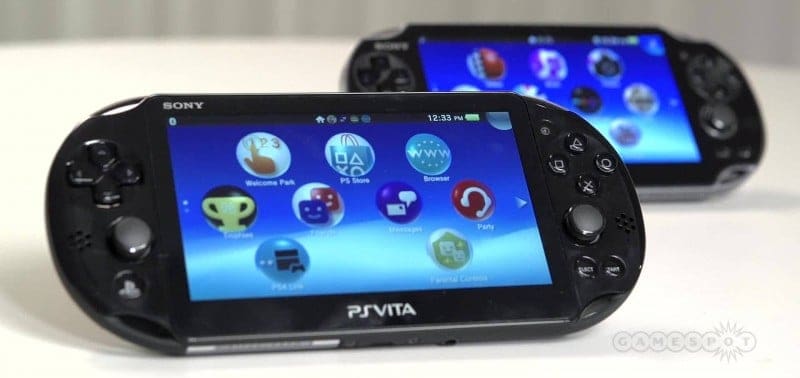
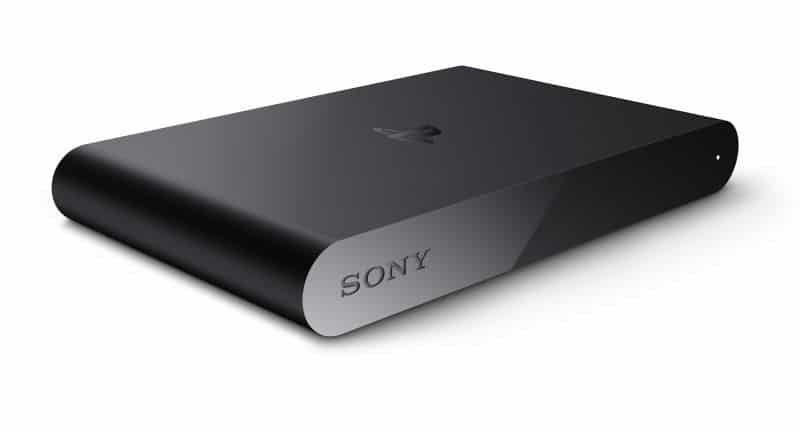
It has been brought to my attention that we are in need of several tutorials so I will start with this one, since it’s kind of the starting point. This will be a tutorial on how to activate your Vita or Playstation TV on a lower firmware.
I know there are new people coming into the scene every day and the first thing they want to know is how do I get my Vita or Playstation TV activated so I can stay on a lower firmware since Sony wants me to update to connect to the Playstation Network. Well, here is all you will need to know in that department.
The first thing you should know is you absolutely must have a Playstation 3 to activate a Vita or Playstation TV on lower firmware.
If you have a Vita this first one will be for you. If you have a Playstation TV that you’re trying to activate skip to the PSTV section!
Activating a Vita
First, when you power on a new Vita it will go through a setup process. If you have already done this, which chances are you have, power off your Vita. Hold down the right trigger (R), the Playstation button and the power button all together. Once that’s done it will boot to a safe menu. Select restore system and let it restore. Once it’s finished you will need to go through the setup process again. In that process you need to connect to a wifi access point and also input your PSN ID and password but be careful to NOT let it download the update. Once you get through the setup you should be on your vita home screen. I would, at this point, suggest going into settings and make sure to disable automatic downloading of updates. Once you’re sure there is no chance of it updating you need to go to your PS3 and log into the account you are using. Go to the PS Store, purchase and download a Vita or PSP game. Doesn’t matter which one. Obviously find one you like.
Once it’s finished downloading you will need either OpenCMA or QCMA. You can find a download link for both HERE! Once you have that installed you need to turn Wifi off and turn on airplane mode on your Vita, then power it off and back on. Connect your Vita to OpenCMA/QCMA and go into the content manager. Select transfer content. At this point you will want to disconnect the cable from your PC. You will get an error on your Vita. DO NOT close the error, leave it open. Connect the USB to your PS3 and you will see it pop up that a Vita is connected. Now you may close the error and tell it to connect to a PS3 via USB cable. You are now free to transfer a game to your Vita.
After you have the game transferred you can disconnect from the PS3. Once you launch that game from the Live Area your Vita will be activated on that account.
While I realize that was a little of a long read it won’t take much time.
Activating a PSTV
A Playstation TV is a bit different when it comes to activation. You MUST have a Playstation 3 to do this.
Since there is no USB cord to connect to a PS3 you will need VitaUpdateBlocker which can be found HERE. You need to download a PSP or Vita game to your PS3 from the Playstation Network on the account you want activated on the PSTV. Once the game is downloaded, you need to go through the setup process on your PSTV. Put in your Playstation Network ID and password when prompted but DO NOT update. Be sure to go into settings and turn off automatic updates if it is on.
Now, you will need to be on the same wireless network as the PS3. Open VitaUpdateBlocker on your PC and connect to it through proxy settings on the PSTV. If you need help with it I have a tutorial HERE that you can use. Once that’s done connect to the PS3. You’ll have to input a code to verify you want them to connect to each other. When they’re connected transfer the game from the PS3 to the Playstation TV. Once the transfer is complete you may disconnect and start the game. If everything worked right your PSTV is now activated.
Well, there you have it guys and gals. If you have any questions feel free to ask! I hope this helps!! As always… HAPPY GAMING!!!


