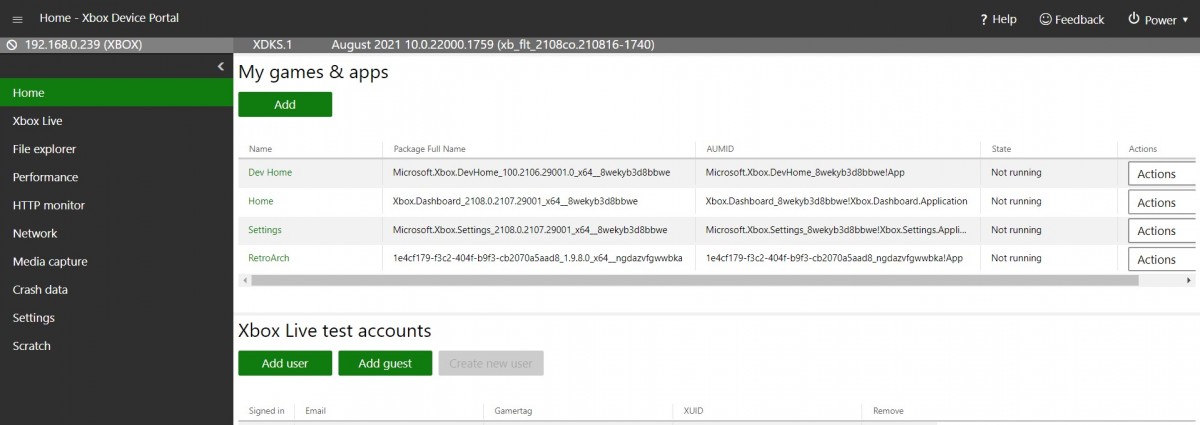
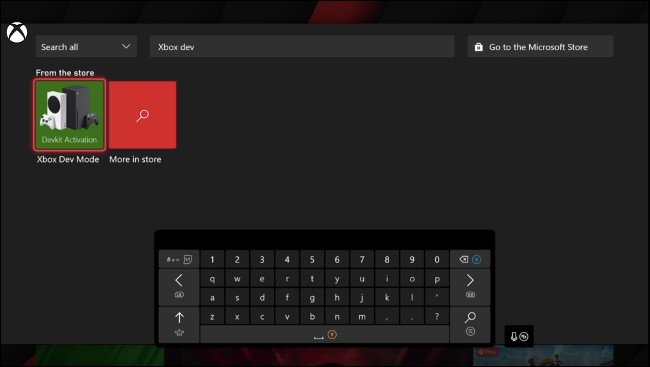
To install RetroArch on the Xbox one, series S, or X you will need to download the dev app on the Xbox and from there it will give you a web address to enter on your computer. The next thing you have to do is activate Dev Mode on the Xbox by installing the dev app you just downloaded on the Xbox. After that, go to the web address the dev app give you and from there you’ll need a paid Microsoft Partner developer account. This requires a one-time fee of $19 (pricing is different in other regions). Once you’ve activated your account, you can add your Xbox as a developer console.
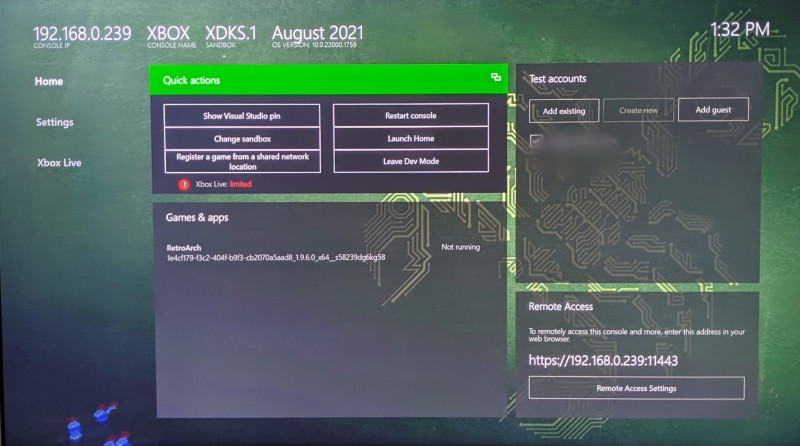
Next, you will have to download and install RetroArch, just head to the RetroArch Downloads page on your pc and grab the Xbox One version and the “Microsoft Visual C++ 2015 UWP Runtime Package” dependency file. Then, access the Xbox Developer Mode web interface by visiting the web address in the “Remote Access” section in Dev Home on your console.
Select “Add” on the Home page to access the file upload interface, and then drag and drop the APPXBUNDLE file you downloaded into the box (or click “Choose File” and locate it). Select “Next,” and then locate the dependency file you downloaded.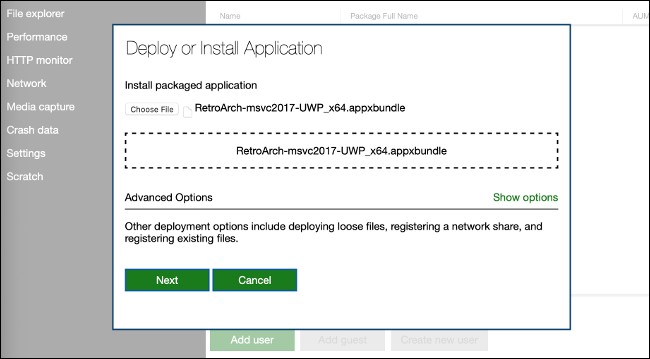
Click “Start,” wait for the process to complete, and then select “Done” after everything is transferred and retroarch is ready to launch in developer mode. Now, under Dev Home, you should see RetroArch listed as “Not running” in the available apps and games. Highlight it, press the Views button on your controller (the two squares), and then select “View Details.” On this menu, change the “App type” drop-down to “Game.” Back out of that menu, and then press A to launch RetroArch.
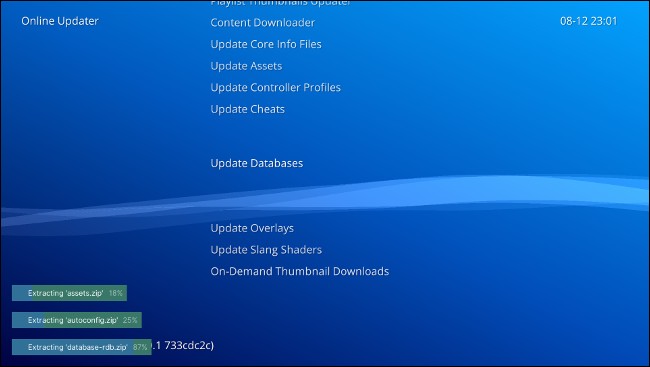
Just like RetroArch on any other device, the first thing to do is update all the settings in the online updater. Once that is done you can start playing or start to really tweak it out by adding more cores and bios to it but that is for another post.

