This review today is over the Raspiboy from 8B Craft. This is a crazy cool little device that answers the question “What if I had a Raspberry Pi emulator on the go?”. Of course, we’ve seen some iterations of this already in the world. But this one is a whole kit that requires minimal assembly and packs a whole lotta punch! Let’s take a look at this Raspiboy!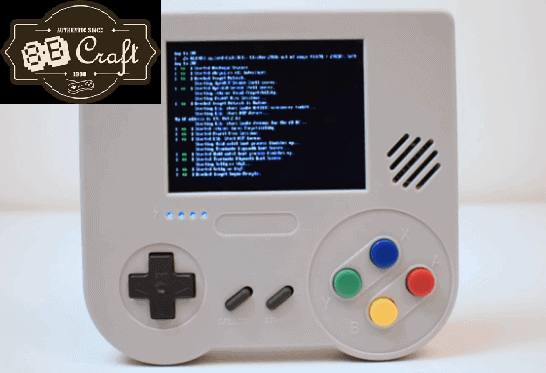
Here’s the breakdown 8B Craft from the site:
‘Raspiboy is a fun and intuitive raspberry pi kit that wants to introduce you to electronics and to the world of DIY and makers.
The idea came when I saw on internet projects of “GameBoyZero”, awesome raspberry pi based consoles. I was amazed, but it looked pretty difficult to build one, it was a 3 months work and over 150€ for all components! And last, you need an old Gameboy to rip open.
RaspiBoy is conceived such that everything fits together perfectly and the build is easy and instructive, it can be done in about 10 minutes and it’s without soldering!’
I have a 10-minute video that the creator uploaded before it’s main release. It’s pretty cool and informative!
What’s In The Box?
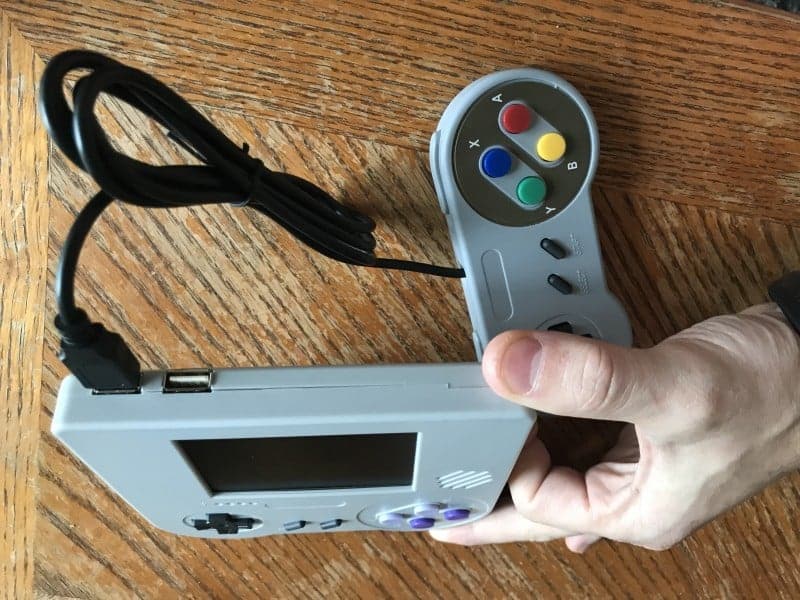
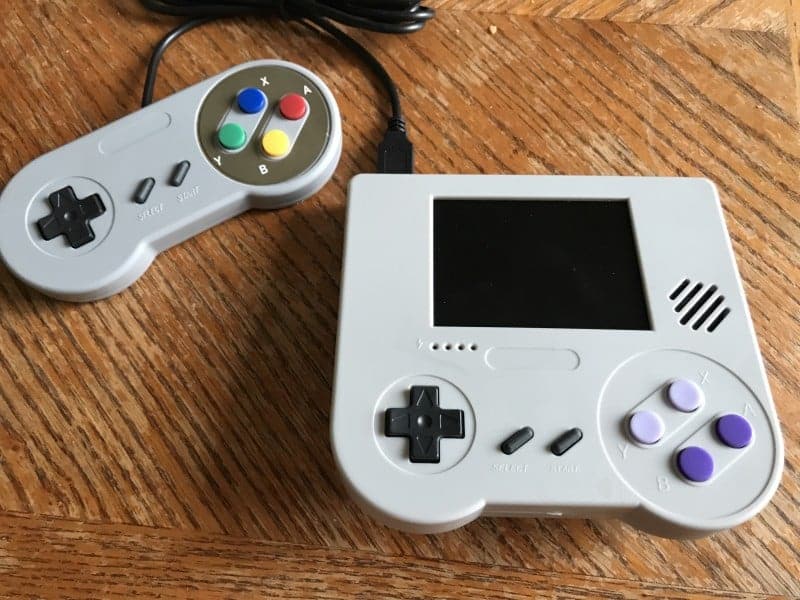
There are plenty of parts that come in the kit from 8B Craft. All of which are required pieces with the exception of one small piece. We’ll come back to the non-necessary piece in just a moment. What you will get is the beautifully crafted outershell in SNES grey or in black depending on your order. You’ll receive a 6000 mAh battery that pumps at 3.7v. You’ll receive a microSD card as well, I’m uncertain if you get a choice of size. The picture below shows 8GB but it says the capacity of 32GB in the description, but my press version got a 16GB. You’ll get a USB gamepad stylized as an SNES controller. You’ll receive the 8B Craft PCB board as well as the speaker and LCD screen. Finally, you’ll receive a bag of the screws and buttons needed (2 color sets in fact) for the device as well as an optional sticker.
What you also receive that isn’t required is the fifth item down in the picture below. It’s an “Extra-USB kit” (as the official description states). What this means is that if you’re saavy enough with a soldering iron, you can add an extra USB port to the device. Now, it already has two USB ports built into the device, which is enough for me. Furthermore, I am oh so terrible with a soldering iron, so I kept the extra USB, but most likely will not use it.
As far as what’s not included in the kit at all that may be included in other similar items boxes (phones, gaming handhelds). You’ll be surprised to find that the kit does not come with a micro USB charger or even a micro USB cord for charging. This is presumably because it would bring the cost even higher when most people already have a charger that would work on this device. Additionally, it seems to come halfway charged already if you don’t have a charger straight away at least you can still use it a little bit. You will also see that there are no headphones or earbuds in the box. This is also to be expected, but if you’re someone who likes these things and finds them to be a handheld necessity, you’ll have to supply your own. Last of all, there is no Raspberry Pi Zero included in this. You will have to get your own, this kit will not work without one! All things considered, you get a lot of product and support for the value.

Assembly

I’m not going to show you how to assemble the Raspiboy here. That will be reserved for an upcoming tutorial. What I am going to do is talk about the difficulty level that is involved. Rest assured though, it isn’t much. First of all, as I mentioned before, the only part of the Raspiboy that is required to have to solder it if you want to add the third USB port onto the side. Otherwise, you can definitely breath easy knowing that everything else just kind of sits or fits in place. All of the screws involved are small Phillips head screws and are small, but they’re not like impossibly small.
The screen has a guide that keeps it in place as does the speaker. The battery sort of rests next to the screen and will rely on the compact size to keep it in place. All of those 3 items snap into specific ports on the PCB. The PCB will sit straight on top of the Raspberry Pi Zero. Both of which are kept in place by four small rods that go into the four corner holes of the items.
The buttons for gaming assemble the way that most retro controllers assembled. The plastic buttons go into their respective holes first and then a rubber pad bridges the gap between the plastic button and the contact board. The same goes for the shoulder buttons. The downside here is that there is little to no space for error on the shoulder buttons. I tried and tried to get the buttons right. First neither of them registered, then only the left one registered, then only the left one registered and the right one snapped. Now obviously this is an issue with me the first time, but after the fourth attempt I was certain that there was something up with the right trigger. Upon it’s breaking I noticed that it was miscut ever so slightly. Not a big deal because as I mentioned before there is more than one color set, so I used the other color. Both of those shoulder buttons worked perfectly.
Raspberry Pi Zero Emulators
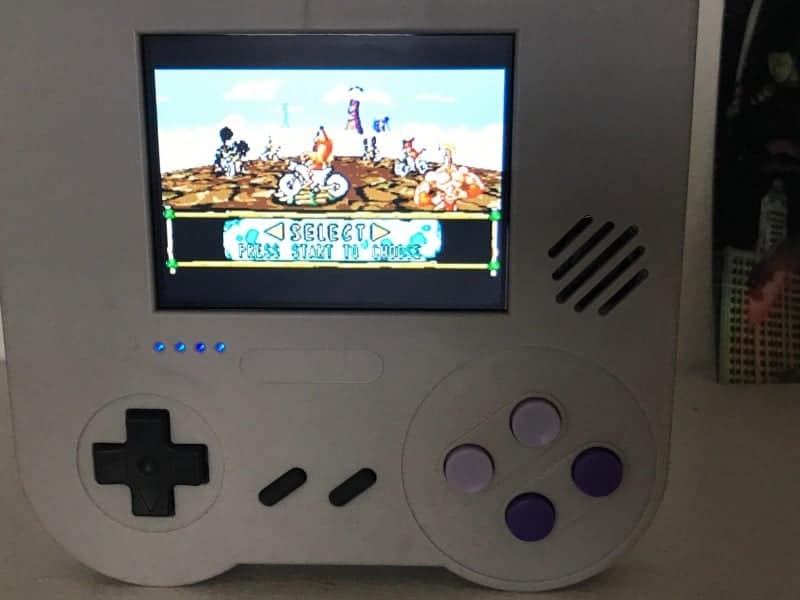
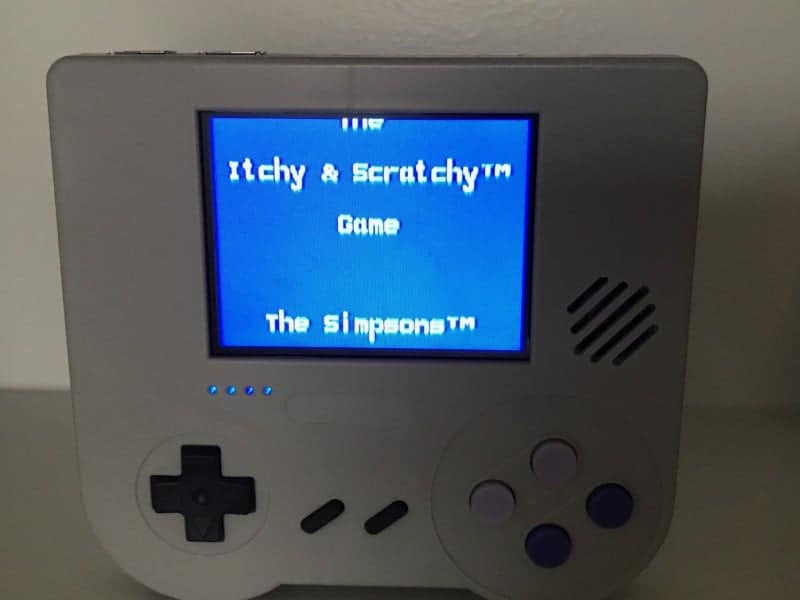
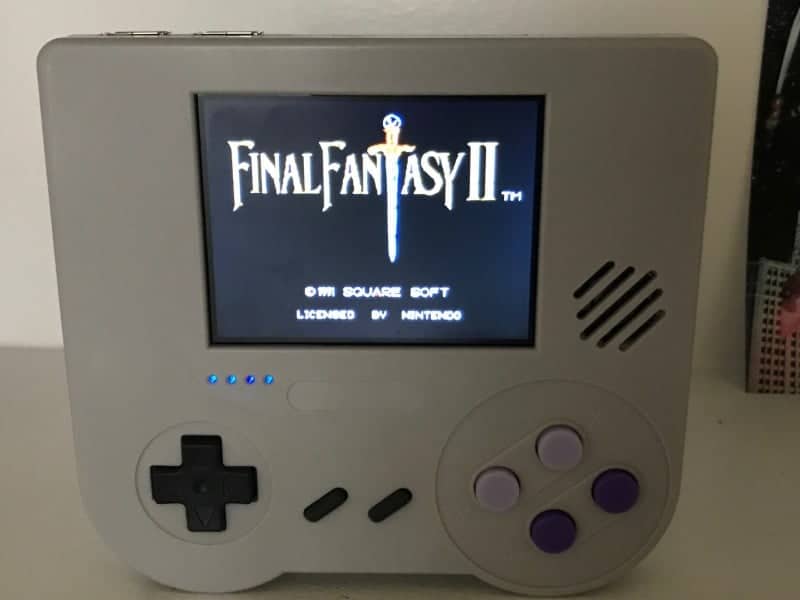
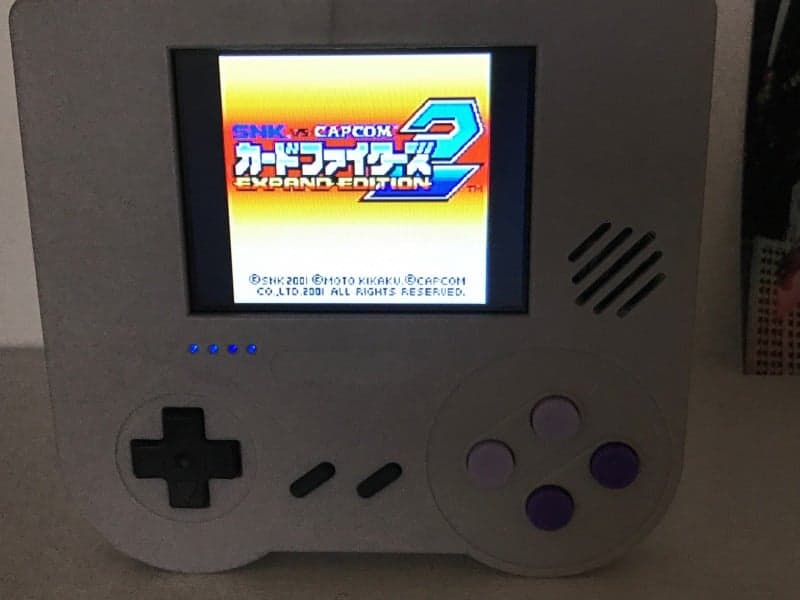
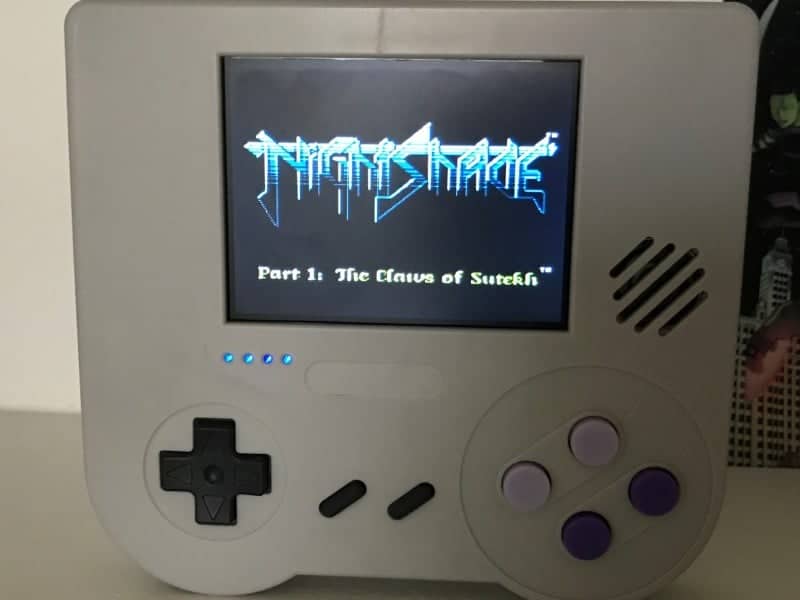
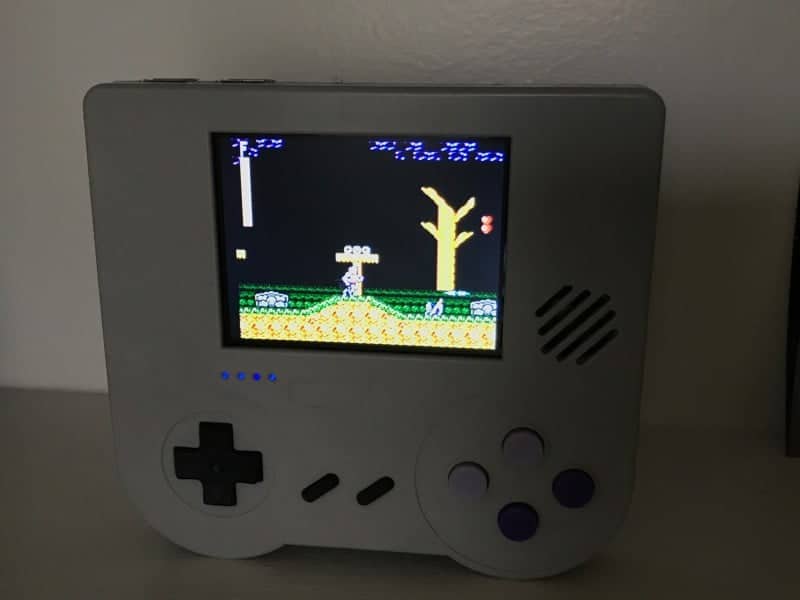
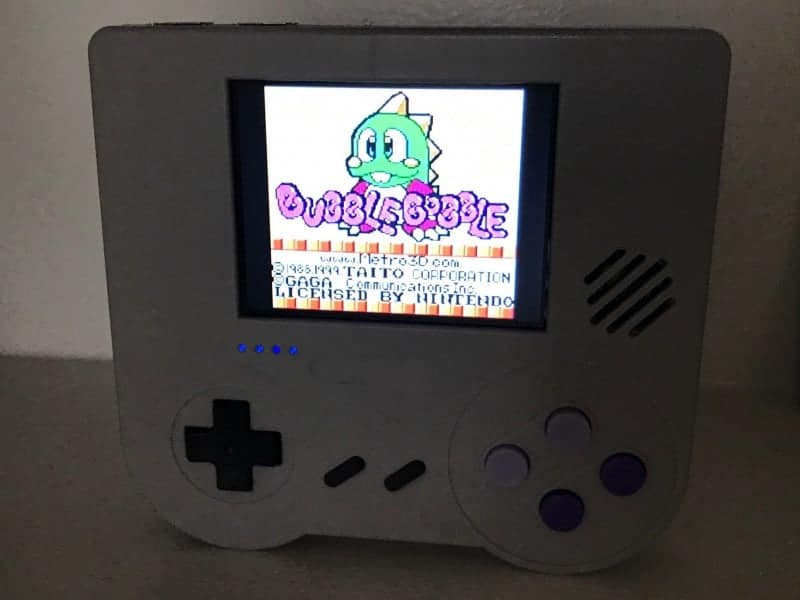
I put several emulators on my Raspiboy after I had finished writing RetroPie to the microSD Card. I didn’t try every single emulator in the whole wide world. What I did was some research first and I got emulators that people suggested for the version of RetroPie running on Raspberry Pi Zero. There were some not mentioned on forums that I also tested out. I’ll list what I did try out and then what didn’t work. First, I tested the Gameboy’s out (Gameboy, Gameboy Color, Gameboy Advance). Then I tested out the Nintendo Entertainment System and the Super NES. I tested out the Neo Geo as well as the Neo Geo Pocket and Pocket color. Lastly, I also tested out the Sega Master System, Game Gear, Sega Mega Drive and the Sega 32X.
Now, in terms of what worked and what didn’t, I got the following results. I had great results with most if not all of them. The Neo Geo emulator worked but had slower sound while the visuals that were going at normal speed. This same anomaly happened with certain Sega 32X games that I tested, but not all. The part that was the biggest bummer to me personally was that the Gameboy Advance emulator simply did not work at all no matter what I did to it. I don’t know if it’s the only emulator that I needed add the bios into, but since there are some legal issues with doing that, I didn’t want to bother with it if that’s what it took to play my legal backups. Otherwise, everything else listed worked as it should. Could I test every game in existence; no, of course not. So does that mean that others may test games and find issues; yes. But I really doubt there are a lot of issues as I couldn’t find any during my time testing it out.
Features

There is no official list of features of the Raspiboy on their site. I decided to point out every possible aspect of the device that you might find to be a feature of it. As I mentioned before there is a speaker on the device. So yes, there is a way to hear the games without using headphones. I just want to point out that this is mono audio. I know handheld systems of old were had mono speakers as well so this might not throw you. But if it does you’ll have to use headphones if you purchase this device.
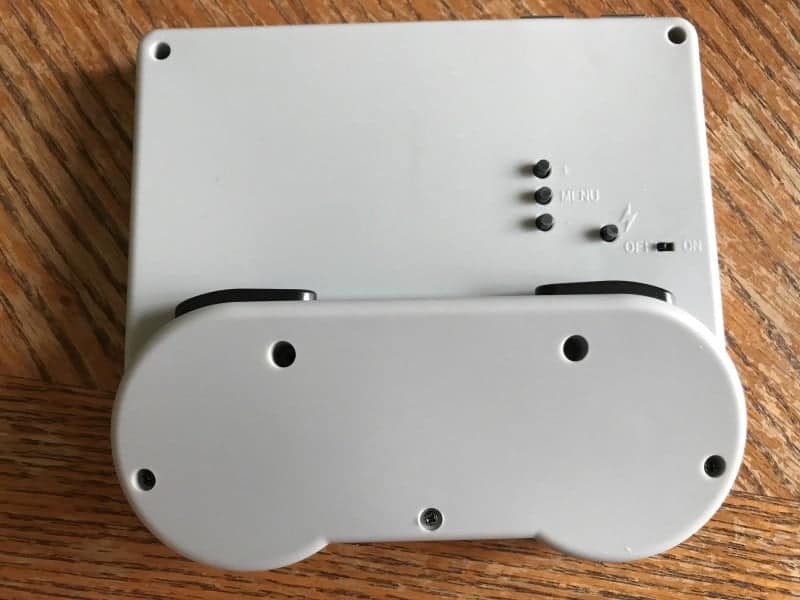
There are two USB ports on this device. There is also a charging port on the side of the Raspiboy as well. You’ll see the headphone jack and the volume wheel on the same side as the charge port. Just above all of that is the mini HDMI out port. This will be for those times that you want to have it all on a larger screen. There are four buttons and one switch on the back of the device. None of which get in the way of you pressing the shoulder buttons. The switch is to power the Raspiboy on and off. There is a button that allows you to enable the battery LED’s to show how much battery is left. This is indicated with a little lightning bolt next to it. The three remaining buttons are close together in a vertical row. The top and bottom of those three buttons are plus and minus respectively. The middlemost button is a menu button. They’re near each other so that you can press the menu button to cycle through the different options. Once you’re on the option you want to adjust, you press plus or minus to your liking.
Battery life is the final feature worth talking about as it’s not really mentioned on their site. To test the battery life, I turned on the most labor intensive game that I could find in the emulators that worked. I knew Sega 32X games had a lot of polygons and voice-overs. I ended up settling on Metal Head to do my battery test with. I started with the device fully charged, then I cranked the volume as high as it would go, I then turned the brightness all of the ways up. I wanted to ensure a worst case scenario in my test. Then I loaded up Metal Head and let the device sit (someplace I couldn’t hear it talk all day). My tests show that the battery life even under the worst conditions seems to last an average of 6 hours. Now imagine if you don’t have the volume up so high and turn the brightness down to a reasonable level. You could probably even increase the life even longer!

Overall Impressions
I was definitely bummed out about the fact that the font size on the RetroPie screens. Meaning that when you first start RetroPie is far too small for the screen that comes with this device. I feel as though the method required for upping the size of the font is a little too involved for the level of the person that uses this device. What I mean by that is that the assembly assumes that you’re a novice, but the method for improving the RetroPie is only if you’re more than a novice. Or maybe for someone who is better with hardware than they are with software/firmware.
I would say that it may behoove 8B Craft to have a custom version of Retropie made. I realize that this can also do HDMI out and so that would seem counter-intuitive. My solution is not a very difficult one. Their site could list both versions the normal one for on the go and HDMI mode and then another one for those who only want to use it on the go and has a pre-adjusted font size. To this day I have yet to find a noob friendly step by step guide that assumes that you’re the dumbest person on earth.
Other than that quick rant, I would say this device is absolutely a must-have for any gamer worth their salt. The portability is there, the sound quality is loud (albiet mono), the battery life is grand, and you’re sure to have an attention-getting device. The fact that it doesn’t have to be portable and you can still use it on an HDTV is another draw. Let’s not forget about the fact that you can also do two players on the go or on the TV. I was definitely at a loss when trying to think of downsides here. It’s just a good resolution rather than carrying your separate handhelds. Leave your Gameboy at home and keep it safe. This dang thing can play so many different emulators. Another upshot is that bigger the microSD card you can put in it, the more games you can play. 7/10


If you’re interested in buying a Raspiboy kit, click here.
Stay tuned here on Hackinformer.com for more reviews and follow us on Twitter @Hackinformer
Interested in watching the video version of this review? Click here.
If you like the author’s work, follow him on Twitter @V1RACY and remember to retweet any articles of his that you see!