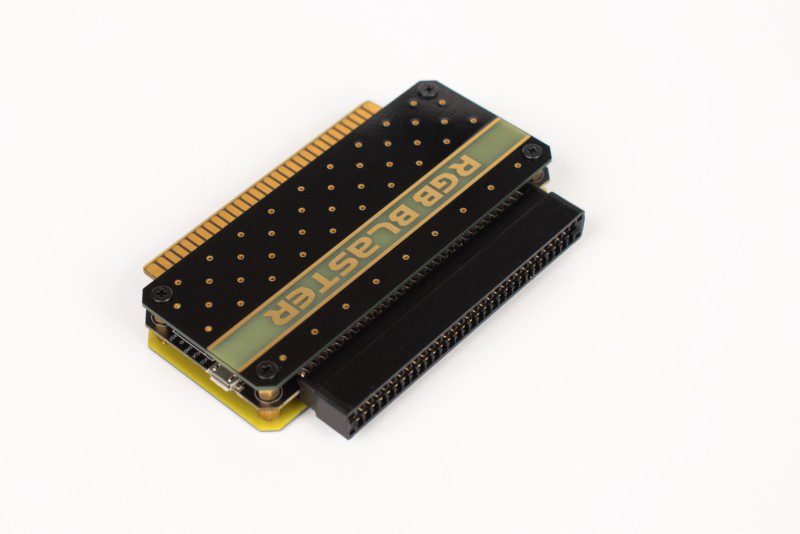
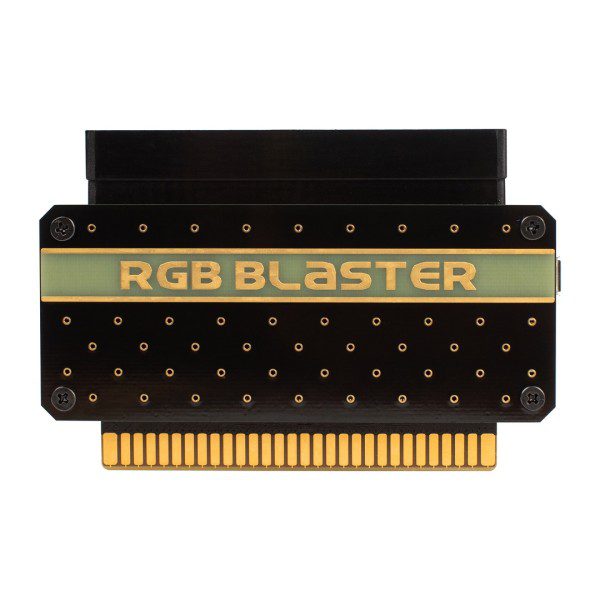
Today we’ve got another Krikzz product to share with you all by way of Everdrive.ME. There will be purchase links at the bottom, but let’s discuss it and make sure that you’re all in on this piece of retro tech!
Description & Features
Plug and Play RGB+Audio output for you famicom
Zero lag output. Pixels stream flows synchronously with internal PPU
Compatible with Genesis Mini DIN 9 cables (cable is not included)
Palette modifications support (use blastcfg too for palette update)
Unboxing Video
Pros & Cons
So what I received for review is the second version of the RGB Blaster. I’m sure they’re not even selling the first version anymore. But this version is able to output video to both RGB SCART and HD Retrovision cables if you have any of those above standard cables. I’m uncertain if the first revision can be modified to have that capability too or if it’s something at the chip level.
Additionally, this newer version allows you to connect to all cables with composite signals. So the range of cords that you can use is quite broad. The PPU, which is the Picture Processing Unit in the NES and Famicom consoles, can output composite video, and it is possible to swap it to output RGB. The RGB Blaster seems to emulate a PPU inside the Blaster’s FPGA, this is likely to render an RGB signal which the old school Nintendo consoles lack. The physical design of the RGB Blaster allows NES and Famicom consoles to output RGB, and the Blaster uses a Genesis 2-style connector for video output.
I love how easy it is to do a firmware update on the RGB Blaster. The upside is that the download is on Krikzz’s website and is a small download. Just extract it and follow the two steps outlined in the readme file. 1. Connect RGB Blaster to PC via USB. 2. Run update.bat. That’s it and after a couple of seconds, you’re entirely up to date. I recommend checking once a month for new updates since Krikzz doesn’t always tweet about them. But if you want your device to be more updated and fix little issues you experience in your testing, keep updating. Now the only downside to updating is the microUSB port, I feel like Krikzz should be able to get their hands on an affordable USB-C port. But maybe they’re finishing off a stock of microUSB first.
Continuing on, the device is priced at $150, as of the time of this writing. Although the device has some compatibility issues, it worked well during testing with a Sharp Famicom Twin and the flash cart that I use. The KryzsioKart is what I’m still using. So if you bought one based on my review, you can rest easy and know that it will work with the RGB Blaster. I can’t speak to other flash carts, of course. The device only outputs RGBs and audio signals, but it adds significant value to the gaming experience by eliminating lag and other issues when it comes to video quality.
The testing that I did was done using a Sharp Twin Famicom, so your mileage can and will vary. This is only going to work on official hardware and licensed hardware though because they have actual PPU’s inside. This means consoles like the Sharp Famicom Twin and of course the Famicom. This isn’t going to work on your clone console, likely not anyway. You’ll likely try different games on a different device(s) in your testing.
What I discovered in my testing using my Sony Wega is that RGB produces a much clearer image with less distortion. This is when I compared it to a composite video. Composite, I found typically outputs more artifacts and is generally of a lower quality. And real quick, I also want to mention that the compatibility issue hole goes a little bit deeper when it comes to variables. I specifically mean certain games with different mappers. The game that I tried that gave me problems specifically was Laser Invasion. Again, I want to clarify that I can’t (and won’t) try out every game out there. But if you have games you want me to load up through my flash cart and try, let me know.

I do want to bring up a more obvious “downside” to the device. The death-grip contacts that are located on the top of the device, made by WingTat. It’s funny because I had the issue in my unboxing video (up above) and even the commenters on the video brought it up. So it feels like a good idea to have a strong edge connector when stacking cartridges, it’s not essential. Stacking cartridges worked out fine without having to push or pull them when it came to Sonic 3/Sonic & Knuckles. If you want to avoid the on-and-off issues it’s best to use a flash cart that’s compatible. Otherwise, you’ll feel like you’re breaking something on the RGB Blaster when you frequently swap cartridges on the top.
The last “negative” isn’t really one at all, but I should still discuss it. The RGB Blaster outputs a resolution of 240p. So, iff you’re wanting to output to a modern TV it likely will not work. Typically the lowest that most will do is 480i/p (depending). It will definitely work on the older televisions that supported it when you were only using it via RF. So in other words, don’t buy this with the hope that it’s some kind of upscaler. Though, if you really want to, you could get an affordable Sega Genesis HDMI adapter. Just be ready for it to be stretched unless it gives the choice of 4:3 aspect ratio. If you’re wanting to spend hella money, you could do a RetroTink or OSSC to upscale it and it will look great.
Overall Thoughts
In conclusion, Krikzz’s Zero Lag RGB Blaster is an excellent device for playing retro games on Famicom or top-loading NES consoles that provides excellent video and audio output without any issues. Although the device has some compatibility issues, it works well with most games and adds significant value to the gaming experience by eliminating lag and other issues. The physical design of the RGB Blaster allows your console to output games in RGB using a Genesis 2-style connector for video output. It’s not a fully emulated PPU, and some games may not work with it, but it’s still one of Krikzz’s first video output devices for a retro console. I definitely think that you should check it out!
Purchase Link:


