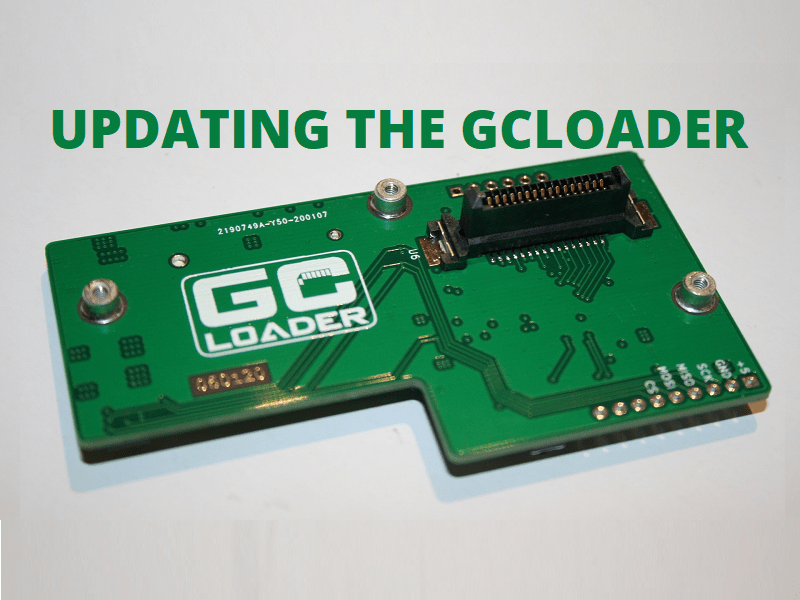
This is a quick tutorial on how to update your GCLoader. The article is not going to cover how to install the hardware or how to set up your SD Card for use in the GCLoader. We already have an article discussing installation here. And we have another one instructing you on how to initially set up your SD Card for the GCLoader here. This article instead assumes you’ve already gotten those done and you’re ready to make sure your GCLoader is on the newest firmware. Let’s do it, shall we? 
What You’ll Need:
- A Gamecube with a GCLoader installed (doesn’t matter which model).
- An SD card of any size (yes, a microSD card inside of an SD card adapter will also work).
- A Computer.
Instructions:
- On your computer, download the newest version of the GC Loader updater from here.
- You should now have the file downloaded and the extension on it should it should be .dol.
- Plug in your SD Card of choice into your PC (it should already be Fat32).
- Drag and drop your updater file that you downloaded to the root of the SD Card.
- Once you have dragged and dropped it to the root of the SD Card, you’re done with the computer side of things.
- Safely eject your SD Card.
- Insert the SD Card into your GCLoader slot in your Gamecube.
- Power on the Gamecube and it should boot directly into Swiss.
- Now from the list you see on your screen of games and such, locate the .dol file you placed on the root.
- Launch the updater and it will do the rest. Once it’s done, you’re up to date. Enjoy!
