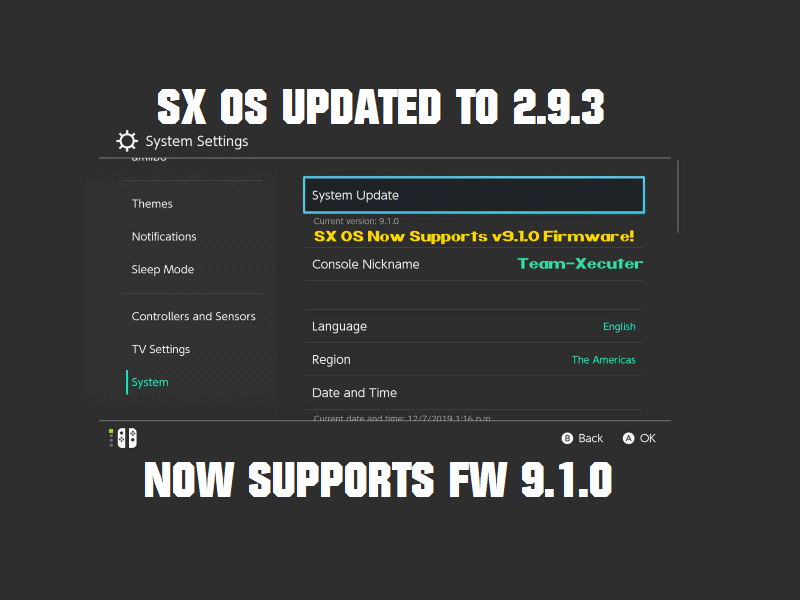
And just like that, SX OS users also have support for 9.1.0 firmware on their Switches. It didn’t take long after Atmosphere for 9.1.0 had been released. This most likely implies that the changes from the previous Switch firmware to the new one wasn’t something terribly hard to bypass. Nevertheless, we have the changelog, where to buy an SX dongle, and instructions down below if you want to get started!
2.9.3 Announcement:
‘This is all we have for today. We know everyone is eagerly anticipating news on our upcoming solution for patched consoles (fuse-patched, mariko, switch lite).. please hang in there, we will NOT disappoint you!’
-
- ‘Compatibility with firmware 9.1.0
A few days ago, firmware 9.1.0 was released. While this is a minor update in terms of new functionality, we want to make sure that everyone who updated their console (or emuNAND) to 9.1.0 can still enjoy SX OS.
-
- Compatibility with game titles that use newer encryption
Some (very) recent games would display as white boxes in the menu and/or could not be installed. This has been resolved. Enjoy the full compatibility!’
Where to Buy:
The best current place to buy in the US, and generally has sales pretty often is from Mod3DSCard’s site. If you need an SX Core or SX Lite, their site may have some. But in the US, they’re a bit harder to find.
Instructions for first-time users of the SX Pro/SX Gear dongles:
- Download the latest SX OS beta boot.dat file from xecuter’s website.
- Insert your Switch’s microSD card into your computer.
- Drag and drop boot.dat file to the microSD card. If you have an old boot.dat file, let this overwrite it. If you’re a new SX OS user, this just sits on the root.
- Return your microSD card to your Switch and use it how you always have.
- Boot the system using the SX Pro dongle or the payload injection method as you always have.
Instructions for current users:
- Go into the photo album app while using your current SX OS.
- Once inside, user the R1 button to go all of the way to the furthest right options menu.
- The final option at the bottom should be to update SX OS.
- Follow the prompts to update.


