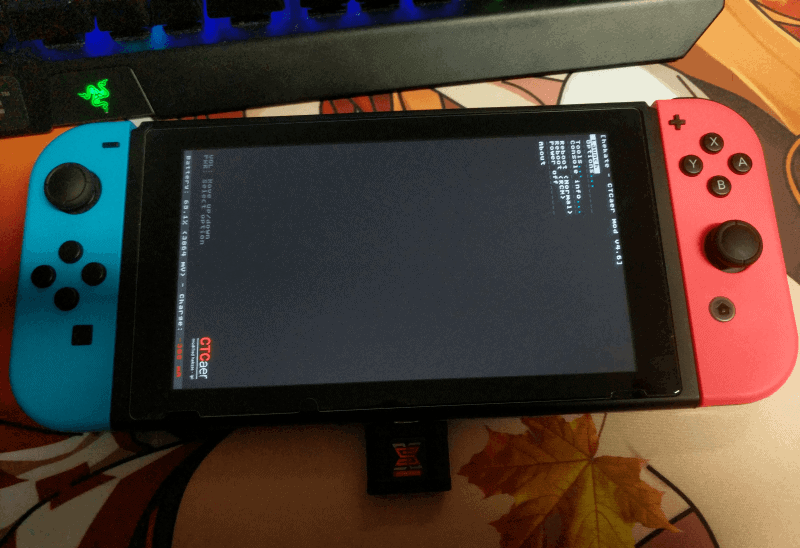
Many people I know adopted the SX Pro pretty early on when we didn’t have a lot of choices for a CFW on our Nintendo Switch. But since then the open-source CFWs have grown up and now surpass SX OS in every corner (except for those few still waiting to be able to play .XCI Backups on Atmosphere). But the SX Pro Dongle (and in that aspect also the SX Gear Dongle) only allow loading the SX boot.dat, which does allow chainloading other payloads, but having to go through all those menus everytime is quite a hassle. So if we don’t want to use SX OS any longer it’s useless, right? Well, this is where a nifty little Python Script comes into play by Developer CTCaer. I actually haven’t seen any real coverage for that and to be fair no tutorials at all even though this helps give life to an SX Dongle which would otherwise end up in a shelf and collecting dust.
The Script is actually quite old by now (has been released 7 months ago) but I’ve had people ask me how to autoboot into any other CFW with my SX Dongle quite a few times so I’m gonna give everyone a simple Guide on how to create your own custom boot.dat to be used with the SX Dongle. Keep in mind though that everytime the payload you chose to use with your custom boot.dat gets updated (For example Hekate version 4.7 gets released) you will have to redo this process, but I wouldn’t call that a deal breaker since it’s a matter of seconds to create a new boot.dat.
First of all, you need the following things:
Python 3 (Version doesn’t matter but I would suggest always using the latest one which as of right now is 3.7.2)
The tx custom boot script (I changed it a bit for ease of use/it now searches for a file called boot.bin instead of an outdated hekate version)
Any payload you want to be automatically booted (Can be either Atmosphere/Hekate/ReiNX or any other payload of your choosing)
So let’s do this:
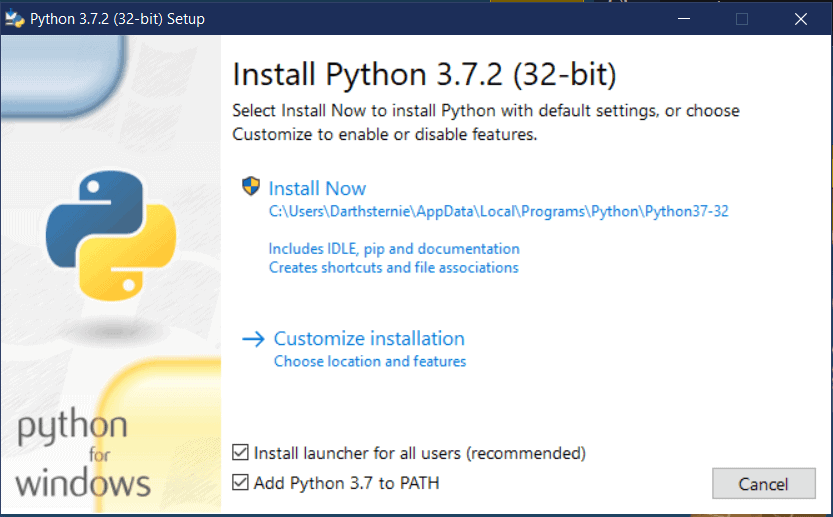
First of all, you will have to install Python 3. Make sure to tick the Box that says “Add Python 3.7 to PATH”
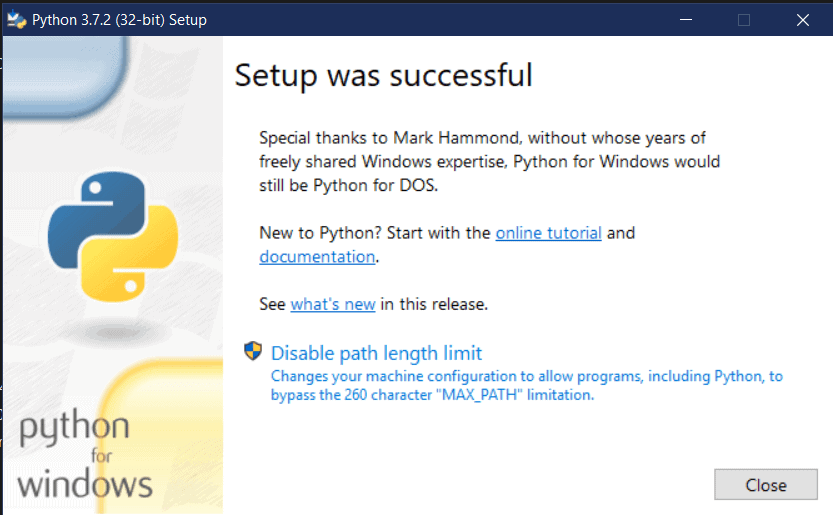
It will also ask you at the end of the installation to disable the path length limit. I advise doing this since it can help in avoiding headaches along the run.
Next up grab the payload you downloaded and place it next to the tx_custom_boot.py. You will have to rename your payload to boot.bin for the python script to work. For Atmosphere, you will have to use the Atmosphere primary Payload NOT the secondary.
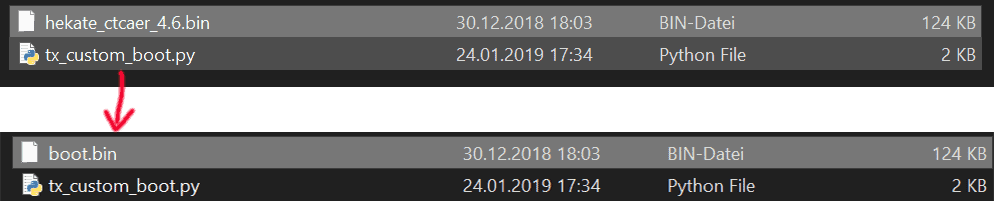
Now simply drag-and-drop the boot.bin file on top of the tx_custom_boot.py script and it will create a boot.dat for you which contains the payload you selected.

It’s that easy which is why I was quite confused that I found pretty much no information about this at all. I do hope this helps all you users that still have their SX Dongle to use whichever CFW you want with it 🙂
All credits for this goes to CTCaer who wrote the original script which allowed using our own payloads and converting them to a boot.dat.