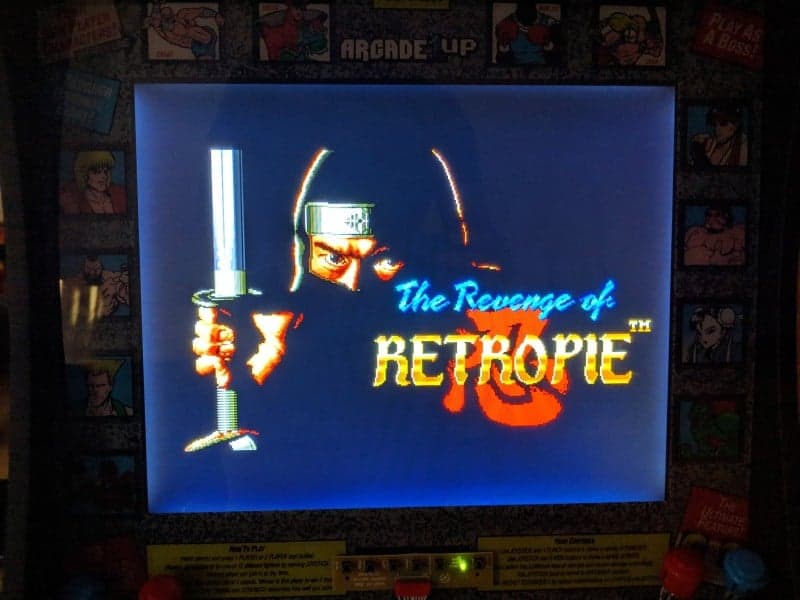
The Arcade1UP cabinets are a great way to replay your favor arcade games, with the looks and feel of a real arcade cabinet. If you picked up one of these cabinets an had it for a few weeks the nostalgia factor is starting to wear off and you’re probably thinking what else could I do with this mini arcade cabinet.
Well, you are in luck as the Arcade1Up systems are easy to modify with a few parts, after that there are so many things you could do with Arcade1Up its a modders delight. The reason I say its a modder delight is it’s a very easy setup and is nothing like some of those DIY kits out there. Where they are either too small with only one player or only come with a 10-inch screen. Plus you still have to paint it if you are trying to keep the cost down below $300 dollars. Then you look at some of those Arcade1up cabinets and they are pretty much done. All you have to do is swap out some parts and you can have a full-on arcade system. Right now they are going for $250 or $300 but some have been seen on sale for $150 dollars or less.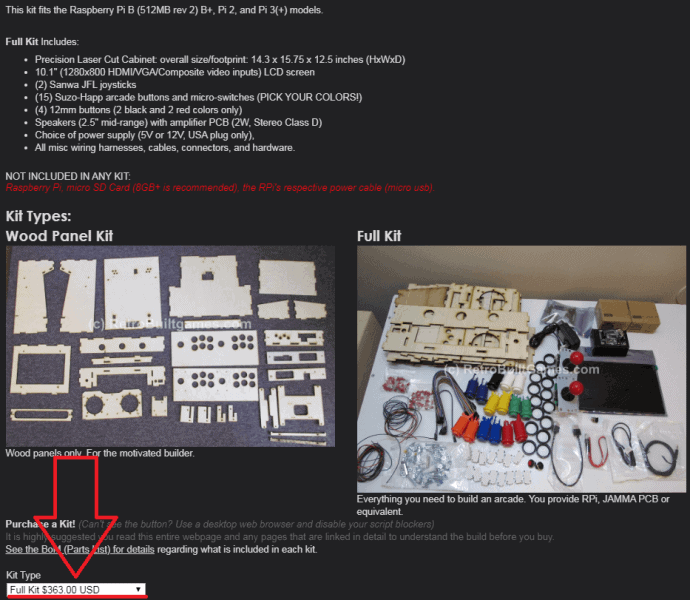
To modify the Arcade1up cabinets all you will need is a universal display board, new joysticks/buttons, and a raspberry pi. Now you don’t have to use a raspberry pi you can use a laptop, small pc, or even a game console like the PS4 in it but to make things easier and cheaper I put a raspberry pi3 in it. For the sound, you can either use a small speaker system or buy a small amp and use the speaker the Arcade1up cabinet comes with.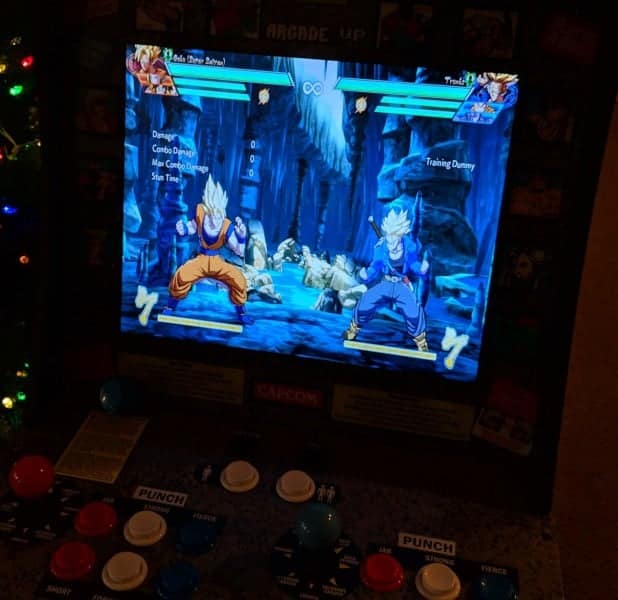
Parts needed to do this upgrade:
- HDMI LCD Controller Board for $30 dollars: https://amzn.to/2CA8CrO Or https://amzn.to/2QQEktn
- Audio Amp for $14 dollars or you can just use small pc speakers: https://amzn.to/2AgAz6r
- Arcade Sticks Buttons and Encoders for $30 to $60 dollars: https://amzn.to/2Smb9eC Or https://amzn.to/2IqHg8B. Note: that some bottoms may be a little bigger due to the wings on the side to lock in the buttons, so you may have to drill them out a little.
- Raspberry Pi 3 kit: https://amzn.to/2CAKjKo or Just Raspberry Pi3 https://amzn.to/2VaWZyJ
The first thing you need to do is take off the original board in the back and unplugged the wires connected to it. Then you will connect the universal display board to those same connections on the board. The universal display board will come with a power board for the display but you will not need it, you will only need the display board and control board. The power adapter that comes with the Arcade1up will work fine as the universal display board power adapter, so you don’t have to buy one.
Now make sure you pulled in everything the right way and the ground wire is also connected to the universal display board. Then you can mount it however you like to inside the cabinet, I put mine close to the bottom so I could put the control board on the front of the display and make it easy to turn off the screen.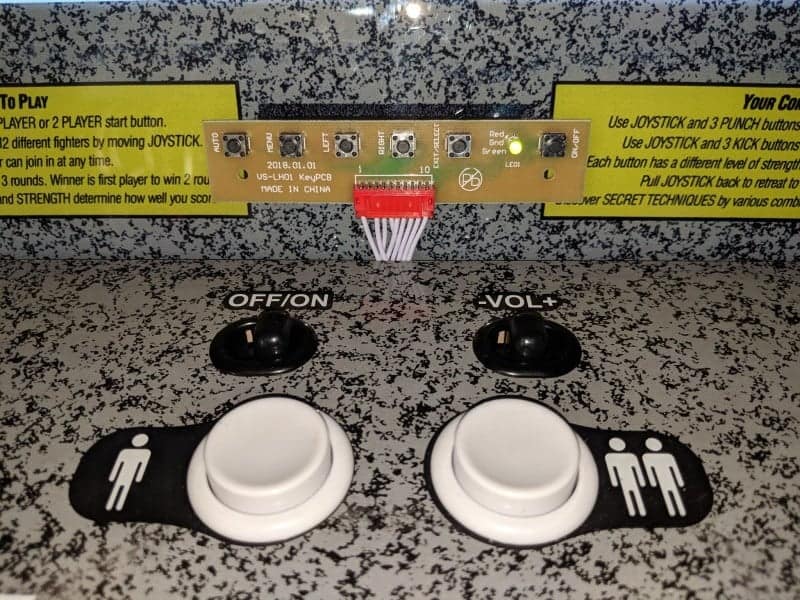
Next up is swapping out the button and joysticks, this part I used the Arcade1Up buttons and only swapped out the joystick. If the stock buttons crap out I have a set to fall back on, I would have used the original joysticks too but they would not work with the USB Encoders, so I had to use the new joysticks I ordered. 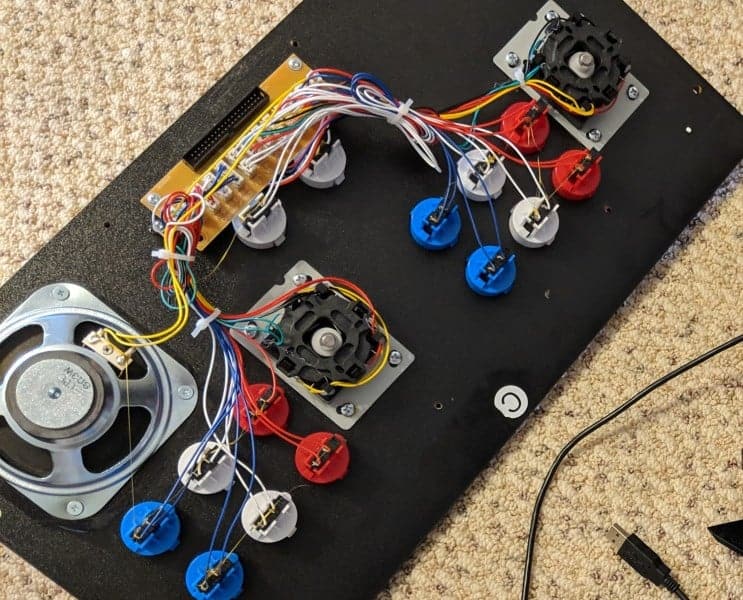
Hooking up the USB encoders are very simple to do just make sure you hook them up exactly like each other or some buttons will have different commands. Since the retropie will see them as the same exact controller and will configure player 2 just like player 1’s joystick and buttons.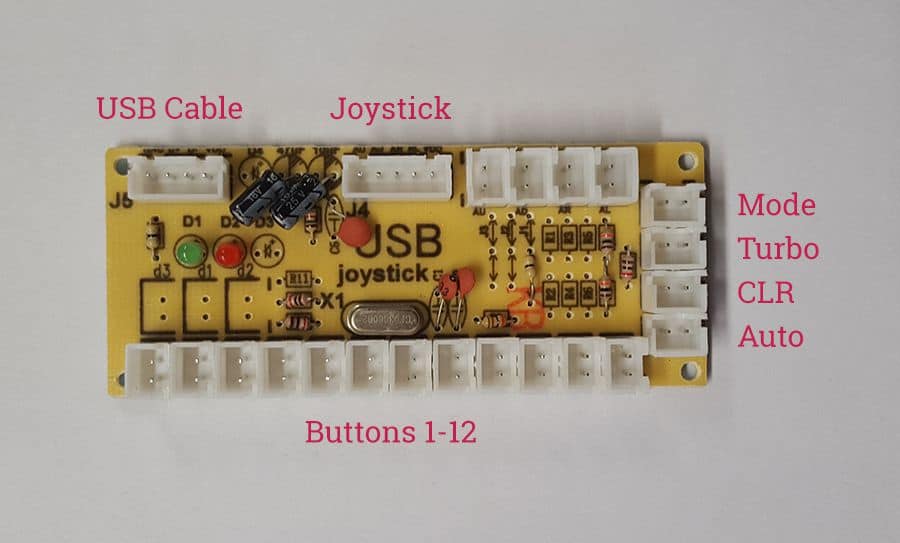
Most USB encoders will come with an instruction guide or an online instruction guide on how to hook them up. Once you have that all done you can mount the USB encoders however you like to inside the cabinet. Just make sure there are easy to get to just in case you have to swap buttons around later on.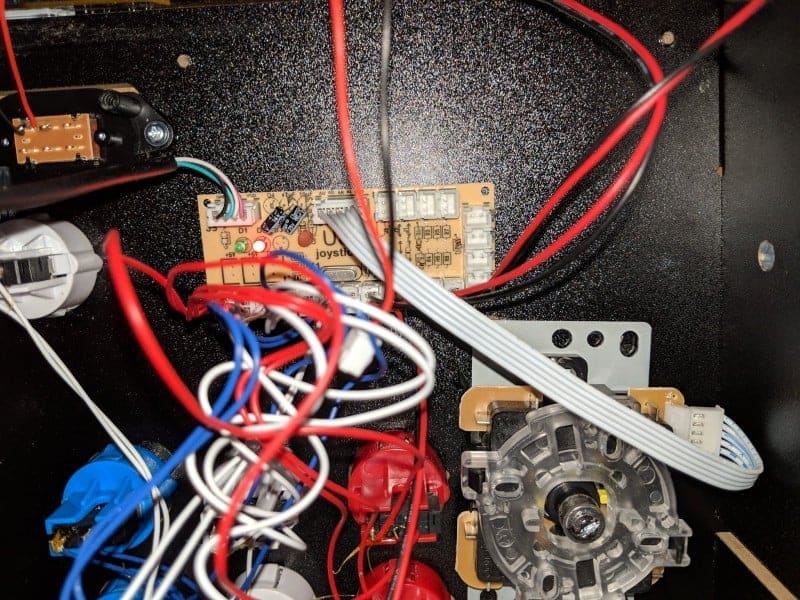
Now that the two main parts have been swapped out you can start with mounting the amp for the sound inside the cabinet. If you don’t want to get an amp you can use any speaker setup you like inside of the cabinet as there is plenty of room inside of it. Plus the universal display board sound hook up is a 3.5 audio jack, so you could even use headphones if you wanted to.
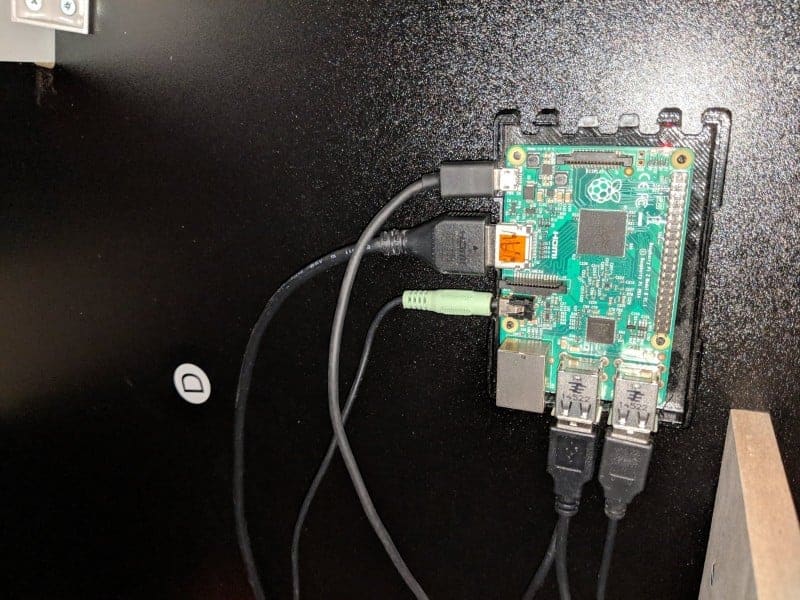
The next big thing to do is set up your raspberry pi3 but a lot of us might already own a raspberry pi for retro gaming with a good setup. Now if you’re happy with that setup just plug everything into the pi and turn it on. You will see the screen flash and the raspberry pi start to boot up into EmulationStation/retropie. 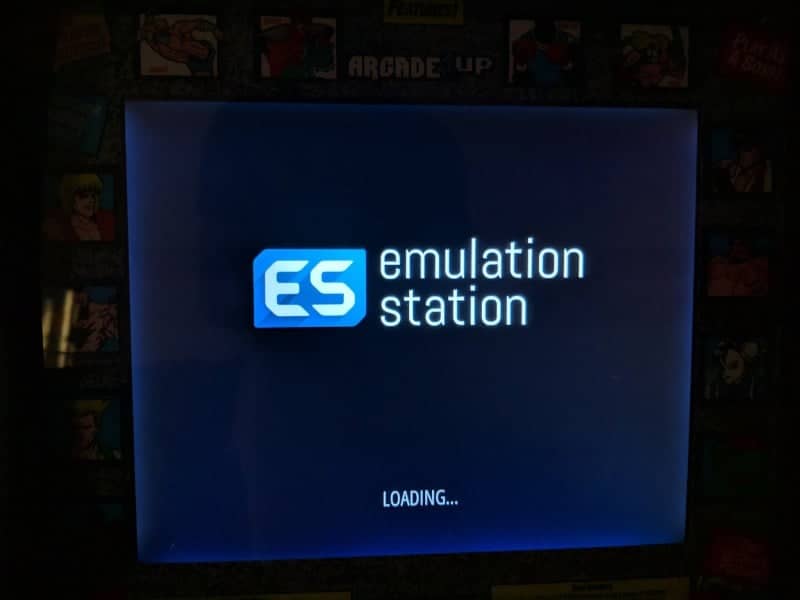
Then you will be promoted that a new controller has been found, just configure it the way you like and that’s it, now you have a full mini arcade with tons of games.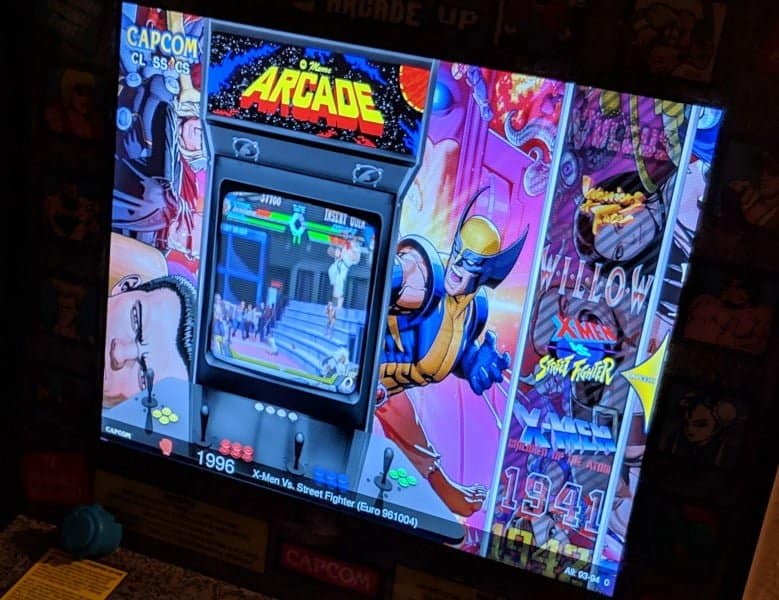
If you don’t like your retropie setup I recommend checking out Arcade Punks they have fully loaded images that have all been preconfigured.
As you can see upgrading your Arcade1up can be very easy to do especially if you get the Rampage or Streetfighter 2 edition. If you got another unit it won’t be hard to get your local hardware shop to cut out a new panel the same size just like the original one.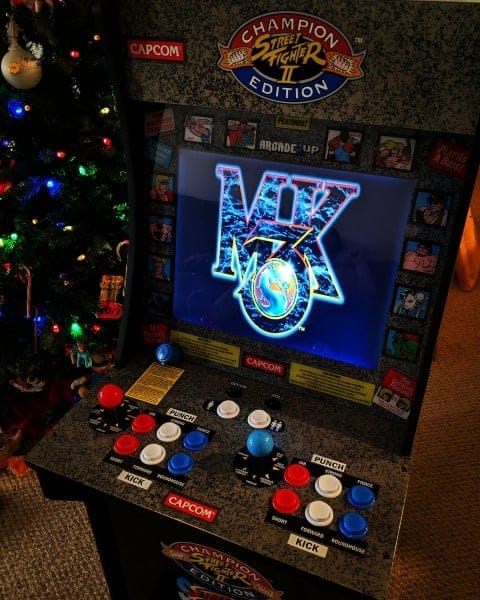
The cost to do this with my unit only set me back $60 dollars, since I already had a Pi3 and a speaker system to use with it. If you been wanting to get a mini arcade set up in your home for a while I defiantly recommend getting one of these units to upgrade/modify. For one they are super easy to set up, fully painted and easy to upgrade/modify, unlike DIY kits. Plus you might even save a few bucks when comparing an arcade DIY kit, to just buying and upgrading an Arcade1up cabinet.