Just recently we wrote up an article outlining the release of the SX Pro and SX OS from Team Xecuter. It was a glorious day for those of you out there who wanted a solution for backup launching on your Switch. And not just a solution for it, but one that was at the ready once you had the money for it. If you want to read that article, click here. But what we’re discussing today in full detail is the SX Pro that we received for review.
Trailer:
https://youtu.be/Z8TSo3lIK00
Fast Unboxing:
SX Pro Features:
- Compatible with all firmwares and all regions.
- Games ROMs available right now from release groups are compatible as well as your own backups. Just make certain you own the game whether you dump it or download it!
- Has an optional “AutoRCM” feature that can be installed to your Switch Console such that the jig tool is not needed anymore on boot. The AutoRCM feature makes a tiny modification to your system’s on-board storage via software, and from there on you will ONLY need the dongle (and won’t have to press the volume key) when booting your console. With the AutoRCM feature installed, your Switch will only boot up with the SX Pro Dongle inserted or by any other USB-C launching method currently available. Once booted, you can always uninstall AutoRCM through SX OS.
- The license is for life. And all updates are free and for the lifetime of your console.
- SX Pro the license is tied to your dongle and console. In case of SX OS the license is tied to your license code and console.
- The current version of SX OS only allows to play cartridge-based games.
- Homebrew supported.
Pros:
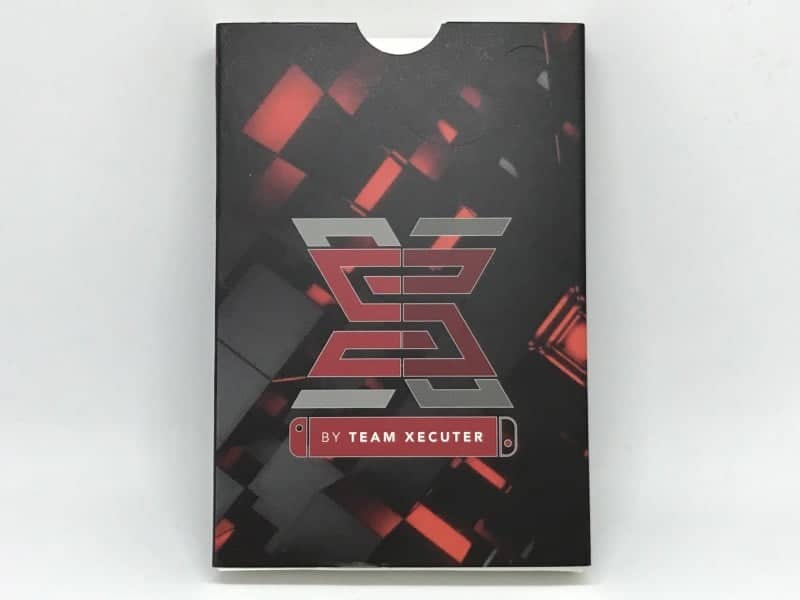
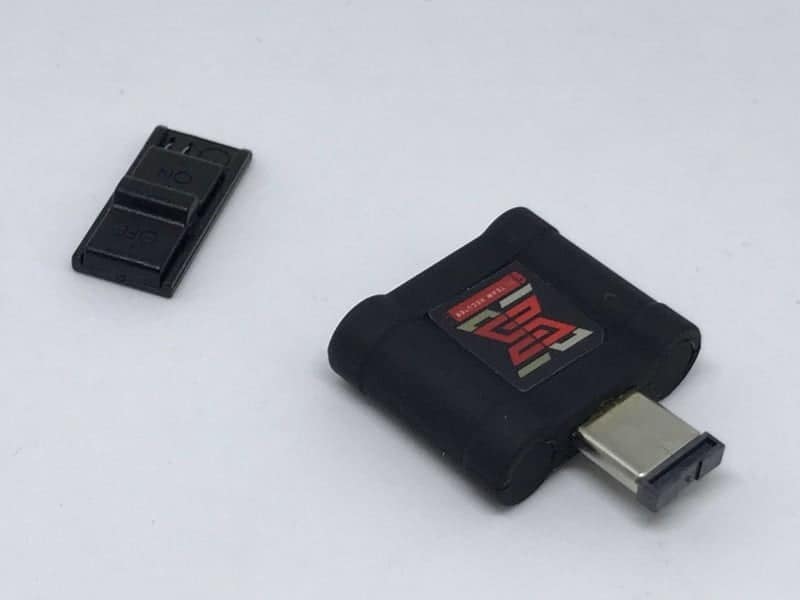
As far as flash carts and such go, the SX Pro is top tier in terms of ease of use. You’ll notice that in the unboxing video that I did that in the simple box is just the items; the jig, the USB cord, and the RCM dongle. We all know what the jig is for at this point, bridging pins on the right joy-con slot. The USB cord is so that you can simply charge your RCM dongle. The RCM dongle itself plugs into the USB-C port on the bottom. So now everyone understands the basics, yeah?
While the hardware aspect of this venture is clearly simple, the software that is required is also just as simple. Without going into too much detail, you just download the current SX OS from here and put that on the root of your SD card and that’s it. Even if I wanted to, I couldn’t have gone into any deeper detail. The directions here are way too easy and I encourage everyone who gets one to spread the word.
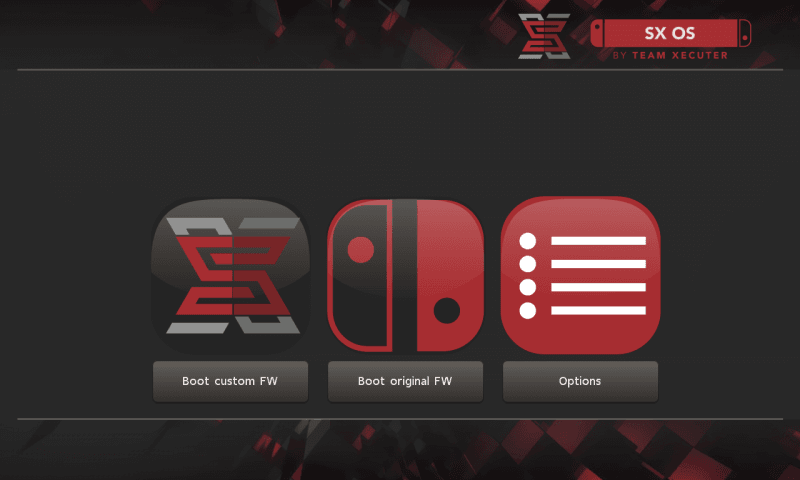
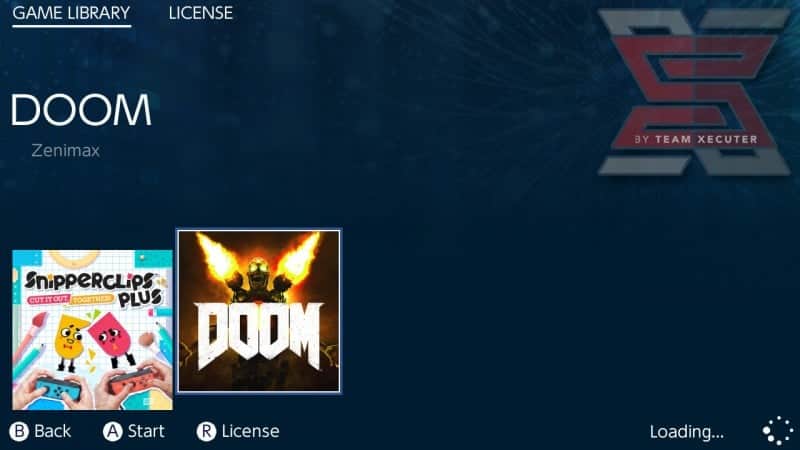
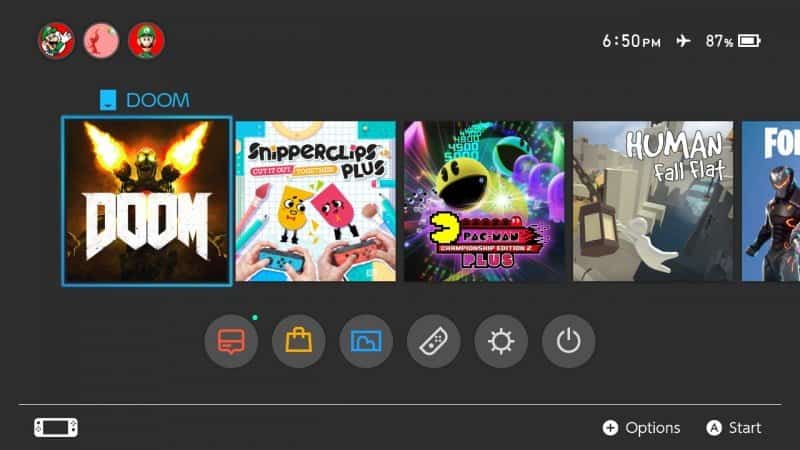
To start your Switch with SX OS, you simply have the hardware in place and the boot.dat on your microSD as we discussed. Then power off your Switch and instead of powering it on normally, you simply hold volume up and power until you’re in. Tapping the Album app brings up the standard SX game loader application. If you want to use homebrew as you normally would, you hold R and press the Album app. If you want to use the Photos app as the Album app, simply hold L while tapping on the Photos app.
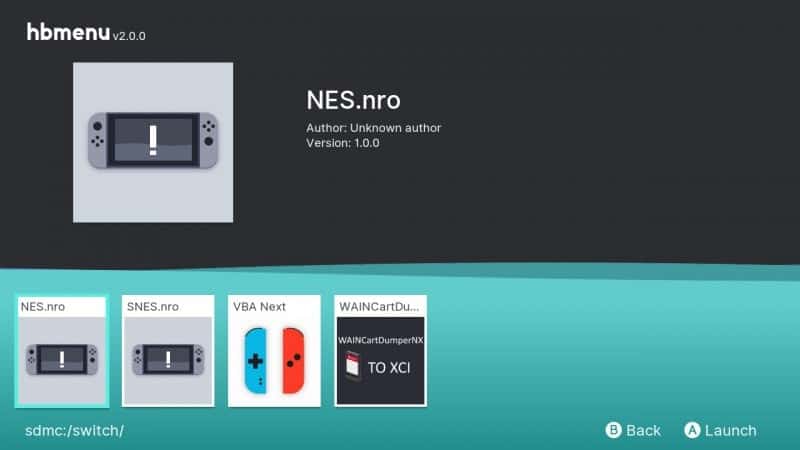
The features built into this device are currently unrivaled. Aside from the features mentioned up above, I tested out other lesser known features. Like with the homebrew support for instance. First, I tested emulators from this page, I also tested a few apps like Ftpd and NX Shell 0.3. Most of them worked, but not all of them. We’ll talk more about that in the Cons section down below. But if you have a favorite payload for a CFW that you like, or if you want to try all of them, there is a feature in the SX OS boot menu options. The feature lets you launch an external payload, meaning you can put any payloads you want on your microSD card. When you run this option, the SX OS will see them and give you a choice of one to use.

There is a feature called AutoRCM. Here is the exact dialogue that appears when you choose Install AutoRCM. “This will install the AutoRCM feature on your Switch Console. After installing, your Switch Console will always enter AutoRCM mode on power up. You can always safely uninstall the AutoRCM feature to allow your Switch Console to boot up normally again. Do you want to continue?”
I believe this is a mode that people will enable because they think it means you can leave the SX Pro at home. But quite frankly, you can only leave the jig at home. You still have to have the dongle in the port to run the payload. I enabled it just for review purposes. It gives you an SX OS splash screen and adds an extra 5 seconds on top of the normal boot time and then you’re in. It pretty much adds the same amount of time to the end user, but maybe it saves you the grief of having to slide on and off the Joy-Con. This mode is technically safe, but I feel like some users will feel iffy about it. I will say that it works, that’s for sure, I would just rather not use it.
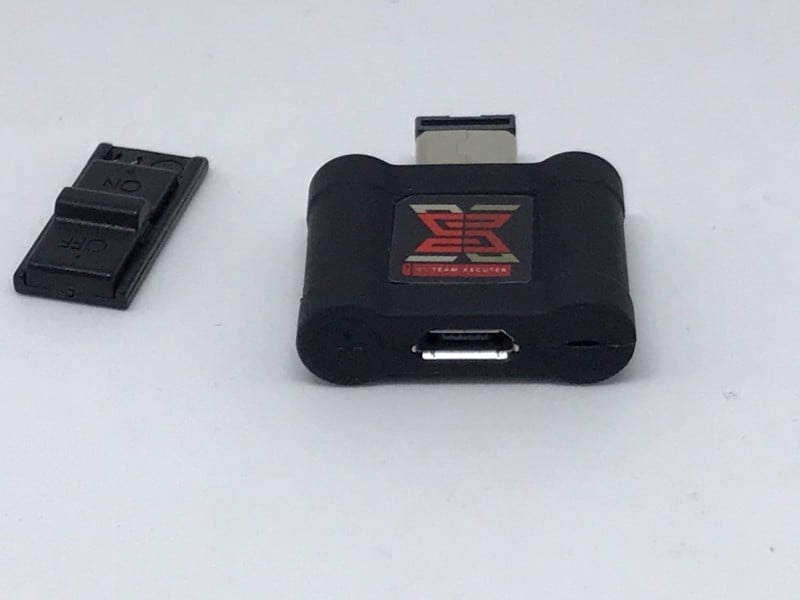
It’s build quality is second to none. And if I’m saying that, you know that I mean it. I love to put the products that come to Hackinformer through the ringer. I attempted bending the USB-C male part of the dongle back and forth. It didn’t budge! I thought for certain I’d at least feel it wiggle. Now, I’m certain if you had this connected into your Switch, you could snap it off if you struck it hard enough. The thing snaps in so well into the Switch and doesn’t move a single millimeter. If you look on the short end where the female USB port is on the dongle, there is a + and – symbol. When the jig is being charged or is powered on, it has an LED inside the – sign that illuminates.
The other pieces of the pie are the jig and USB cord. Now what I like the most is that I believe this is the first official jig to market. All of the rest of the jigs that I’ve ever seen for sale were 3D printed at best. This jig is factory formed and it is all one solid piece of plastic. Needless to say, I couldn’t find a flaw in the build quality anywhere. And of course the USB cord was fine, but quite frankly, it could break and it wouldn’t matter. Everyone has 1000 of those cords in every room of their house. Not to mention that the dongle can be charged through the Switch itself while it’s powered on and can do so within 15 seconds. And that one charge can last dozens of boots into SX OS.
There are plenty more pros here, but they’re all easy ones, so we’ll do a lightning round. The price is extremely affordable (about the cost of a game), it’s portable, it doesn’t require a computer connection, compatible with every Switch released to date, compatible with all firmwares past, present, and future, the SX OS is updateable, the process is solderless, you won’t void your warranty, there’s loading of your backups, and you can always still use your Switch as you bought it as the SX OS CFW is not permanent!
Cons:
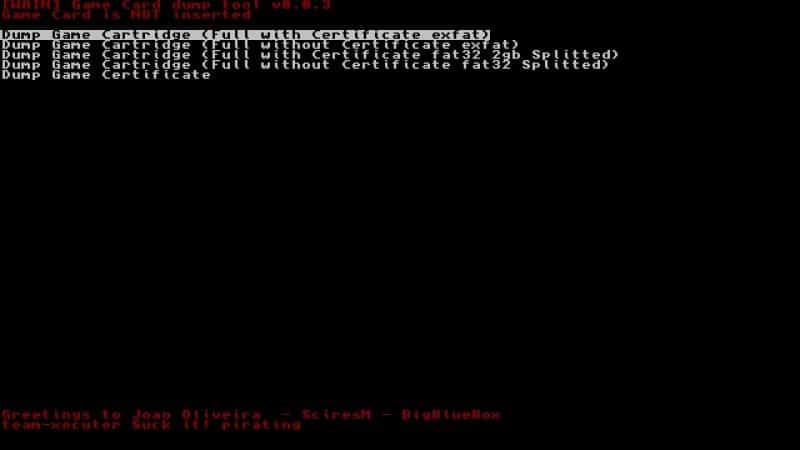
You cannot have a game cart in the slot if you’re wanting to load a backup from the cart. This is fine for those of us using the SX OS for loading backups, this means that all of our carts are being backed up anyhow, thus no longer needing them. People using SX OS for illegal purposes that own games that they don’t want to back up as that takes up more space will be perturbed that they will have to remove a game every time. My advice to them is to upgrade your microSD card and just backup your legally obtained cartridges first and you’ll never be without. You can, however, play any and all downloaded eShop games through the SX OS. You don’t have to restart the system or anything crazy; simply select them as you normally would.
Currently, of the ~150 carts out there globally, about 10 that don’t work. This is because Nintendo started using something that has been deemed CART2. The name indicates that it is a newer revision of the cart, thus it isn’t currently supported by Team Xecuter’s SX Pro. However, they mentioned in a press release just a few days ago that they are actively working on it. They didn’t give us a time frame, but as of now, no AAA titles are CART2 games anyhow, except maybe L.A. Noire. If you’re using SX Pro for it’s legal purpose, this shouldn’t bother you too much as that means that you legally own those CART2 games and can wait for the support. You’ll just be somewhat annoyed as I mentioned in the previous paragraph.
The homebrew support is both a pro and con. SX OS 1.1 is the current version of their CFW and it brings better homebrew compatibility. However, it isn’t perfect. There was definitely some more legacy homebrew that just doesn’t quite work. I mentioned before that I tested all of the emulators that I tried on Switchbrew. The answer is that most of them worked, but a simple NES emulator wouldn’t even function. I felt like that is a base emulator to be able to pull off.
The dongle itself holds a charge, but it does not charge the device. It certainly doesn’t hold enough charge for that logically. However, you can’t use it as a passthrough device either. What I mean by that is that you cannot plug the micro USB cord into a charge port and use the dongle as a microUSB to USB-C converter. I really hope they actually do this for future revisions of the dongle as that would make peoples’ lives easier. I know most of you won’t keep the dongle in unless you are using it upon boot up, but there are some people. Specifically, those who realize that with AutoRCM they may as well leave their dongle in during play so that it doesn’t go missing.

Overall Thoughts:
It’s a simple, robust, inexpensive system that allows you more features than Nintendo gave us which outshines the other CFW’s for now. As it stands, the only way to launch your backups is to own this device. That alone should be a selling point as it removes the need to carry and potentially lose game carts. Even if you aren’t worried about that, there is still the all too annoying cart swapping. This basically makes your carts become like digital games, but you can preserve them on your shelf for ages to come. Yes, there are some apparent downsides, but Team Xecuter has a great track record of creating great products and supporting them for the life of the system that they’re made for.
Sure, I could list a whole heap of features that I would like for the SX OS that it doesn’t have. We would be here all day if that were the case, the bottom line here is that it does what it advertised. And they stay ahead by announcing what they’re working on, so let’s hope that they introduce a lot more features as time continues. I say it’s definitely worth your cash, but how much is it? Well, we have specialty pricing for you, Hackinformer reader! Scroll onto the next section.
Where To Buy:
We have a newer partner in Mod3DSCard, so you can find it there. It’s on sale a lot, so don’t miss out!
NOTE: Shipping cost will be different per person basis as you all live in different locations!
If you like the author’s work, follow him on Twitter @V1RACY and don’t forget to enter the weekly giveaways!
And as always, stay tuned here on Hackinformer.com for so much more and follow us on Twitter @Hackinformer