
 How to install a custom PSone (Re-Birth) Bubble
Working for Firmwares: 3.00 - 3.51 (3.52) |
PlayStationTV compatible: No |
Difficulty: Hard |
Time: approx. 25 min |
|
| Requirements: |
|---|
|

Note: This is once again a tricky and not 100% perfect method!!
Step 1: Dumping your app.db file
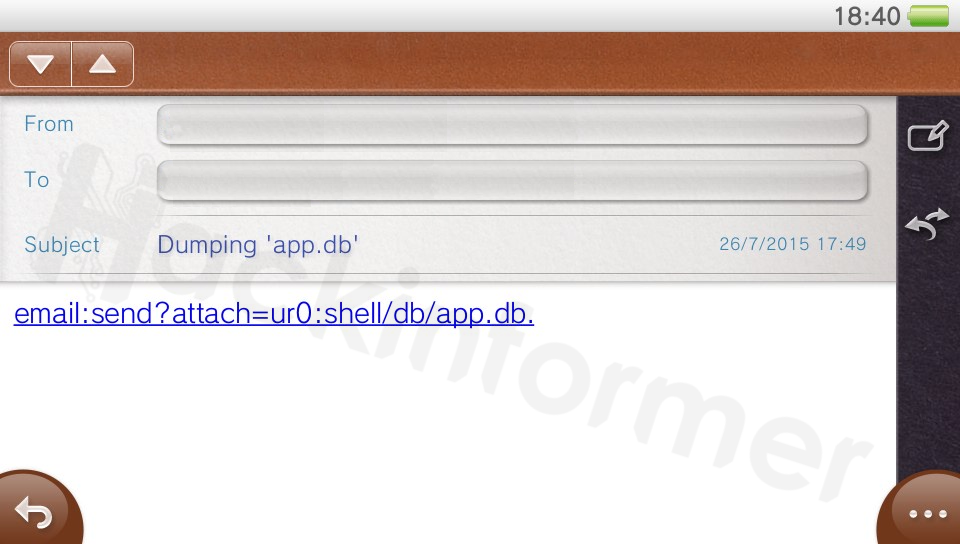
1) Send yourself an e-mail with the following support_uri as link:
2) Open your E-mail App on the Vita, wait for the mail and click on the link
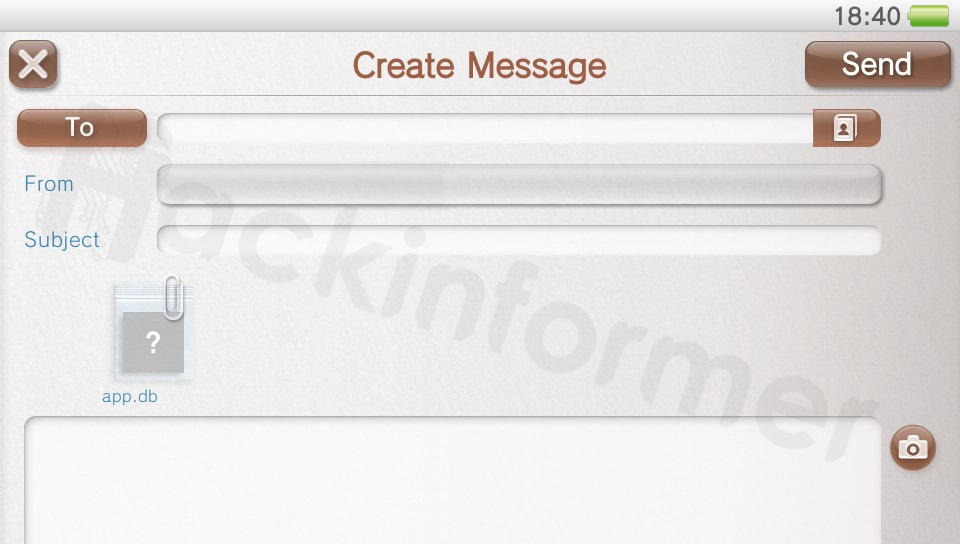
3) Now just type in your e-mail address again and send back this e-mail with the app.db file as attachment. You will notice the E-Mail app close itself, thats normal and supposed to happen! :)
4) Retrieve the dumped app.db file with your PC's e-mail client and just leave it on your desktop for now..
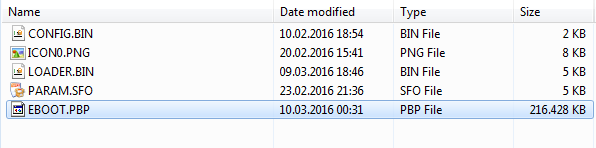
Step 2: Moving/Copying your PS1 basegame (EBOOT.PBP)
To install a custom PSone re-birth bubble we need to fake sign the Game we want to use with an original PS1 basegame's headers. In order to sign it we need to dump those headers from our installed basegame installed on the Vita first.
So which is the best Basegame to go with? Unlike to PSP games any PS1 game will do! Just make sure to pick a small one as you will need to move it.
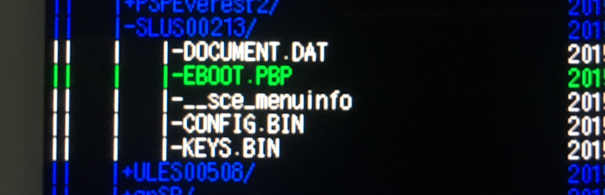
Note: I'm going with the Game Tekken 2 (SLUS00213) for this tutorial.
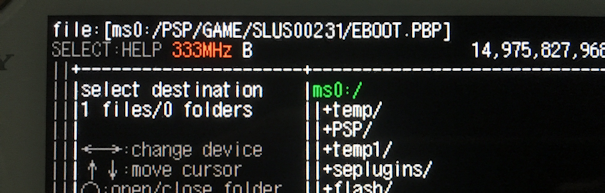
5) Install/open any fileing Homebrew like PSPFiler6.6 via TN-V
6) Navigate to your basegames folder in ms0:/PSP/GAME/ and copy the EBOOT.PBP to the root ms0:/
Step 3: Obtaining the BASE_HEADERS.BIN file for signing
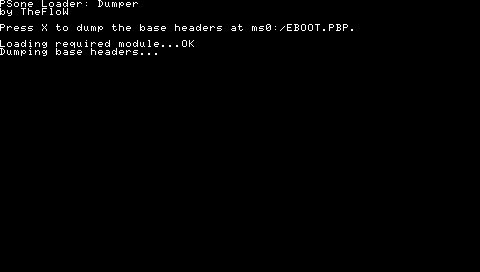
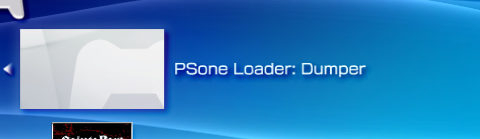
7) Okay, the very first thing we need to do now is to install the DUMPER Homebrew from the release pack. Install it just like any other Homebrew on your Vita.
8) Start the programm and press  to dump the base headers
Note: Once the process finished successfully, you should find a new file at ms0:/BASE_HEADERS.BIN
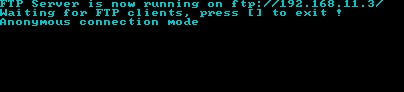
9) All thats left to do is obtaining this file and downloading it back to your PC
method 1: via VitaFTP
method 2: via Mail-dumper
Step 4: Signing your custom PS1 EBOOT.PBP
10) At this point you should already have your custom PS1 EBOOT.PBP game you want to sign and place it together with your BASE_HEADERS.BIN file into the download archive next to the signer.exe.
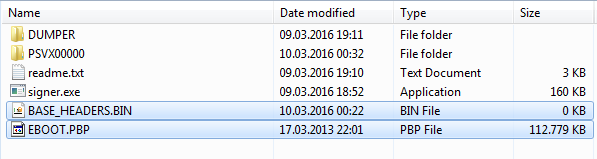
11) Now you need to run the signer.exe with the following arguments via CMD or a batch file.

signer.exe BASE_HEADERS.BIN EBOOT.PBP
or
signer.exe BASE_HEADERS.BIN EBOOT.PBP OUTPUT.PBP
12) If everything worked your output file should now have the custom module injected and will be recognized as validly signed on your Vita. :) (But not via TN-V or ARK anymore)
Step 5: Copying your signed EBOOT.PBP and core files
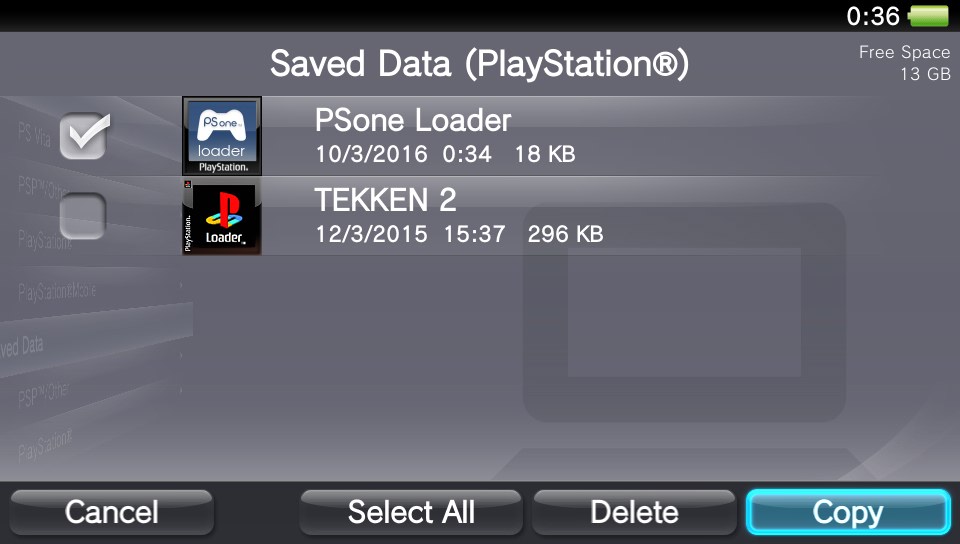
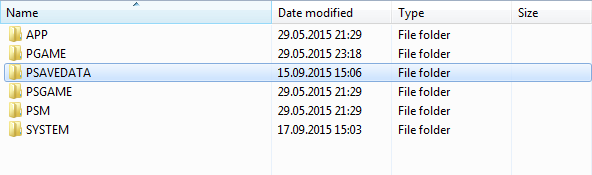
13) Take the PSVX00000 savegame and move it to your CMA directory
14) Additionally to these PSone Loader core files put the EBOOT.PBP you just signed in there as well
15) And transfer the savegame via QCMA to your Vita. (You'll find it at 'PlayStation(R)' in CMA)
Step 6: Installing the custom EBOOT.PBP correctly
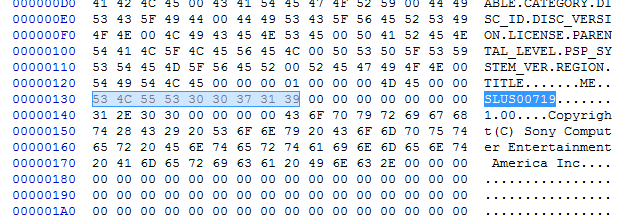
16) Find out the DISC_ID of your custom PSone Game. Just open the EBOOT.PBP with any hex editor
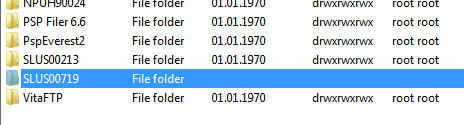
17) Create a new directory in ms0:/PSP/GAME/DISC_ID and move the EBOOT.PBP from the savegame to said folder.
3.00 - 3.36 -> PSPFiler, VitaFTP etc
3.50 - 3.51 -> Rejuvenate
3.52 -> PSP Installer (not recommended)
Step 7: Modifying the app.db file
18) Back on the PC we can now go to the Bubble Creator online tool by @cm_pony & szczuru and fill in the fields considering your DISC_ID and name of your Game.
(If you want to use the same settings (controls, screensize, ..) of another legitimately installed PS1 game (probably your basegame) with your custom one enter it's titleID at "Settings game TitleID"!! [may end in error E-FFFFFF)
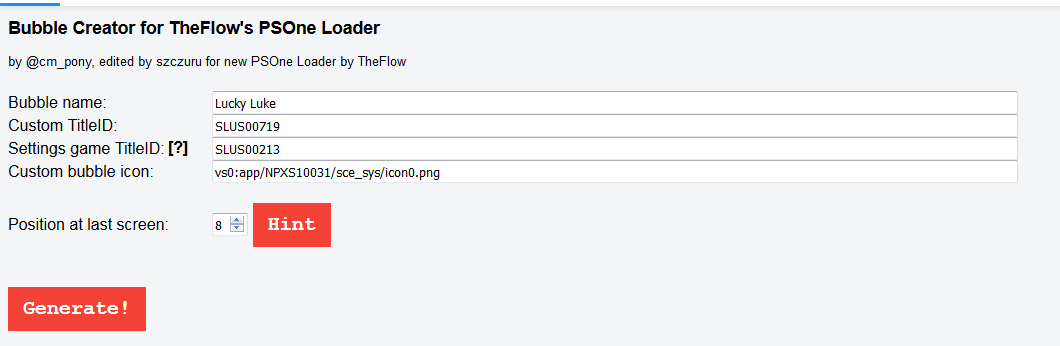
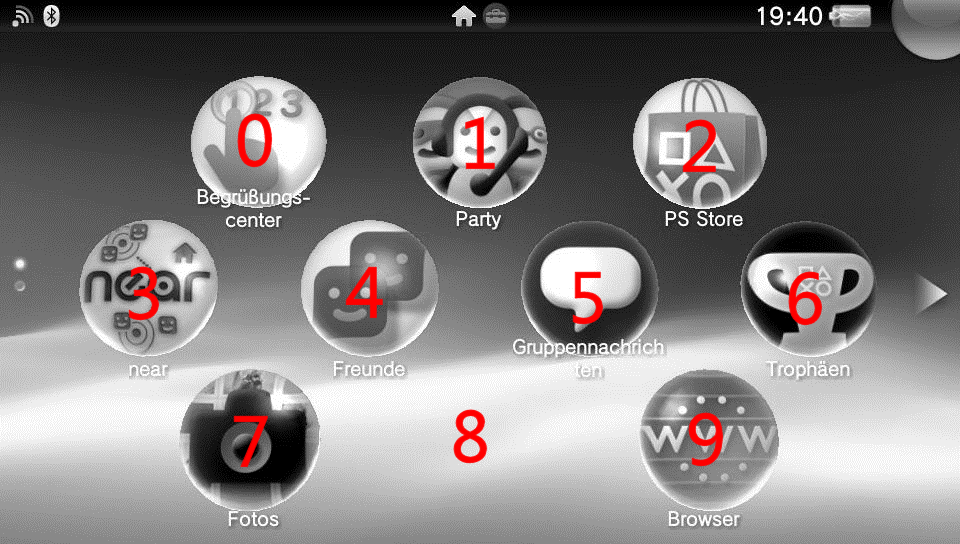
Note: For the Bubble position you need to have the last bubble position on the last page free or manually edit this yourself! Thats why I used 8 as position here.
19) Hit Generate! and copy the output.
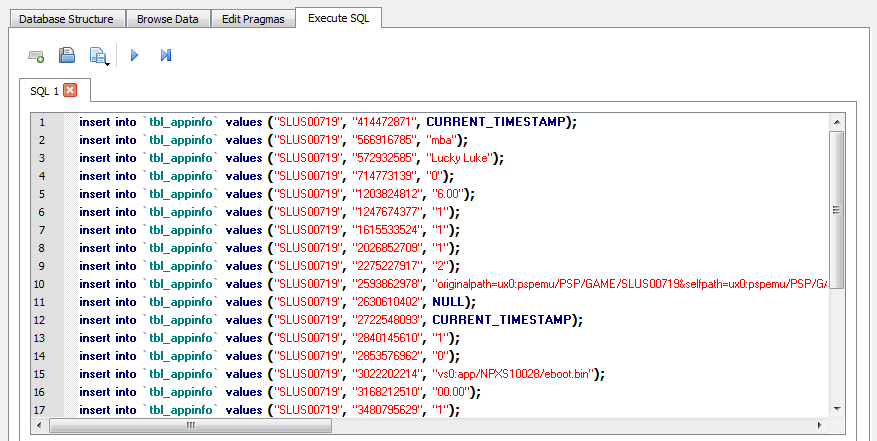
20) Start the SqliteBrowser, open our app.db file we dumped earlier..
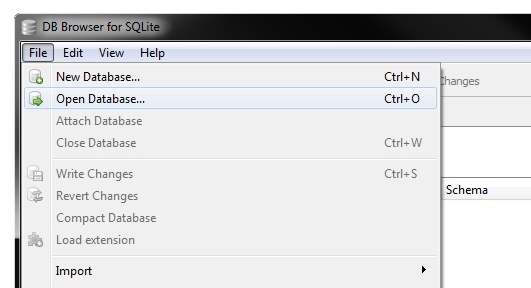
..go to the Execute SQL tab and paste the output.
22) When you're done hit the blue Play Button and if everything was inserted correctly also Write Changes and close the programm.
Step 8: (Re)Installing the modified app.db file
If this is the first time you are going to use this Mail-Installer method,
please make sure to follow this tutorial on how to set everything up first!
23) The very first thing to do now is to simply rename the 'app.db' file to '#0' without any file-ending!
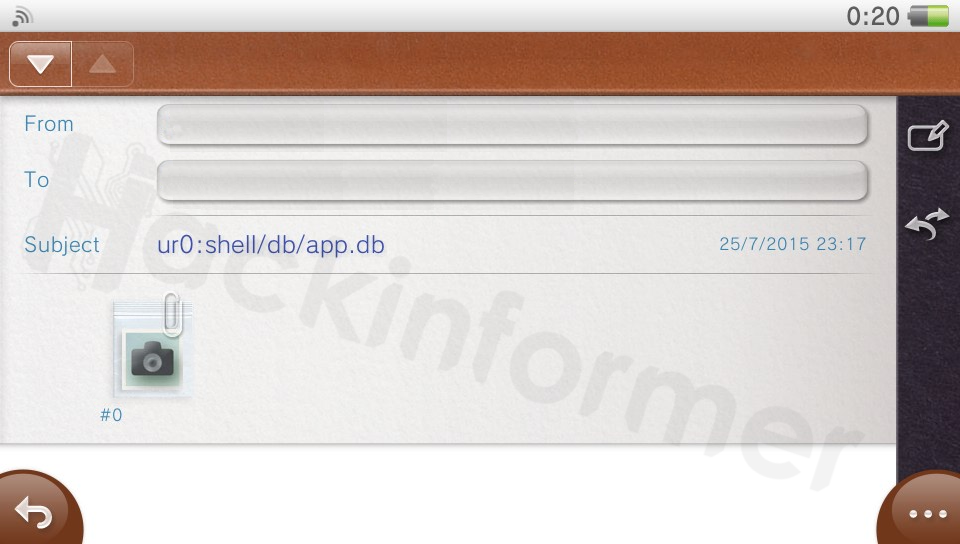
24) Now we are going to write a new e-mail with the #0-file as attachment and the path we want the file to be installed as Subject. Send it to your vita!
ur0:shell/db/app.db
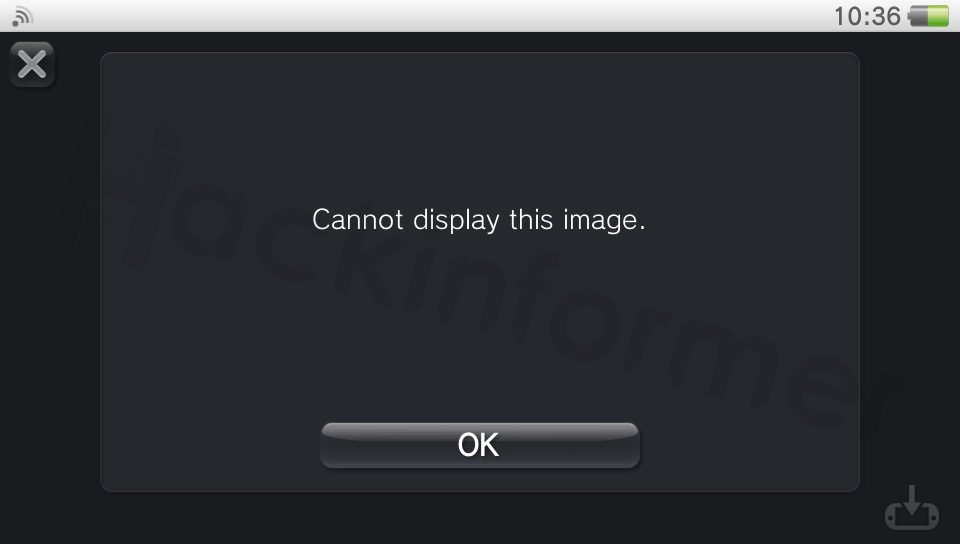
25) If everything worked right you should see a camera symbol. Touch it and DO NOT click OK on the appearing Error Message but simply close the e-mail app completely!
26) Restart your Vita and your custom re-birth bubble should be set up! (Yes, this is the default look and how its supposed to be!!)
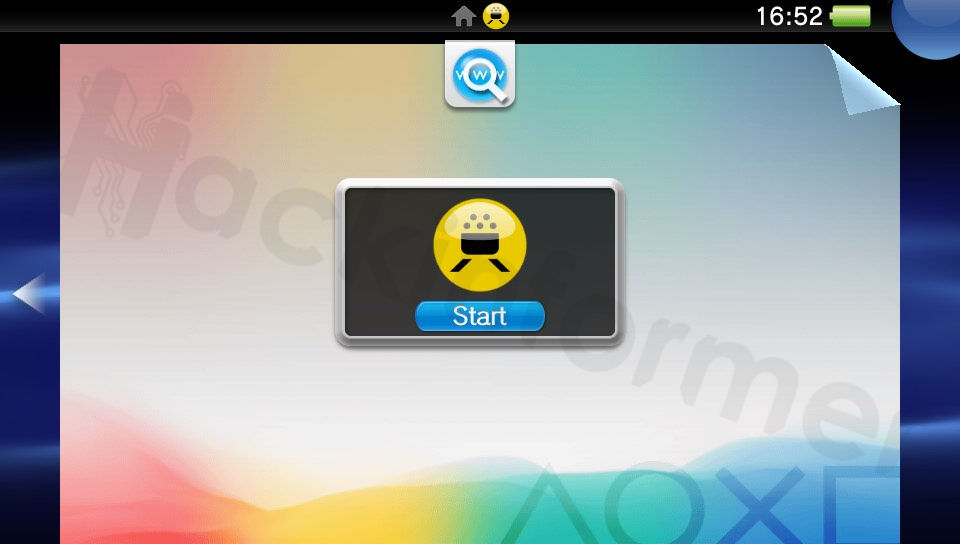
Done!
Addon: Changing the Bubbles appearance
FAQ & Troubleshooting
|
|
 My Vita performs a database refresh when restarting at the last step.
 This means the app.db got corrupted somehow. Restart at Step 5
|
|
|
|
|
|
|
|
|
|