Note: All methods are temporary and you will need to restart the whole process after a database rebuild.
0) If you haven't started your game after for example a database rebuild, open it once. (When 'Please wait' is displayed the game will be 'registered' in the app.db)
Step 1: Dumping your app.db file
Depending on your firmware there are different ways to do this:
Fail-Mail trick - for firmware(s) 3.00 - 3.52
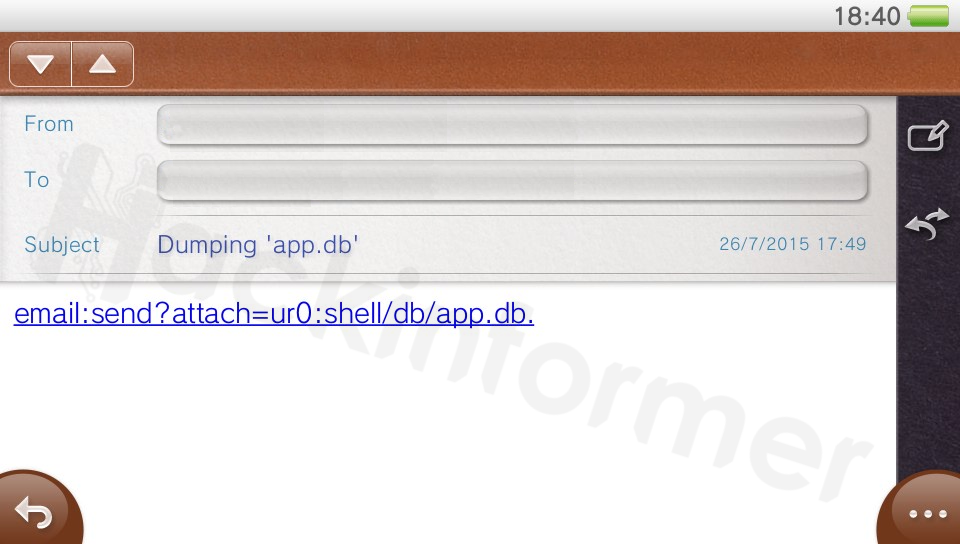
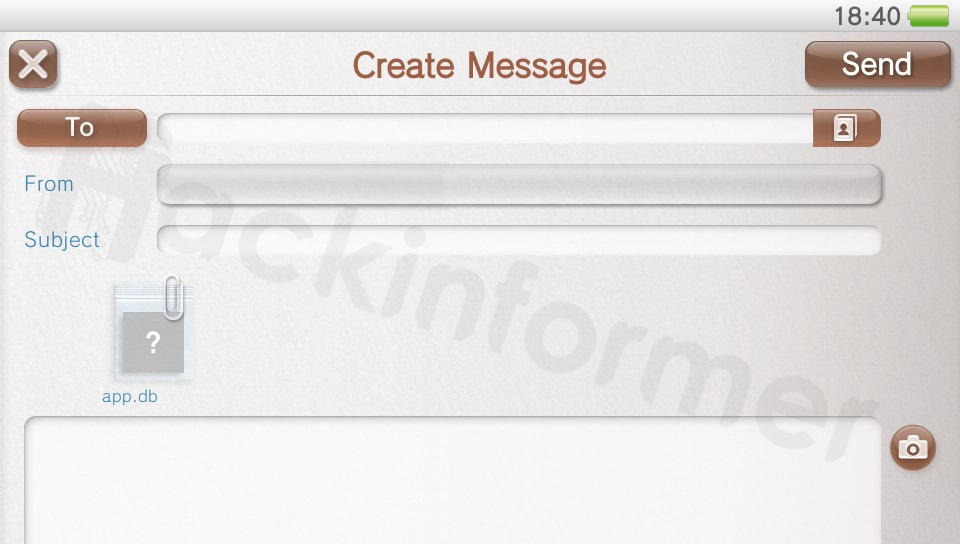
1) Send yourself an e-mail with the following support_uri as link:
email:send?attach=ur0:shell/db/app.db.
2) Open your E-mail App on the Vita, wait for the mail and click on the link
3) Now just type in your e-mail address again and send back this e-mail with the app.db file as attachment. You will notice the E-Mail app close itself, thats normal and supposed to happen! :)
4) Retrieve the dumped app.db file with your PC's e-mail client and just leave it on your desktop for now..
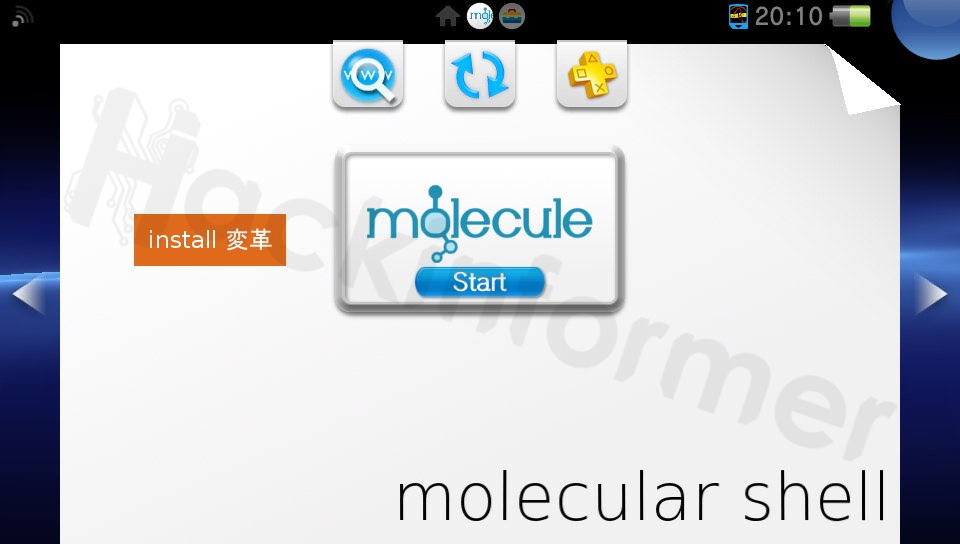
HENkaku - for firmware 3.60
1) Open your browser, go to henkaku.xyz and install the Homebrew Enabler
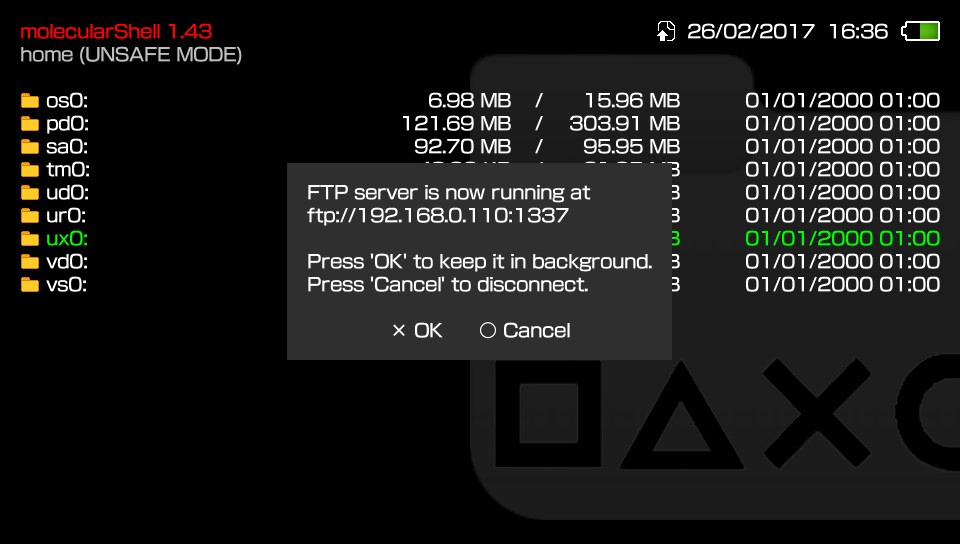
2) Open molecularShell and press select to start the FTP server
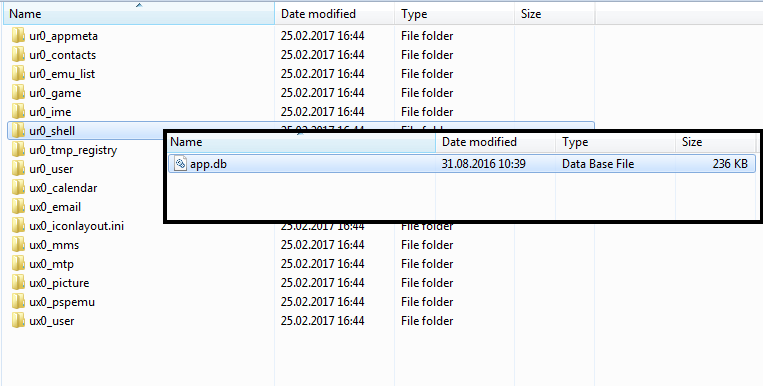
3) Use FileZilla and navigate to ur0:shell/db/ and download the app.db file
Backup Editing - for ALL firmware(s)
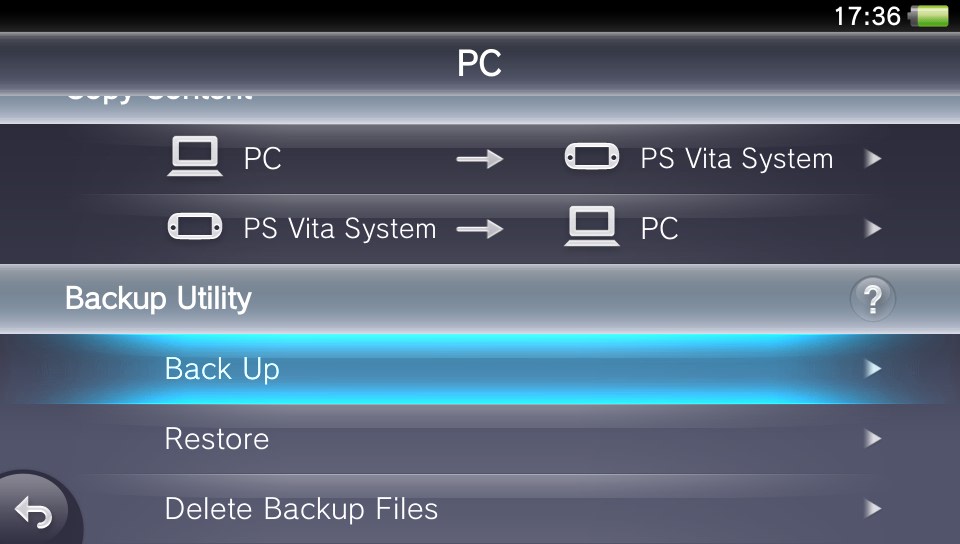
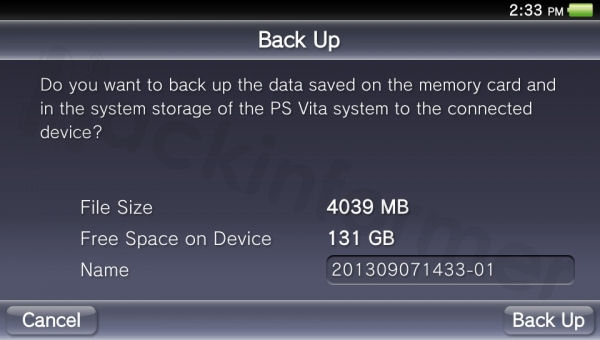
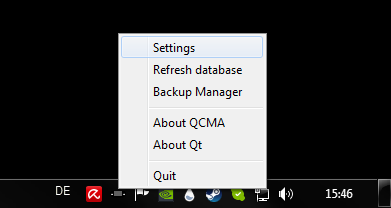
1) Install CMA/QCMA if you haven't already and make a full backup of your Vita.
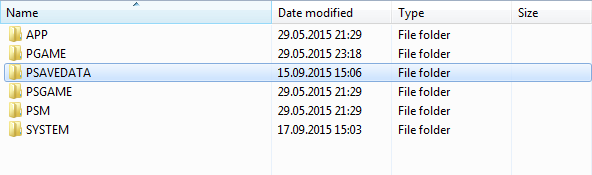
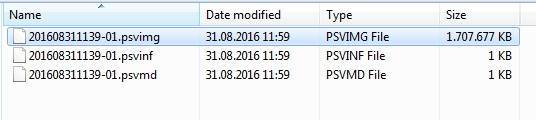
2) Find out your AID(PSN Accound ID). You can simply find it inside CMA's file structure once you backed up your system. PSVita/SYSTEM/xxxxxxxxxxxxxxxx/
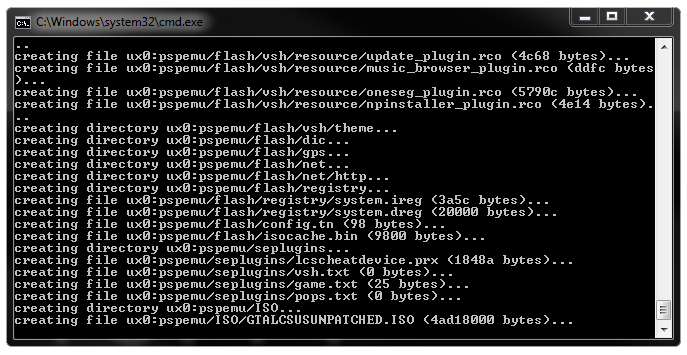
7) You can now obtain your App.db file from /output/ur0_shell/db/app.db
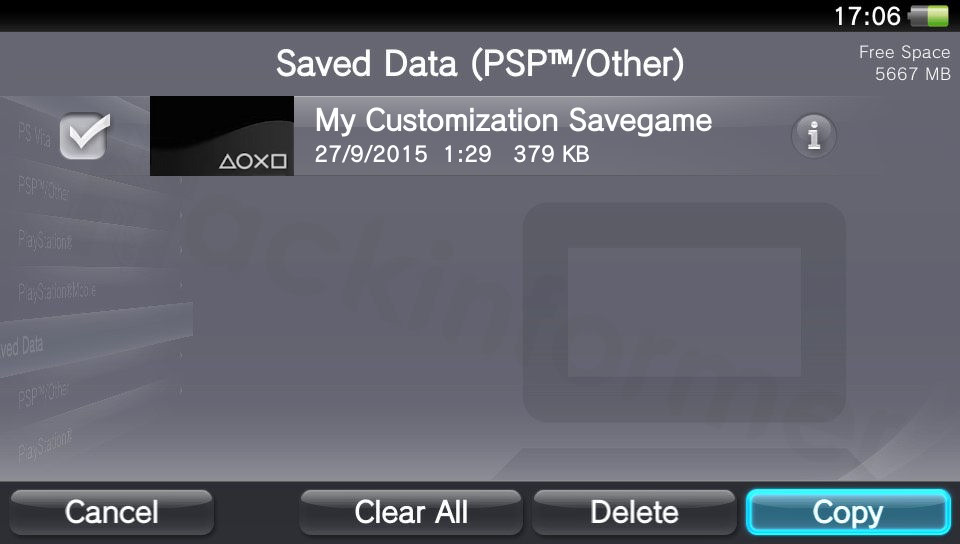
Step 2: Preparing a customization savegame
To make use of our custom icons, backgrounds, startups and whatsoever, we would need to install them somewhere on the Vita first. Because its hard to maintain files via the mail trick, the easiest and best way is to create and use a PSP Savegame! This way we can easily manage, re-edit if needed and copy our resources via QCMA without any complicated tricks.
Note: PSP and PS1 icons will automatically turn to fullsize!
4) When you're done hit Write Changes, close the programm and continue with Step 3.
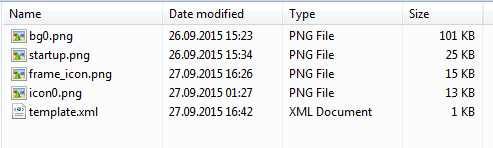
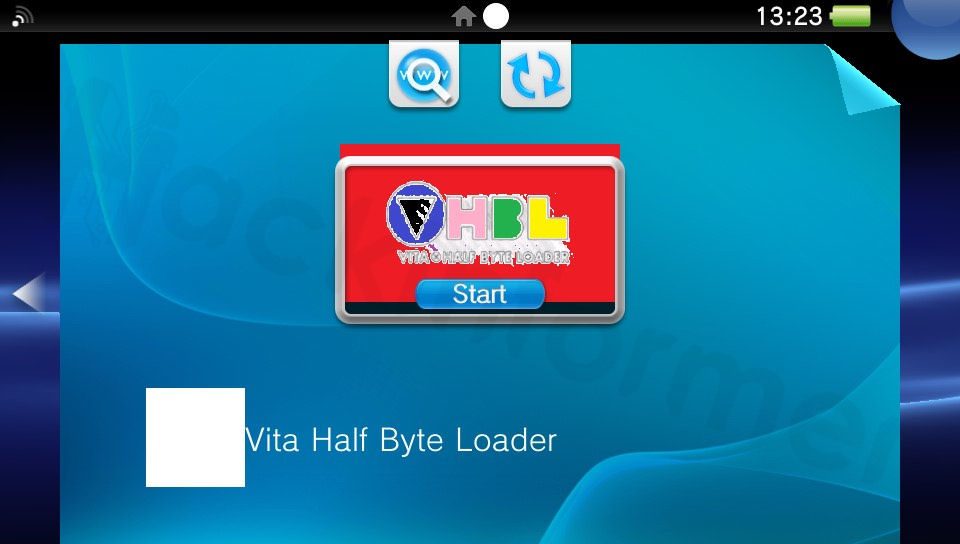
Option 3: Customizing the launcher area (bg0.png & launcher.png)
bg0.png - 840x500 (can be bigger or smaller though) startup.png - 280x158
Note: Compared to just changeing the Icon, modifying the background and startup / default_gate icon is a little bit more complicated. We basically have two choices to go with:
The first one would be to overwrite the original files temporary located in the ur0 partition (ur0:appmeta/TitleID/livearea/contents/) or alternatively change the link to use our customization savegame instead!
Since our custom png(s) would simply get deleted when rebuilding the database with option 1, we will use the savegame method here:
1) The first thing to do now is to create a new folder in our customizations savegame and put in our custom png(s)
(this vhbl png(s) are already available in the customization savegame from Step 2)
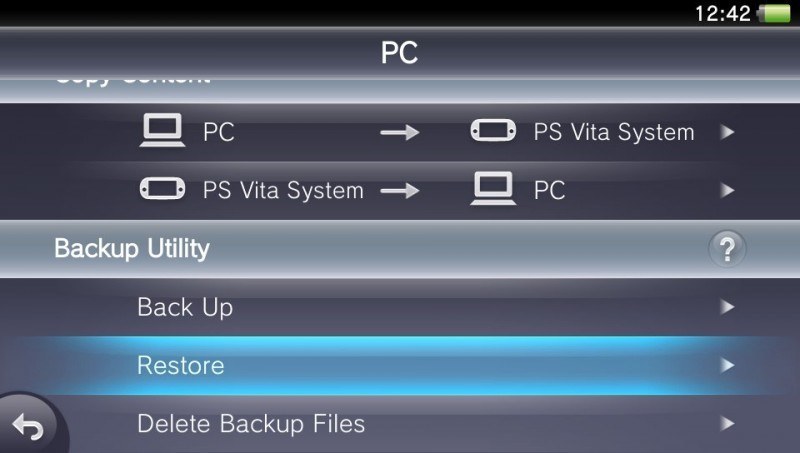
2) Transfer the savegame via QCMA to your Vita!
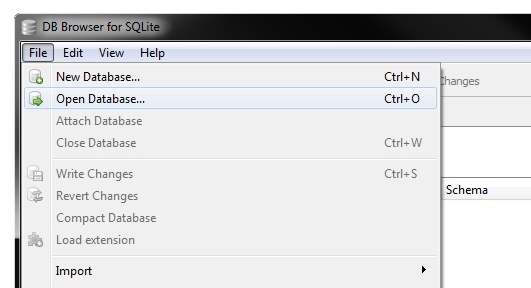
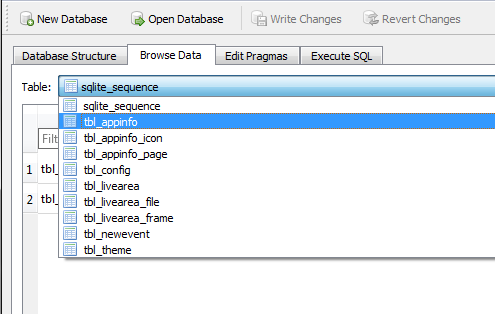
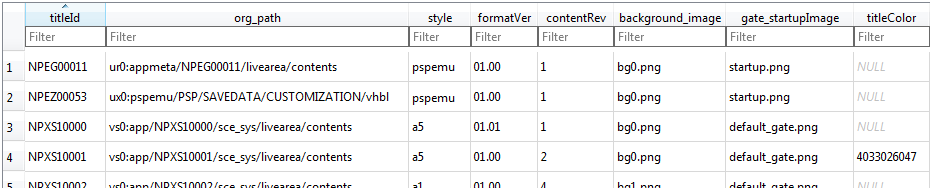
3) On the PC we now start the SqliteBrowser, open our app.db file, go to Browse Data and select tbl_appinfo from the dropdown menu.
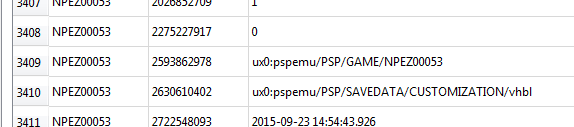
4) Search for your BaseGame's TitleID and the key:2630610402
5) Change the value to the folder our png(s) are located in:
ux0:pspemu/PSP/SAVEDATA/CUSTOMIZATION/vhbl
6) Go once again to Browse Data and select tbl_livearea this time. Search for your titleID and change the org_path to the same link as well. (ux0:pspemu/PSP/SAVEDATA/CUSTOMIZATION/vhbl)
7) When you're done hit Write Changes, close the programm and continue with Step 3.
Note: When replacing a PSP startup.png it will be aligned differently!!
Here is a fix for that: (thanks to @Chris_Fandino)
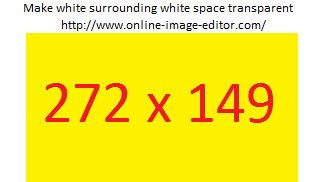
Option 4: Adding a custom 'bootscreen' (pic0.png) to PSP games
pic0.png - 480x272
Note: This custom 'bootscreen' sample pic0.png can be found in the customization savegame from Step 2
1) Transfer the savegame via QCMA to your Vita!
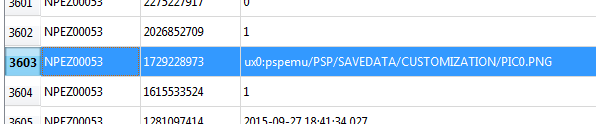
2) On the PC we now start the SqliteBrowser, open our app.db file, go to Browse Data and select tbl_appinfo from the dropdown menu.
3) Hit New Record enter your games TitleID and add the key: 1729228973
Also set val to the path where your png is located in the savegame ux0:pspemu/PSP/SAVEDATA/CUSTOMIZATION/PIC0.PNG
4) When you're done hit Write Changes, close the programm and continue with Step 3.
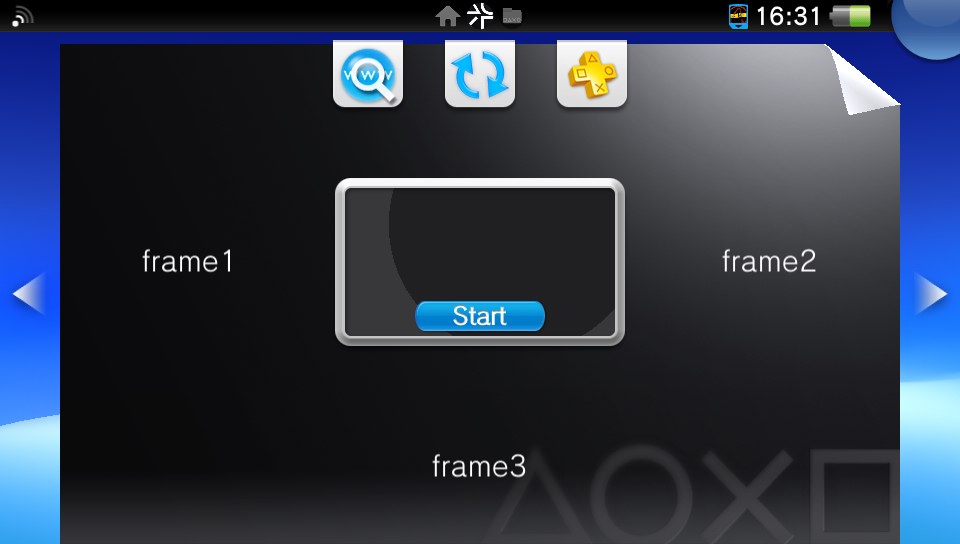
Option 5: Adding custom frames to the PSP launcher area
Note: The following steps will exemplarily install a single frame with small Icon + text functioning as weblink. See this as addon to the Option 3 steps..
4) When you're done hit Write Changes, close the programm and continue with Step 3.
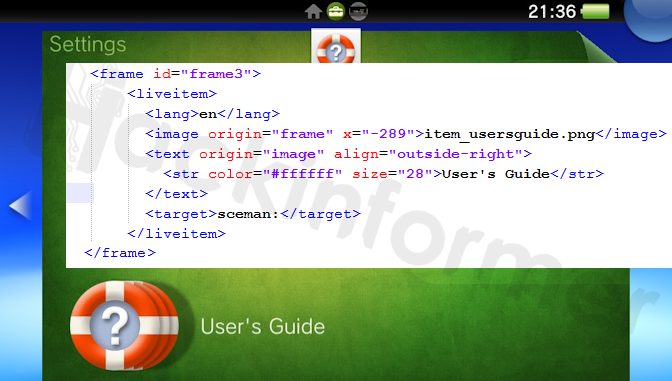
★ Wiki: Some information about xml modifications and the basics
Note: See this as a mini-wiki on how the template.xml and frames work. I will just give some examples, explain some of the tags and the basics. Nothing special..
With the frame tag and the parameter id="frame1" you create a new frame.
This is how the settings frame works for example: (style="a1")
(target declares the frame to be a clickable link and can be a http://link or URI)
Note: You can always dump the template.xml of any installed game to learn from! ur0:appmeta/TitleID/livearea/contents/template.xml
Step 3: (Re)Installing the modified app.db file
Fail-Mail trick - for firmware(s) 3.00 - 3.52
If this is the first time you are going to use this Mail-Installer method, please make sure to follow this tutorial on how to set everything up first!
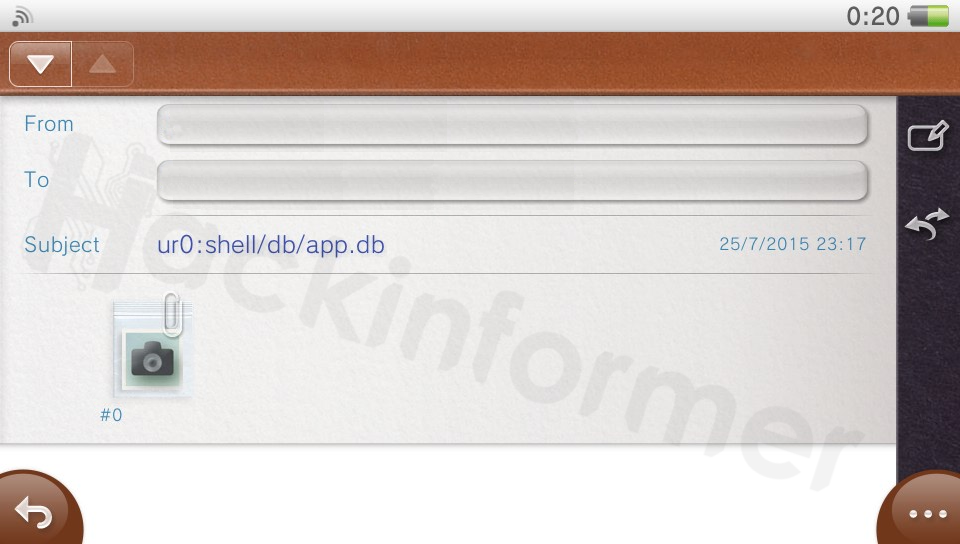
1) The very first thing to do now is to simply rename the 'app.db' file to '#0' without any file-ending!
2) Now we are going to write a new e-mail with the #0-file as attachment and the path we want the file to be installed as Subject. Send it to your vita!
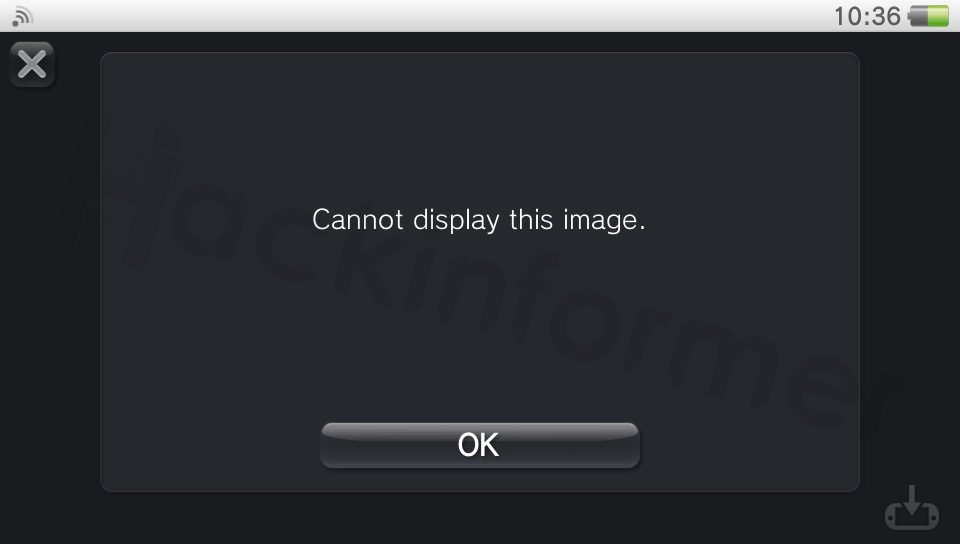
3) If everything did go right you should see a camera symbol. Touch it and DO NOT click OK on the appearing Error Message but simply close the e-mail app completely!
HENkaku - for firmware 3.60
1) Use FileZilla again to reinstall the app.db file to ur0:shell/db/

 How to fully customize PSP/Vita Bubbles


 My database auto-rebuilds after rebooting?!
  Somehow your app.db got corrupted. Restart from scratch :/