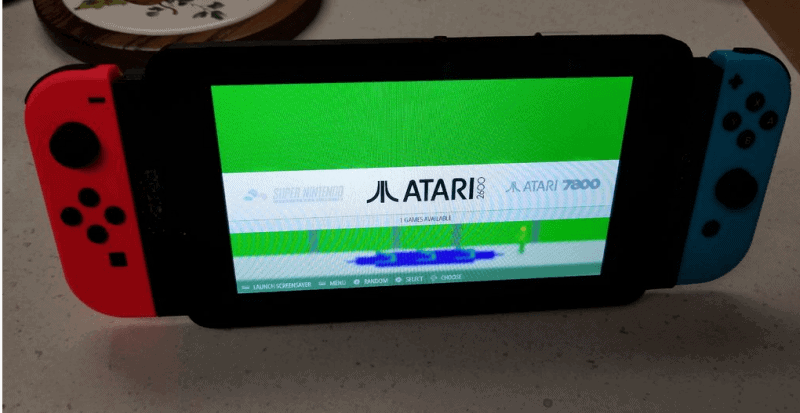
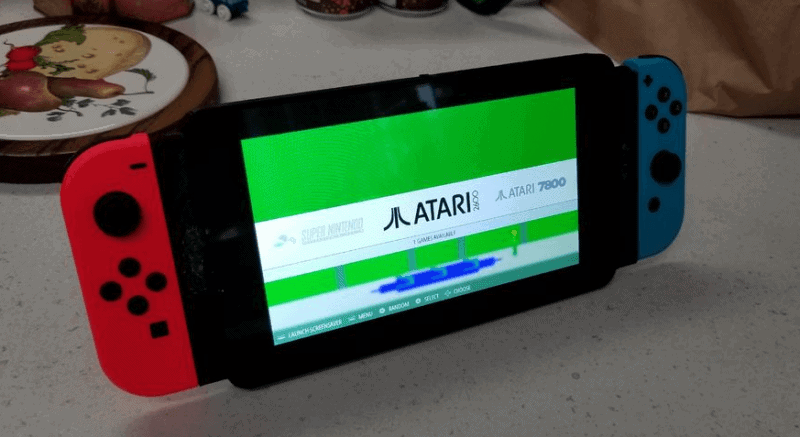
The Nintendo Switch Homebrew scene has been taking off but like all of them, it’s in slow strides and baby steps, plus needing FW300 doesn’t help when they are getting harder and harder to find. Well, one man couldn’t wait for The Homebrew scene and built his own PiSwitch. With the Raspberry Pi being one of the easiest single board computers to put into any device it’s not surprising that someone would make their own look-alike Nintendo Switch.
Now you can do this yourself as he lists everything that you need available to do this. His motivation was a little bit different than just having a Homebrew Switch but in the end, it’s great seeing these types of projects and knowing with a little free time and money you could make one yourself.

You will need:
Tools:
- Soldering iron + solder + soldering flux
- Hot Glue Gun
- A 3D Printer or $20-$40 and 3dhubs.com
- A decent micro screwdriver kit
- A Dremel Tool with a fine bit or a drill with a 3/16th bit
- Patience
Parts:
- Pi Foundation 7″ Raspberry Pi screen
- Kingwin 80 Piece Assorted Notebook Replacement Screw Kit or (various screws of fortunate sizes lying about)
- 26 awg wire
- 1/8 inch stereo jack with switch
- Mini Metal Speaker
- tiny power switch
- 6600 mah battery of plentiful life
- Joy-Con Controllers (recommend the addition of a charger)
- Raspberry Pi 3 (Bluetooth and WiFi built in)
- PAM8302 2.5W Audio Amp
- PowerBoost 1000C
Download: 3D case files
You can find everything else that he did to make this work here.
