
It’s been a little bit of time since we’ve covered a flashcart for handhelds. Well, that empty streak ends now! Thanks to SenkoGames.com we have a EZ-Flash Jr. to give you the skinny on. So without further ado, break out your OG Gameboy or Gameboy Color, we got work to do!

Description:
“Introducing the EZ Flash Junior for the Gameboy and Gameboy Color systems. The EZFlash Junior will be the new standard in Gameboy and Gameboy Color systems. Instantly load and play your files. No need to wait for slow loading times at all, and with the fast reset back to the main menu, you can quickly and easily swap between the files you want to load and play. The EZFlash Jr offers an easy drag and drop for all of your files, with no need for any type of conversion of the files before you copy them to the microSD card.”
Features:
GB/GBC game copy and play
Instant load time
Real time clock
Fast reset to menu
Maximum game: 64Mbits
Maximum save: 1Mbits, LSDJ support
Mapper supports:MBC1,MBC2,MBC3,MBC5,MBC1M,MBC30
Support Gameboy, Gameboy Pocket, Gameboy Color, Gameboy Advance/SP, even with backlit mods and rechargeable batteries.
System on chip level recovery mode, prevent upgrade dead
Support FAT32 4GB to 32GB SD cards
Firmware and kernel are both upgradable
Replaceable battery design
Unboxing/Visual Comparisons:
Pros:
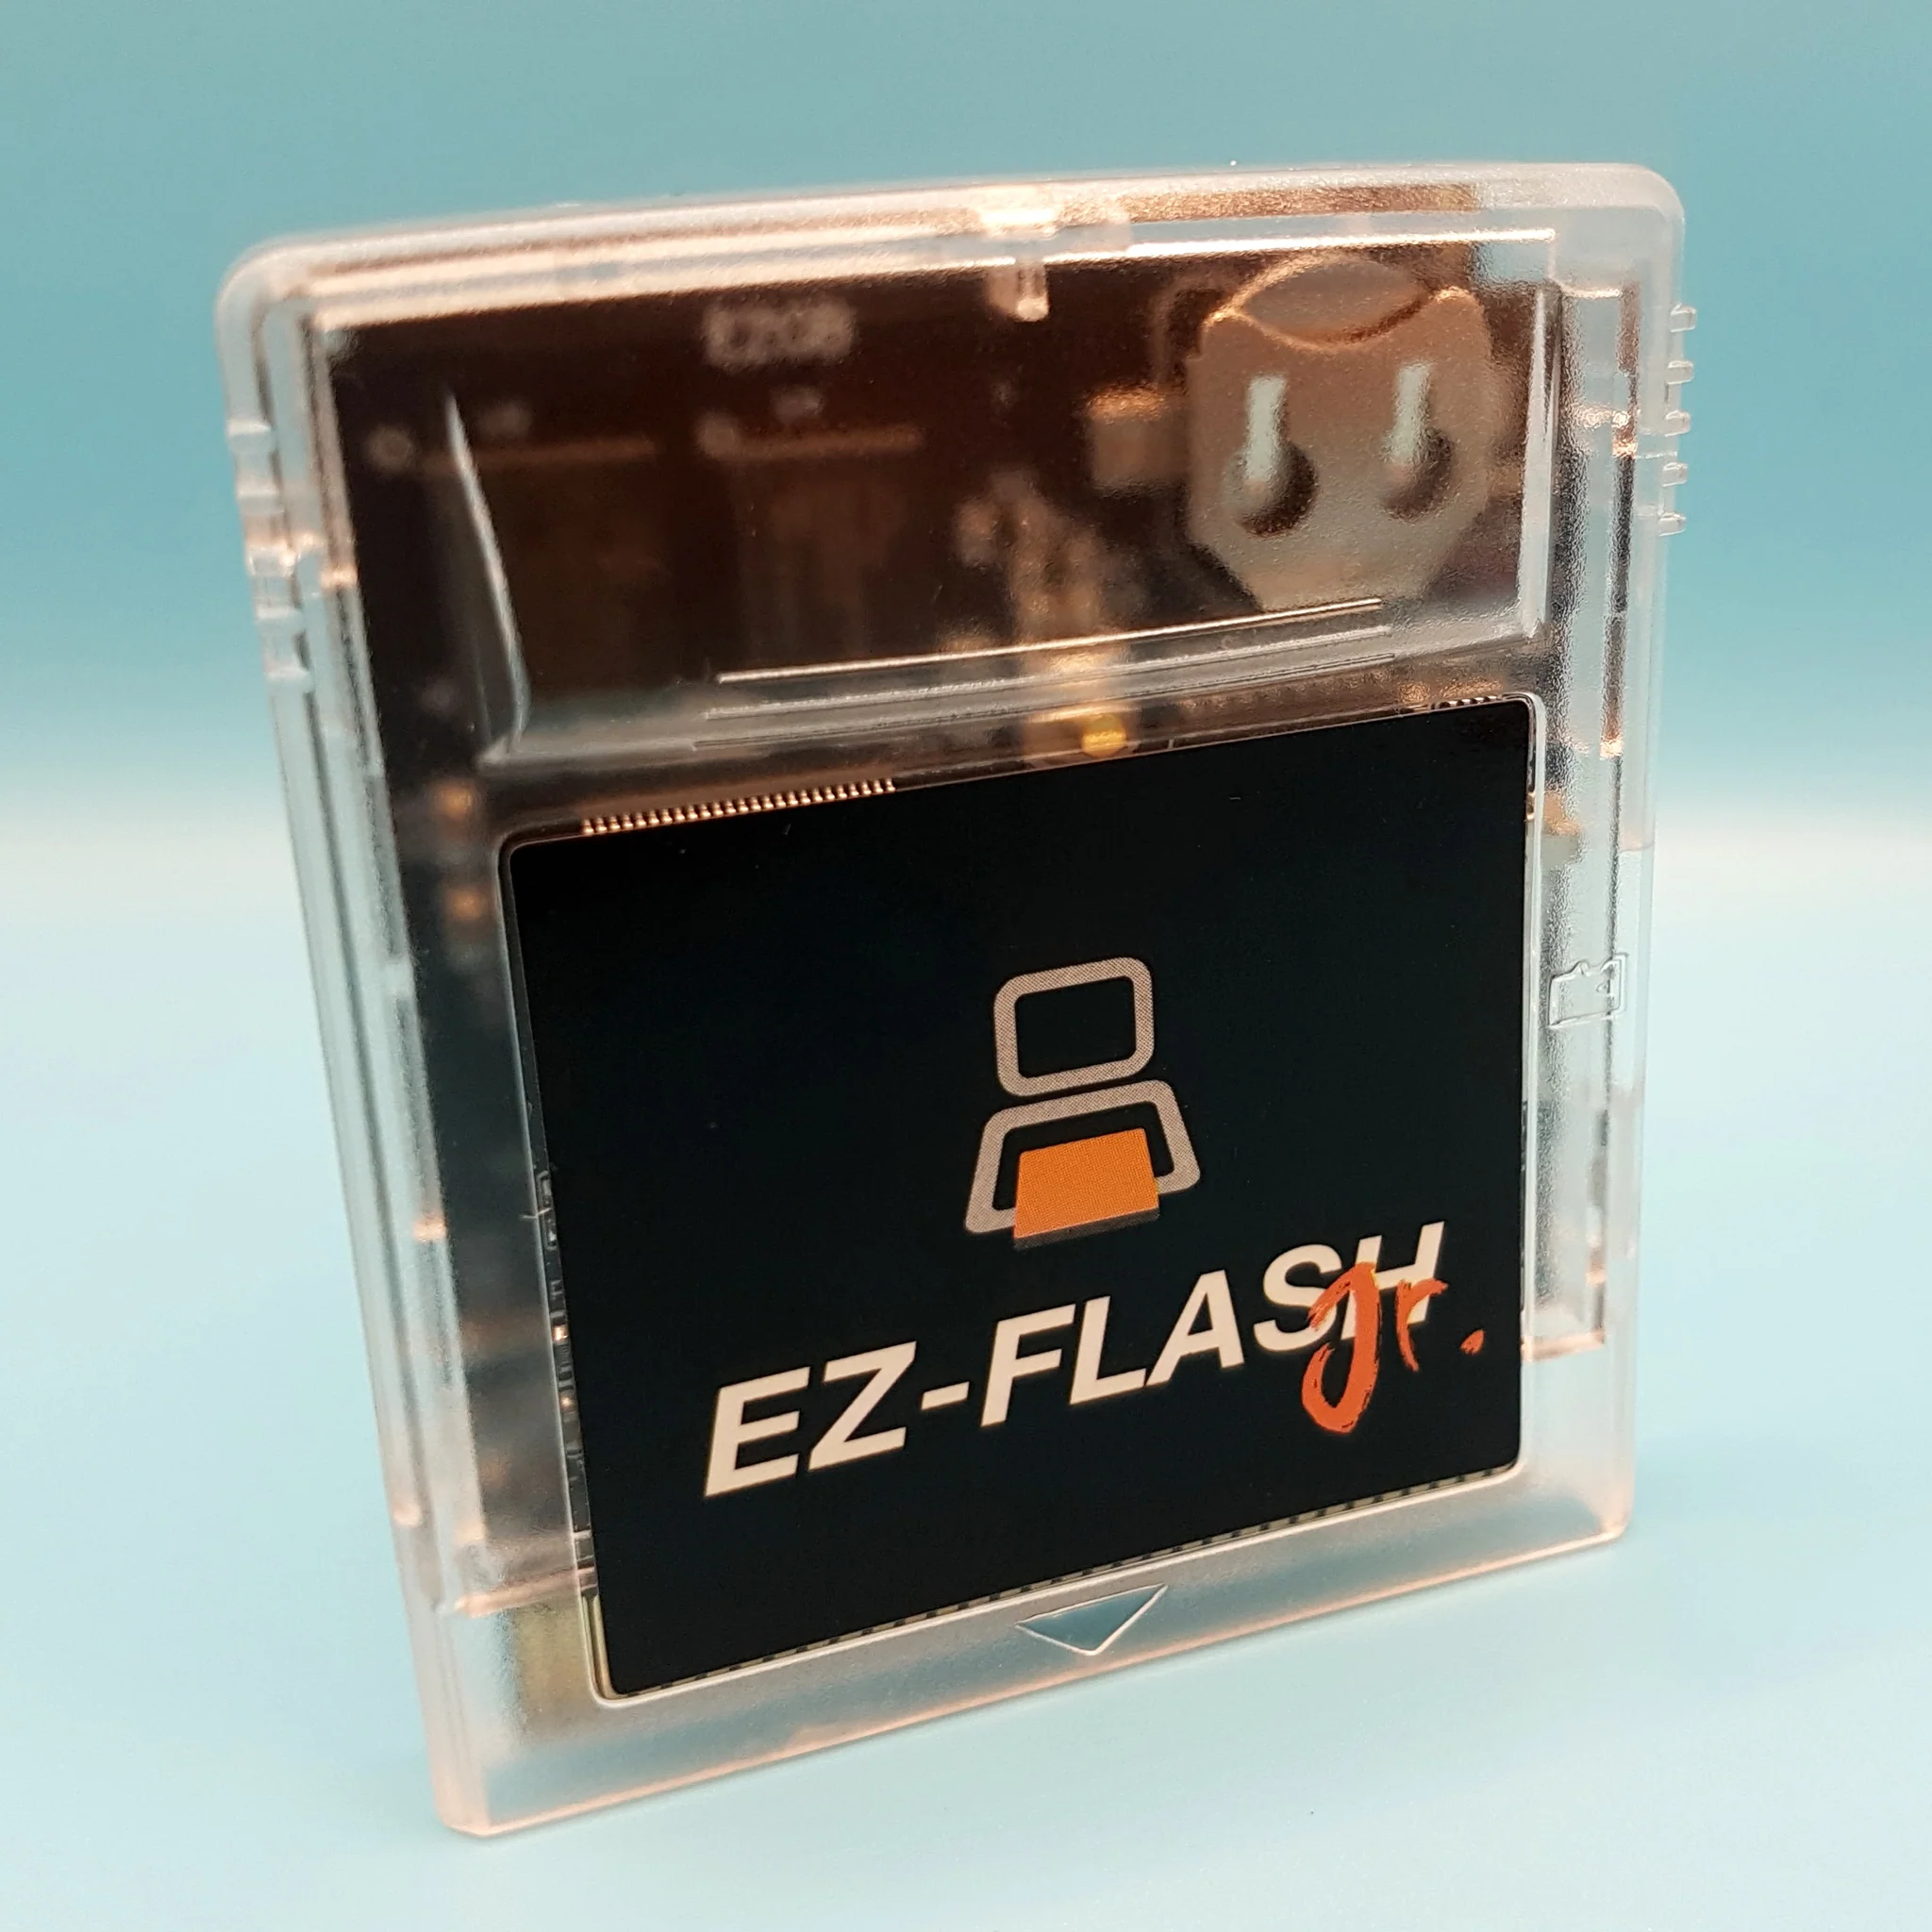
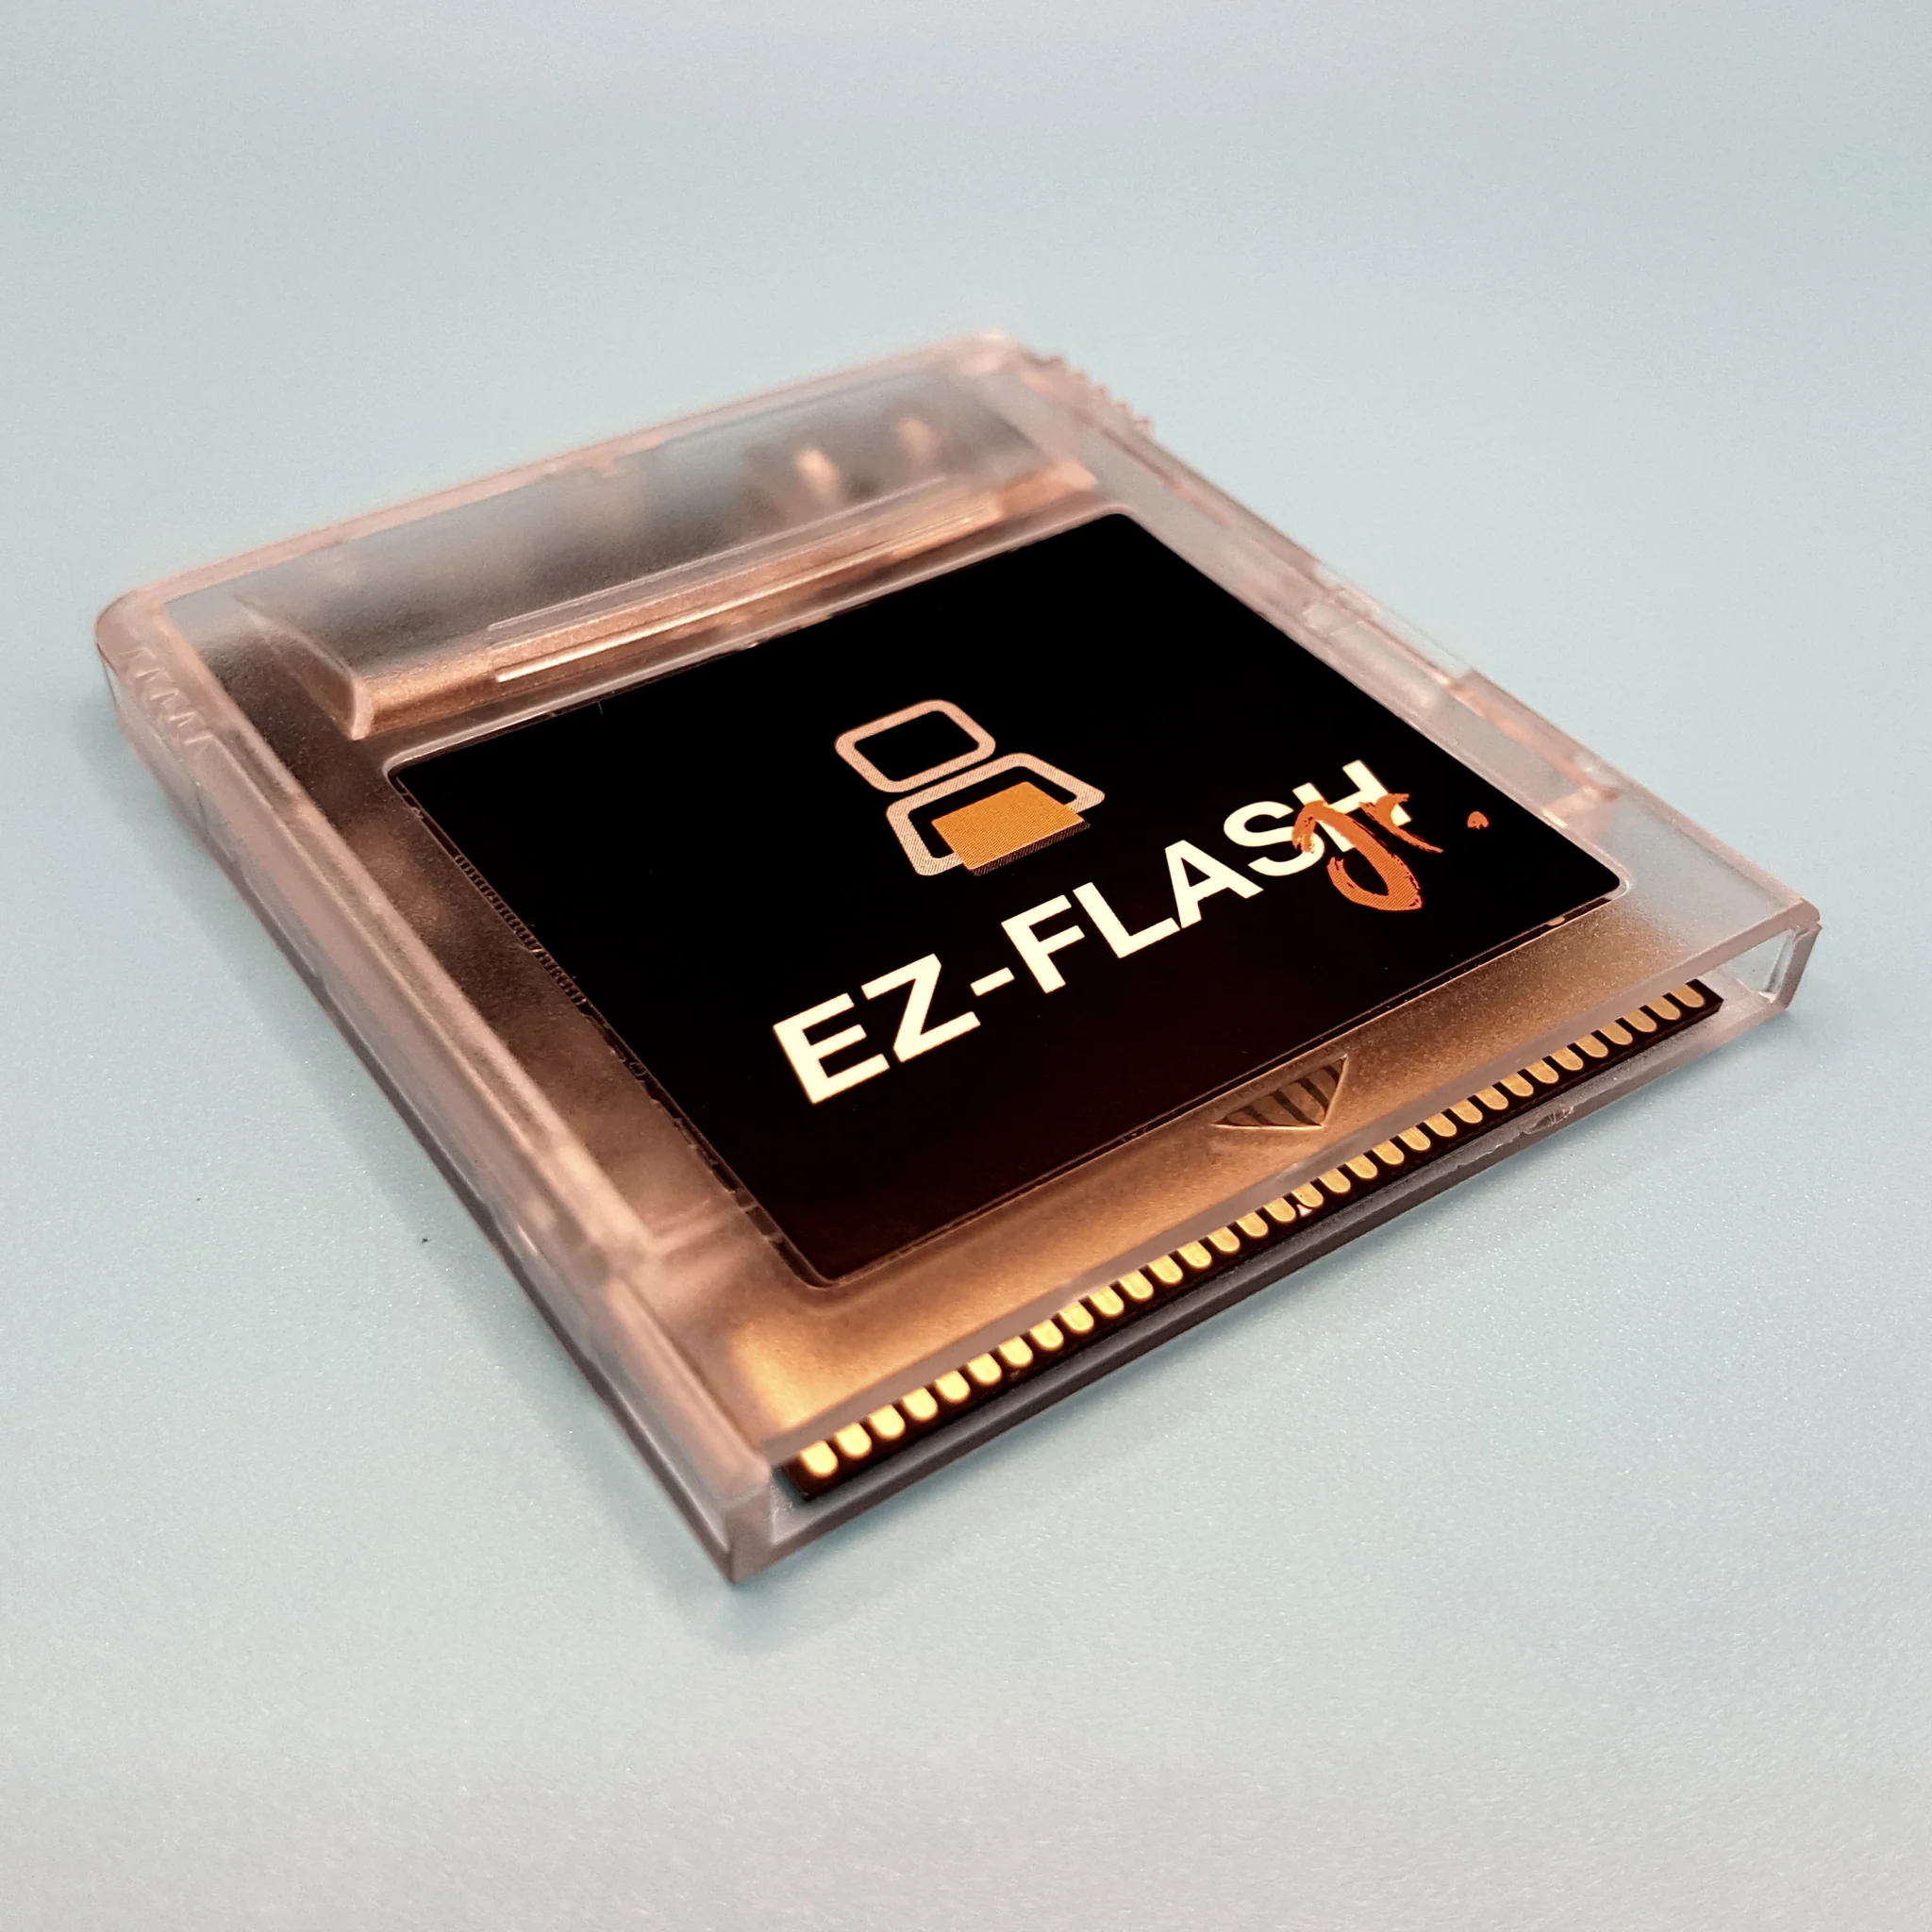
- Build Quality. You’ll be happy to know that the construction of this product is second to none. Let’s talk about what we have on the outside first, starting at the outside. You’ll see that the sticker has a nice shine to it, clearly a laminated front. This, of course, is reminiscent of the tried and true stickers on the old-school Game Boy and Game Boy Color games. It looks authentic and if you have a case where it’s transparent, then this might show and if so, it will look good. Looking at the right side, you’ll see what I talked about in my unboxing video, the SD card slot. We’ll have more to discuss on this later, but I want to bring up that I’m delighted to see it is on the side. This enables me to hide the fact that I’m using a flashcart and avoid questions. Additionally, it prevents me from getting any dust in it from the top. And then, on the backside, there is precisely one screw, as Game Boy games have. To gain access inside, you’ll remove this screw and slide the two halves apart in opposite directions. The plastic body itself is strong and doesn’t feel any better or worse than the GB Everdrive I had in the video to compare it to.
Inside of the cartridge is obviously a bunch of complicated science and math. But we will talk about the obvious layman stuff that we all understand. Firstly, the masking on the PCB is black which makes the print and shiny contacts really pop! Inside there is also a button, this can be reached via access on the outside, more on that soon. Additionally, the biggest point of interest inside the cartridge is the battery. They’ve installed a button cell slot so that you can put a watch battery inside. The cartridge comes with the first battery as part of the cost, naturally. Let’s talk about that battery right now. - Batter Up! The battery that comes within the cartridge serves one primary purpose. It’s to be your RTC or real-time clock. There are some games that rely on this physical hardware being present to have the game run. This is something that not every GBC flashcart in the world has. Here is a list of games that would not run properly (or maybe even at all) if you didn’t have a clock battery present.
Barcode Taisen Bardigun, Bokujo Monogatari GB / Harvest Moon GB, Cardcaptor Sakura – Itsumo Sakura-chan to Issh, E.T. – The Extra-Terrestrial – Digital Companion, The Great Battle Pocket, Itsudemo! Nyan to Wonderful, Kandzume Monsters, Keitai Denjuu Telefang – Power/Speed Version, Mary-Kate and Ashley – Pocket Planner, Nikkan Berutomo Club, Pokemon Gold/Silver/Crystal (All regions, all versions), Tottoko Hamtaro – Tomodachi Daisakusen Dechu, Trade & Battle Card Hero. - Initial Setup. The setup is very simple overall, you’ll be playing GBC games in under 2 minutes. There is no crazy setup, which is typical with flash carts for older systems. You simply drag and drop the .GB and/or .GBC file (that you have legally backed up from your game) onto your Fat32 formatted microSD card. Then download the newest pack for it from here and extract it onto the root of the microSD card. Safely eject the microSD card and insert it into the EZFlash Jr. After you insert the cartridge into your Game Boy model of choice, the games will simply appear upon powering on. Before you play any games, quickly run the .gb file that came from the download. After that update has ran, you’re set!
- Cost. The main reason that a person would be looking into this is because it isn’t a clone and it has an amazing price point. Imagine a product that is wholly unique, doesn’t try to rip anything off, is a legitimate competitor against a sea of knock-offs. Yeah, that’s what we’re looking at with the EZ-Flash Jr. and it clocks in at just $46.
- Operating System. There is a lot to be said here that not a lot of people have discussed. Unfortunately, there isn’t really any documentation on the OS from the manufacturer either. There are a few primary screens. The easiest way I can approach this is to list the screens and tell you the overall purpose for each. That way you can see all of the stuff you can do without getting too bogged down or bored.
Upon powering the device on, you’ll be shown the contents of your microSD card. This initial screen is the screen where you can sift through folders and start up any GB/GBC game that you have on your SD card. You’ll see that at the very top of the screen the three different tabs. You’re currently on the “SD” tab. To the right of that are the other 2 tabs. Being “SET” and “HELP”. Additionally, there is a number on the far right, that just lets you see how many items there are that you’re scrolling through with regards to folders and files.
So let’s talk about the second tab now, “SET”. You can quickly change tabs/screens by pressing the SELECT button on your GB/GBC. Once you’re on the “SET” tab, you’ll see just three things on this screen. It says TIME: with the option to set the time, then it shows the date and time currently programmed, and finally “AUTO SAVE”. The first two items are relevant to one another. You choose to set the time from the top line. Then it lets you modify the date and time on the second line. Finally, the auto save option is either an on or off state. This is pretty self-explanatory, you enable it if you want the EZ-Flash Jr. to backup your save that is made by the game to the SD card.
Now the final tab is “HELP” and it may not show much, but it has a lot of value. It has exactly two lines of information for you. The first is the version and kernel number. The second line is just the website for EZ-Flash in general. The reason that these two lines matter is because you can go to that website and download the newest firmware and OS files. By seeing which you have installed helps you know if there is a newer file to download. I recommend maybe just checking once a year. There are updates, but it’s not every month or something often like that. - Booting. This is likely my final point of just how decent this device is on the whole. We need to talk about zippy this thing starts in general and then how fast it loads a game. I want to preface this by saying that I have the entire romset of both Game Boy and Game Boy Color games and from all regions on this 32GB microSD card. That means the initial bootup may take longer for me. But I counted up to six-Mississippi to get the entire card booted and ready for me to choose a game. My main point is that to load everything that exists out there, it only takes 6 seconds to gain access. That’s pretty damn good if you ask me!
Now we can discuss booting up a game. I decided to do research and look up the largest Game Boy game that you would likely play. I wanted to test the largest game because those would likely take the longest to load. Wario Land II was one of the largest for the original Game Boy. I counted it out and got to 3 seconds by the time the Game Boy screen came up. Not terrible, only feels about 1 second more than if I was playing Wario Land II officially. For the Game Boy Color, one of the largest games you might care to actually play is Shantae. From the time I told the game to start by the time I was greeted by the Game Boy screen was 6-7 seconds. I think on the whole, you’ll find that you’ll be loaded and playing a game of your choice within 30 seconds of flipping on the power switch!
Cons:
- SD Card. The depth in which you have to press the microSD card in is very far. You’ll need a long (gross-looking) fingernail or a longer flat object to click it in and out. My recommendation is to put everything that you’ll ever need on the microSD card so you only have to click it in just once.
- Screwed Up. I believe firmly that the only real sucky part of the build quality is the back screw. It’s so soft and mushy that I almost stripped it (“rounded it” for our UK readers) the first time I was taking it out. We need a better quality screw if we’ll be changing the battery in it more than once in our lives!
- Big Butt(on). I told you way at the top we’d come back to discuss how the internal button is pressed. If you already watched the video up top, you’ll know how it works already. But I’m also going to make a larger point here. The way the button works is that you’ll be in game and then you’ll press on the big piece of plastic at the top of the cartridge. The piece of plastic that is across the top, above the sticker. The purpose of this button is to take you back to the “SD” tab of the main operating system, thus allowing you to choose a new game.
My actual problem with this is the only major shortcoming of the flashcart. Sure you have autosave, but I really would prefer the big button just pop up a small menu in-game asking if you want to make a save state where you are or leave the game. Then you select your option and everyone wins. I’m guessing this is where you’re saving money. And I know that it’s not a big ordeal, but it’s the smallest change and I bet people would pay up to $10 more for the feature.
Final Thoughts:
For those wondering if they should buy this or the GB Everdrive X7, I’ll just say this. If you have the disposable income for an X7, there’s really no reason to get this instead. Just pull the trigger on the X7. But if you’re anyone else wondering if you should get it in general or if you’re comparing it to a lesser Everdrive GB, I recommend this EZ Flash Jr. every day of the week. You won’t regret buying an Everdrive, but if you’re debating a lesser GB Everdrive, that means you’re trying to save money and don’t have a big budget. Don’t beat yourself up, just save some cash and get the EZ Flash Jr. and use the extra cash elsewhere. It’s a rarity that a company has a great product that is affordable and there are plenty of other systems that you can get an Everdrive on!
Purchase Link: