
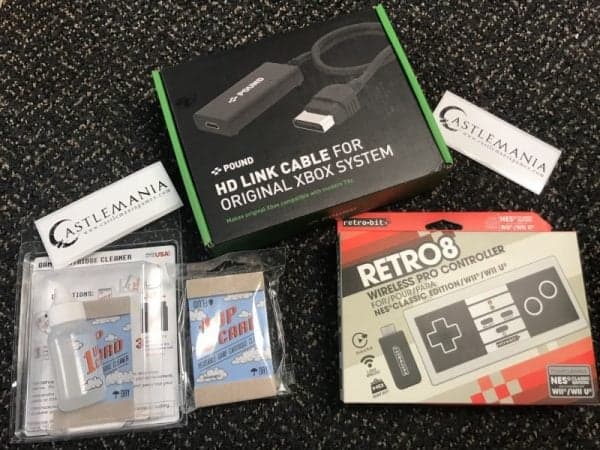
We got in touch with Castlemania Games recently and talked with CastlemaniaRyan to get our hands on some of their products to review. He didn’t disappoint and today, we’ll talk about the pros and cons of these products that he sent over and how you can get your grubby little gamer hands on them! We hope to have more products from them in the coming months as the releases of the next brawler64 controller, Holy Diver, and R-Type Returns are just around the corner.
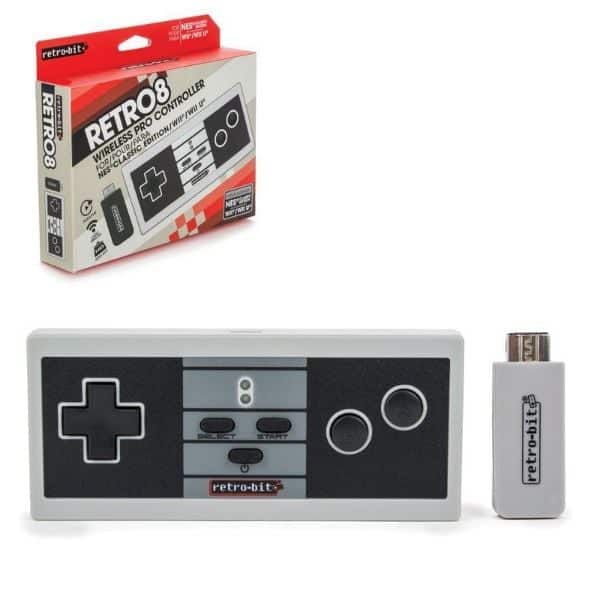
NES CLASSIC WIRELESS CONTROLLER – RETRO-BIT
- ‘2.4 GHz wireless connection
- Micro USB Charge Cable included
- Built in 480mAh Lithium-ion battery supporting up to 10 hours of gameplay
- Compatible with NES Classic Edition, Wii, and Wii U’
Right off the bat with this product, I noticed that the internal packing was a little strange. As a product that you could buy off of a shelf at a retro store, I found it funny that there was bubble wrap within it. Now I’m uncertain if this is something that they all have in them or if someone was trying to further pack my product. Either way, I don’t care too much, I’m just a person who loves to keep original packing with its inserts and such and immediately I didn’t get that satisfaction.
However, with regards to the actual product, everything there is completely solid. First off, it comes with a micro USB cable that is to recharge your device. This itself has some pros and cons. The cord itself is thick, so it feels like it’s going to last you a long time. It snaps firmly into place on the controller as well, keeping that connection. Furthermore, this means that you also don’t have to put in AAA batteries or some battery variation, like other retro wireless controllers.
Where it falters is the length of the cord. If you’re just a low-level nerd with no extra micro USB cables and just want to sit down and play some games with this while it charges, well that’s just too bad. There’s just no comfortable way of staying tethered to a wall with 3 feet of space. Your only resolutions are to use a USB extension cord or use a longer cord altogether. Unless you’re okay with letting it charge while you’re away and when it dies, you simply have to wait for it to recharge. The upshot is that the battery lasts up to 10 hours on it’s 480 mAh battery and takes only a short time to charge. Additionally, there are LED lights to let you know when the controller is synced and they also let you know when it’s charged.
The elephant in the room with wireless controllers is always if there is input lag. However, anyone who has ever used a 2.4 GHz controller will tell you that it works like a dandy. The controller has lag, obviously, but when you’re playing even the most twitchiest of retro games, you never notice it. The signal also never dropped or suddenly disconnected for me. You will experience it though if the controller dies or if your receiver becomes unplugged. And unless you have a cat or like on an earthquake-prone fault, you should be fine. The receiver snapped into place so cleanly and maintained its position in all of my testing.
The buttons on the controller are interesting, to say the least. There is a power button for the controller so that you can power it off, but all other buttons act as their original counterparts. The start, select, and home buttons are all made out of that wonderful rubbery feeling material that the original controller had. The face buttons and D-pad are a bit strange though. The D-Pad is made to be all one D-Pad, just like the original. However, what they’ve done here is made it concave a bit so that your thumb rests in the middle. This means you can simply rock your thumb in any of the four directions, rather than have to lift it up and place it down on a direction. The face buttons are even more strange to me. They made them convex so that they’re the inverse of what you’re used to. This might make them easier to press and find for people with smaller hands. Especially considering how unergonomic the overall shape of the controller is.
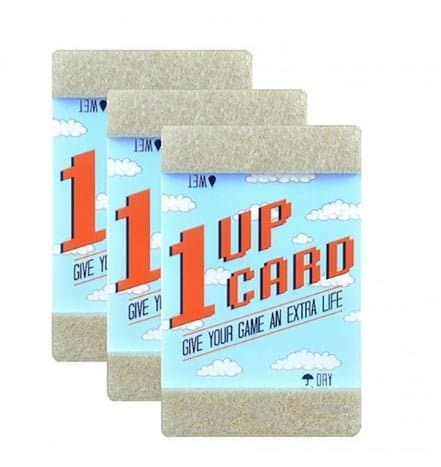
1UP RETRO VIDEO GAME CARTRIDGE CLEANING – 3 PACK
UNIVERSAL 1UP RETRO VIDEO GAME CARTRIDGE CLEANING KIT
- ‘Original kit includes the 1UPcard and 1UP cleaning fluid.
- Restores games for Nintendo, Super Nintendo, Sega Genesis, N64, Atari and more.
- Durable cleaning card restores games quickly and easily.
- Easy to dispense, 99% isopropyl alcohol, 1.25oz
- Super simple. Super fast.
- Use cards with your preferred cleaning fluid
- Humbly made in the USA from domestic and foreign components.’
Just to start off this section, I wanted to mention that I have a demo below this section. The demo video not only shows you how to properly use them but also shows you that you can definitely use them easily.
I think these products are simply a god send. I truly couldn’t think of one single bad thing to say about them. They are just small cards that you put cleaner solution on one end and you scrub with that end first. And then after that, you’ll flip them around and use the dry side to buff them off. Easy right?! They are truly compatible with any cartridge style that you own that they can physically fit into.
The video explains how Game Boy and other hand held cartridges won’t unfortunately work with these. But I believe that that’s okay because for the value, these have such a wide compatibility across cartridges. Whether you’re a collector or an average retro gamer, you’re going to want these. They keep the contacts clean and keeps your cart running. Using Q-Tips are truly a bad idea because they leave behind small cotton fibers and lead to frustration. These have very dense fibers that hold together and scrub well without doing any damage.
Now, if you have problems playing your carts after cleaning, you probably have a bigger issue. But most of the time, using this combination of the alcohol and the 1-UP card should solve your problems. Furthermore, Atari carts have contacts, but usually aren’t exposed as they have protective plastic shields. This does not mean that they don’t get dirty and that you should assume that they’re safe. You can push the plastic back or remove it altogether and use the 1-UP card to clean those as well.

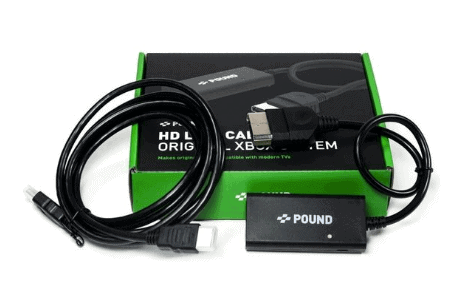
POUND HD LINK CABLE FOR ORIGINAL XBOX SYSTEM HDMI ON THE ORIGINAL XBOX
- ‘Comes with everything you need to connect your Original Xbox system to your television via HDMI
- No adapters or power supplies needed!
- Maximum possible video quality. Video quality based on media capability and is not limited by the cable. Games that are native 480i or 720p will run in their respective resolutions.
- To view the quick-start guide, visit here
- Please note: We have recently learned that this cable has issues with some modded XBoxes with their shielding removed as well as XBOX revisions v1.4 (late 2003 – early 2004 model XBoxes). We are working on a solution to resolve this issue. If you notice wavy or distorted image quality, please return the cable to us.
- Pound Tech’s inaugural product, the HD LINK cable for the original XBox will allow you to enjoy your original XBox on modern televisions with HDMI inputs! Re-explore Fable’s Albion in stunning high def, frag out in Halo 2 with precision accuracy, HD LINK will give your XBox its second wind without the rat’s nest of traditional component cables.’
If you follow us closely, you’ll know that about a month ago we met up with a co-founder from Pound Technology. He hooked us up with some unreleased SNES and Sega Genesis HDMI cables. If you want to read about those, I have the link here for you. But the basic concept behind these HDMI cables for older systems are not exactly what you probably think that they are. Pound Technologies has started to specialize in these HDMI cables, but instead of them being upscalers or anything of that nature, they’re passthrough cables. I know that might not sound exciting, but once you here the concept behind them, you’ll at least get it.
The concept here is that in this day and age, plugging your retro consoles into your HDTV with composite or component cables usually isn’t too ideal. If your HDTV even still have those ports, you probably have more composite/component systems than your TV has ports for it. And rather than buy a switcher box just to play your old systems in their old quality, you have these HD Link cables. And now you can easily plug the system into one of your HDTV’s many HDMI ports. The best part is that it will come through as well as the console will allow. So while it’s not an upscaler, it’s also not a downscaler (for lack of a better word). So you’ll still get the best quality that your console can output, by default.
With the explanations out of the way, it’s time to talk about the way this one works. If you’d read the other review on the HD Link cables, then you’ll already know this. However, for sake of all readers, I’ll talk over it again. The box comes with an HDMI cord and the HD Link cable and converter box. The converter box requires that you have a micro USB cord to power it. However, I believe that newer models have micro USB cords as my ones from the other article did. With that, it’s all just plug and play.
Plug the micro USB cord into the converter box, then into a USB port for power. Then plug one end of the HDMI cord into the converter box and the other into your HDTV. After that, you’ll plug the XBOX end into the back of your original XBOX. Then you just power it on. If you already had 1080i enabled because of using component cables in the past, you don’t need to change anything. If you were only using composite, simply go into the video section of the settings on the dashboard and change it to 1080i. #Gorgeous
The process for me went as it did with my previous review of the cords, with one snag. I noticed that the plug that you place into the back of the XBOX was quite snug and didn’t feel like it seated properly. However, it technically worked, so I’m not entirely certain why. But it was a very tight feeling fit, however, I suppose if you run into this and don’t have any issues, you can disregard this. It’s entirely possible that it’s just my review unit that has an issue. I have three XBOX’s and it felt snug in all of them. However, it’s a small price to pay to play on HDMI.
In the video footage below, I decided to take a different route. I opted to go with emulators and ports of PC games to show you. The reason behind this is that you can go on YouTube and find handfuls of other people who have reviewed these XBOX HD Link cables and showed you official XBOX games. I thought that maybe you’d like to see something a little bit different. You’ll notice for about 10 seconds in the video that the footage is on the far left side and then the far right side. This is some weird anamoly that only happened when I first started recording. I could not get it to do it again. So I’m just going to assume it was a weird fluke.
Click here to buy the NES Classic Wireless Controller.
Click here to buy the 1UP card 3 pack or here for the whole cleaning kit (I recommend one of each).
Click here if you want to purchase the Pound XBOX Link cable.
If you want to look over all of the other countless products that Castlemania has to offer, click here!
If you like the author’s work, follow him on Twitter @V1RACY and don’t forget to enter the weekly giveaways!
And as always, stay tuned here on Hackinformer.com for so much more and follow us on Twitter @Hackinformer