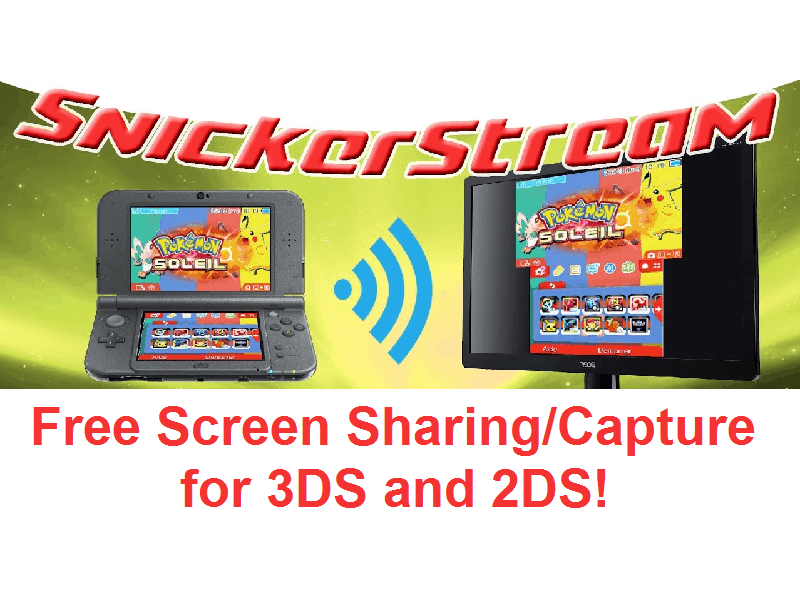
Stop! Just stop right now! Do not pay that crazy amount of money that you’re about to pay to have your 3DS hardmodded with tech that will allow you to hook your 3DS into your PC and capture gameplay footage. There just is no need for that my friend, keep your money. This article here is all about how to take your 3DS or 2DS with it’s custom firmware and run a program both on it and the PC to share it’s footage. It’s customizable and a goshdarn godsend. Oh, and it’s free, so let’s get into it then.
What is Snickerstream Exactly?:
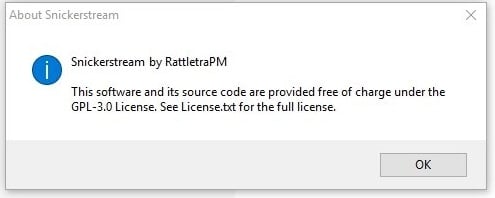
‘Snickerstream is a completely new streaming client for NTR CFW. It aims to become a complete NTRViewer replacement with lots of extra features, including stuff such as better netcode, more screen layouts, and less RAM usage. This is different than kit-kat/NitroStream as the formers still uses NTRViewer as its internal streaming client while Snickerstream has been completely written from scratch, making it the first real NTR streaming client alternative (also, if you’ve tried UWPStreamer or cuteNTR then you can say you’ve already tried Snickerstream in a way, as they used or have previously used part of its code internally!)
Now, I hear you ask, why reinvent the wheel? Why make this if there’s already something that does a very similar thing?
The reason is simple: I wanted to add some functions to NTRViewer, but some of the stuff I had in mind simply wouldn’t be possible without altering its source code, and considering that NTRViewer wasn’t properly updated in a while I took the opportunity of making this complete rewrite.’
Features:
Here are some of the improvements of Snickerstream over NTRViewer that are already implemented:
- ‘Real time screen scaling
- Pixel interpolation, which improves the image quality if the window has been scaled
- Two rendering libraries are supported: Direct2D (hardware accelerated if available) and GDI+ (software only)
- Way less resource usage under Direct2D
- Better netcode, it will automatically try to recover any lost frames if needed
- No DLL files needed, as it uses the Windows API to draw the GUI and Direct2D/GDI+ to draw the screens (keep in mind that kit-kat still uses DLLs, they just get extracted to a temporary directory)
- Native x64 version for better performance on x64 computers
- MANY more screen layouts, such borderless fullscreen and inverted layouts
- More options that will make Snickerstream work better on crappy computers or networks
- Better default settings that will make streaming smoother on most networks
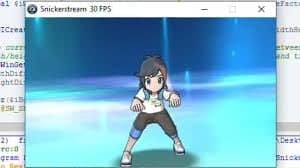
- Built-in screenshot function (press S while streaming to create a screenshot)
- Built in NFC patching
- 7 different remoteplay presets are available
- Automatic remoteplay init, so you only need to click connect and Snickerstream will care about everything else
- Auto-disconnects if the 3DS has stopped streaming (was shutdown/rebooted/etc, can be customized or disabled)
- Has a built-in frame limiter (disabled by default) if you wish to have a smoother stream
- It will try allow itself through Windows Firewall if ran as admin’
Newest Changelog:
New features:
- ‘Snickerstream will now try to allow itself through Windows Firewall if ran as admin (requires Windows Vista/Server 2008 or later and the script to be compiled).
- An update warner has been added, it will check for new versions as soon as Snickerstream has been launched (can be disabled, only works for official releases). Thanks to Real96 for the suggestion!
- Auto-disconnect feature: Snickerstream will now automatically return to the connection window if the 3DS disconnects (aka a certain amount of time passes without any frames being received). The default amount is set to 6 seconds but can be adjusted by adding/editing ReturnAfterMsec in settings.ini (setting it to 0 or a negative value will disable this feature). Thanks to /u/DaWoblefet on the 3dshacks subreddit for the suggestion!
- Frame limiter (disabled by default): you can now limit the number of frames per second displayed by the prioritized screen. Useful if you have a bad connection or you prefer a stream with a constant framerate rather than having your FPS jump around to the maximum possible value at all times. This feature can be enabled by adding/editing Framelimit=XX in settings.ini, where XX specifies the desired maximum FPS you want for the prioritized screen (setting it to 0 or a negative value will disable it). If enabled, the frame prioritized screen’s FPS will be displayed on the title bar, thus letting you know that the limiter is working as intended.
Improvements & Bug fixes:
- The internal UDP buffer has been decreased from 2000 to 1448 bytes, slightly improving performance and decreasing resource usage.
- The title bar will now show the client’s status while waiting for a 3DS to connect (ex. “Starting remoteplay…”, “Connecting…”, etc.)
- Screenshots will only capture the windows’ contents, with the mouse cursor being hidden again.
- If Snickerstream won’t automatically detect your monitor’s scaling settings you’ll be able to manually set the streaming window’s initial size by setting “CustomWidth” and “CustomHeight” to your preferred values in settings.ini. Please note that these options will only resize the window and WON’T scale its contents! (See the wiki on GitHub for more info)
NOTE: If you’ve been using unstable Snickerstream builds, please note that the INI key “Framelock” has been renamed to “Framelimit”!’
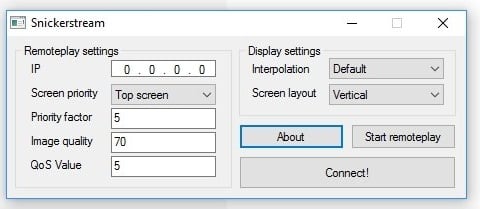
Instructions:
- Install BootNTR, if you don’t know how to do this, a simple Google search will help. It’s incredibly easy.
- Download newest Snickerstream.
- Open BootNTR on your 3DS. Then it will exit back to your homescreen.
- Make sure that you’re connected to your Wi-Fi network and find your 3DS’ local IP address. There are a few ways to do this, for example: Use FBI (go to Remote Install -> Recieve URLs over the network)
- On your PC, open Snickerstream and input the 3DS’ IP address.
- Click on connect!
NOTE: Some games (such as Pokémon XY/ORAS/SUMO) require an NFC patch to be streamed via NTR. In order to stream these games make sure that your 3DS is connected to the Wi-Fi network, click the “Send NFC patch” button and choose your firmware version. The NFC patch should work even if the game isn’t running yet (as long as the 3DS didn’t reboot/soft reset) but in case it doesn’t, reach an area of the game that initializes the NFC routine (for example, after loading your savegame in the Pokémon games), press the home button, wait until your 3DS reconnects and then send the NFC patch again.
Stay tuned here on Hackinformer.com for more reviews and follow us on Twitter @Hackinformer
If you like the author’s work, follow him on Twitter @V1RACY and remember to enter the weekly giveaways!