RetroPie Guide!
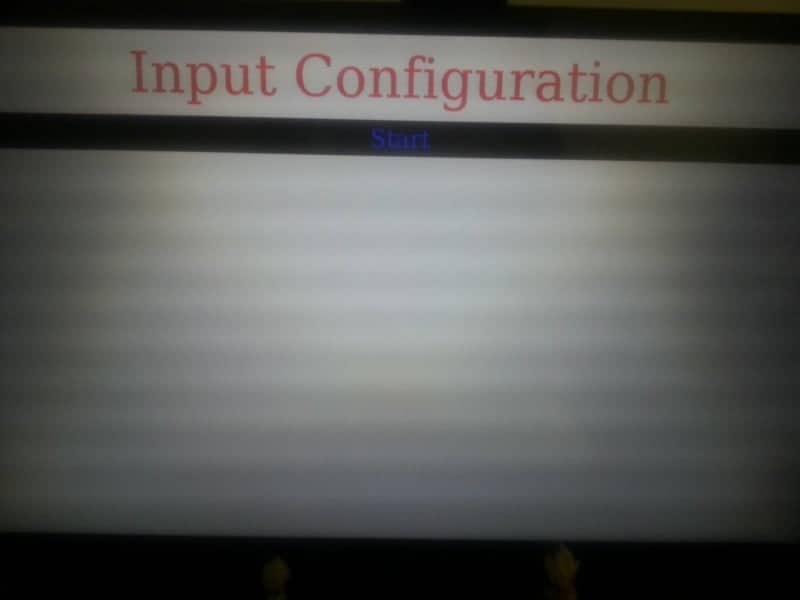
Let’s get right to it, the first thing is you need to do is Download: RetroPie Project SD card Image. Next you need to use Winburn to write the image to the sd card. When you start up the PI you will see the splash screen above, next you will see a simple joystick or pad configuration. It is every appreciated because sometimes it is quite complex for many of us to configure the joystick in the Terminal. Anyway, we need to execute a command to have joystick support in all different emulators anyway.
Download: Win32 Disk Imager.
Download: RetroPie Project SD card Image
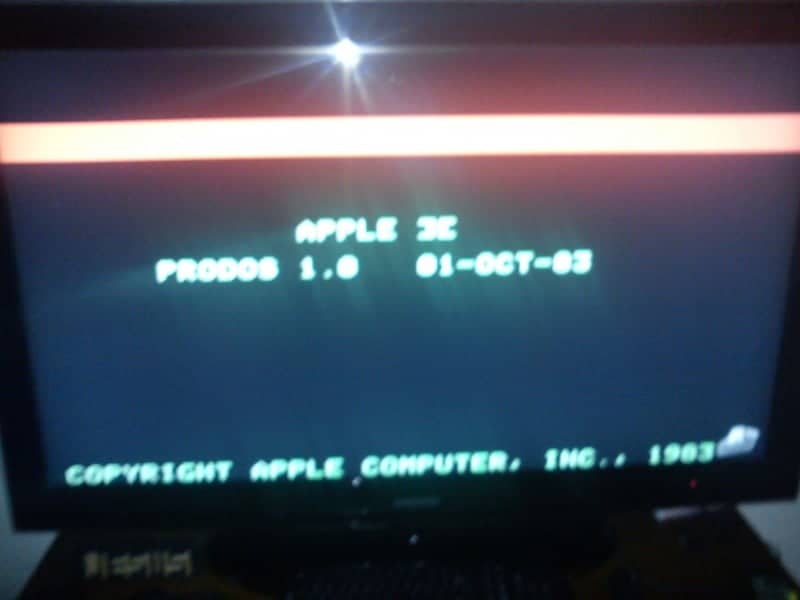
Once booted, after the you do the simple configuration of the Joystick. We will see Apple II or Cave Story.

Cave Story
“Cave Story is a freeware platform-adventure video game released in 2004 for the PC. It was developed over five years by Daisuke “Pixel” Amaya in his free time. Cave Story features 2D platform mechanics and is intended as an homage to the classic games that the author played in his youth, such as Metroid.” – Wikipedia
Menu Control and Management
When you move pressing left or right with the control pad or keyboard. You will move around emulators which have ROM or game uploaded.
By pressing ALT+F1 to show us the following menu
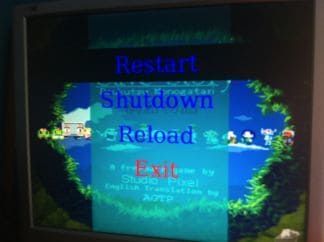
Menu pressing ALT+F1
We can see four different options: Restart, Shutdown, Reload, and Exit. With the last option, we will go to the Terminal and we’ll have a Raspbian distribution ready to use. I recommend expanding the file system if you have an SD-card over 4 GB running and overclock to 900 Mhz. To get in the pi configuration just type in sudo raspi-config in the terminal.
If you have a joystick, you also need an additional step as I mentioned above. Because the script does not correctly configure the control in all emulators. You’ll have to run a program to configure the control pad in the Terminal:
cp ~/RetroPie/configs/all/retroarch.cfg ~/RetroPie/configs/all/retroarch.old
cd ~/RetroPie/emulators/RetroArch/tools/ &&
./retroarch-joyconfig -j 0 >> ~/RetroPie/configs/all/retroarch.cfg
With the command above you will have the joystick calibrated to all emulators. The first one makes a copy of the configuration file. The second one setup the joystick. Parameter -j 0 is for setup the first plugged joystick. Run again with 1 for the second joystick, and so on. You can use the new input configuration too but it does not setup every emulator.
Initially, appear in the menu the game Cave Story, Doom and Genesis emulator (Megadrive), although most of them don’t work until you upload some ROMs. Let’s load some games!
Remotely accessing the PI
We have two choices. By default, we can access from our internal network. Since it has been configured, so we can seamlessly access it or it has a quick USB copy option. So just format a USB stick and plug it into the retro pi and wait about a minute. It will make the directory for you, plug it in your PC and you can just load your ROMs to your favorite emulator instead of using FTP. So it up to you on which way you would like to upload your rom’s. I like FTP better but that just me.

How to transfer files to the pi via FTP:
To exit the retro pi press F4 on the keyboard. Now you can start FTP software like Cyberduck on your desktop computer. Since we’re going to be transferring ROMs with Cyberduck here is the methods to it.
- From the command line on the Raspberry Pi, type
ifconfig
and look for the line “inet addr.” This is your IP address (it will read something like 192.168.1.8). Write that down.
- Open up Cyberduck on your computer, and select “Quick Connection.”
- Select SFTP (SSH File Transfer Protocol).
- For the server number, enter the number you wrote down down in step one. Your username is “pi” and the password is “raspberry.” Click okay to go to the Raspberry Pi’s SD card.
- Navigate to RetroPie > roms
- Copy over any ROMs on your computer to the corresponding system folder and you’re done.
-
From here on out, you’ll be able to easily copy ROMs to the Raspberry Pi remotely through this method, so don’t worry if you want to add more down the line. Once the file transfer is done, go ahead and reboot the Raspberry Pi with your controllers connected and everything should be good to go.
After copying the ROMs, it is best to Restart the pi.
Well, let’s play some emulators, … It’s gonna be so easy!
ZX Spectrum
We start the emulator and the next screen appear

Failed to load a game directly
Damn, it seems the emulator is based on FUSE under X-Windows without joystick support. You have to load games from File menu. I prefer the Terminal based version because it brings joystick support (or I have not been able to successfully configure). Aside must be configured to have more screen resolution. This can be done in the Option>Extra… menu.

FUSE emulator
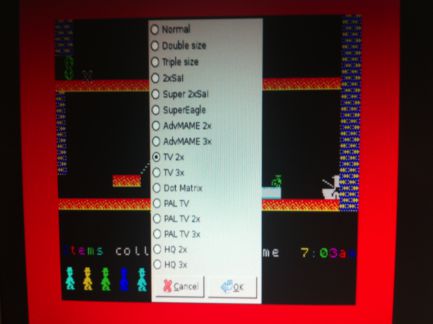
You must to configure the screen size if you think it’s small. Here you are the options
If you need the joystick and better full-screen support, I’ll teach you to install another emulator. First you have to exit to the console (remember, F4):
$ sudo apt-get install fuse-emulator-sdl spectrum-roms

$ nano ~/emulationstation

And we changed the final ZX Spectrum section the following line:

COMMAND=fuse-sdl %ROM%
Options appear by pressing F1. With Options>Full screen put the emulator in full screen, and Joysticks have options to configure how you want your pad. It’s a matter of trial and error combinations, since according to the game sometimes you have to select Sinclair1 or Kempston. Remember to save the configuration with Options>Save. To change the game, File>Open.
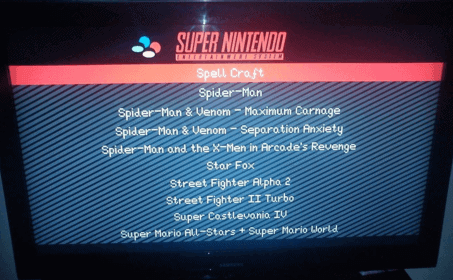
Super Nintendo

Best SuperNes game. Don’t you think?
Super Mario All Stars!. It’s running at full screen and it’s pretty fast and stable. No comments 😀
Playstation 1
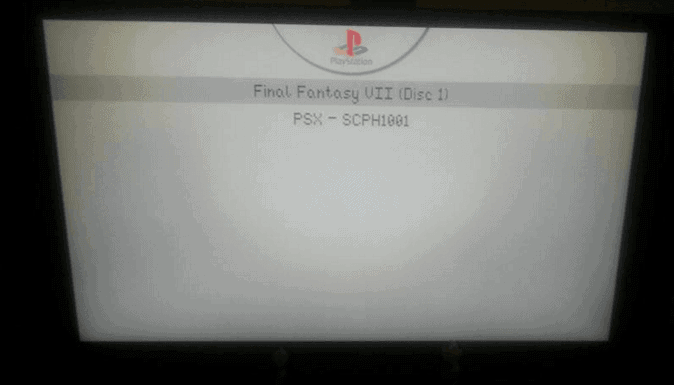
Works great..Do not forget to copy the scph1001.bin bios with the isos in the same directory. If doesn’t work try to copy the bios in ~/RetroPie/configs/psx. Supports both .Img as .7z, and I think that is the only emulator besides MAME that supports compressed files.
It also supports .bin files, but you must modify the ~/.emulationstation/es_systems.cfg to support these files. Just add .bin .BIN to EXTENSION= in the appropriate section. Perhaps best is to rename the .bin to .img or compress on .7z format, you decide.
NOTE: Make sure inside the file .7z you don’t have the .bin into any directory.
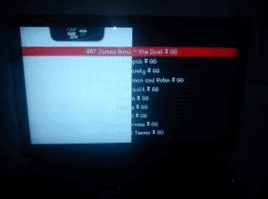
Genesis (Megadrive)
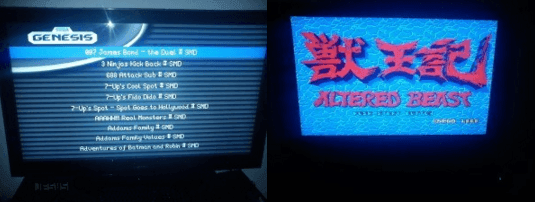
Perfect! It works the control pad and the game run at full screen with no problem.
scummVM
It appears the front-end emulator, but it’s not taking the directory where you uploaded the game from the remote computer, so you have to change it clicking on Add Game y following the path/home/pi/RetroPie/roms/scummvm
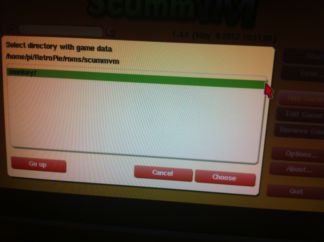
Add Game menu from scummVM
It’s done! 😀

The Secret Of Monkey Island running on scummVM
MAME
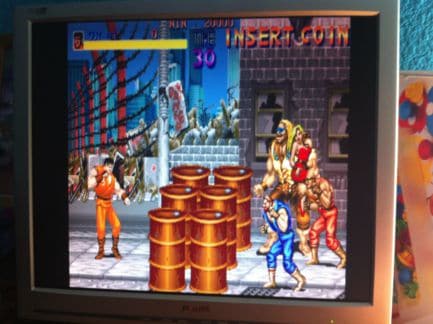
Final Fight!. Insert coin! Insert coin! Insert coin!
It seems that the speed is pretty good. Remember that if you have joystick and you have not configured under Terminal as I mentioned above, will not work. If you download ROMs from Internet, some of these will not work, because we are running the AdvancedMAME port, despite being the most compatible, you may have problems with any of the .zip files.
Game Gear
Sonic was very addictive on Game Gear. SEEGAAA!
Perfect for Game Gear, nothing to add except that we may have to modify some values to display at full screen. I forgot to mention that each one has its own retroarch.cfg configuration file in case you want to customize it. You can find it in the folder~/RetroPie/configs/
DOOM
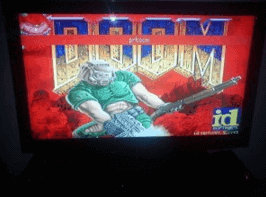
No matter: Doom1, Doom2, Everything works perfectly with full screen and joystick support.The .wad file already installed doesn’t work, you must search it on the internet or in your floppy disc. The engine has support to doom.wad, doom2.wad, heretic.wad y Hexen among others.
Duke Nukem 3D
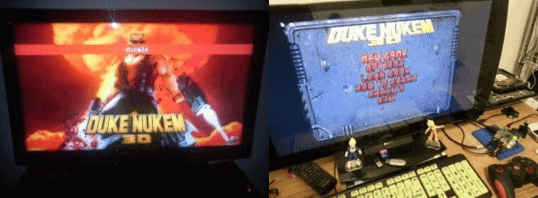
Everything works perfectly with full screen and joystick support. No comment
EXTRA!: AMIGA

Not yet supported as many others you can find in the image file, but is available the Amiga emulator called Uae4all. Here are the steps to follow and enjoy any game of this system:
Roms
/home/pi/RetroPie/emulators/uae4all/roms/

Kickrom
/home/pi/RetroPie/emulators/uae4all/

Starting emulator:

Alt+F1 to exit emulationstation

cd /home/pi/RetroPie/emulators/uae4all/
./uae4all
This starts the emulator. NB kick.rom has to be called: “kick.rom”, this is case sensitive. If it is called Kick.rom you will get an “error:disk not found”.
A box will appear. Choose: “select image disk” and find the game to load in the appearing browser window. To start the game choose Run.
Turbografx 16
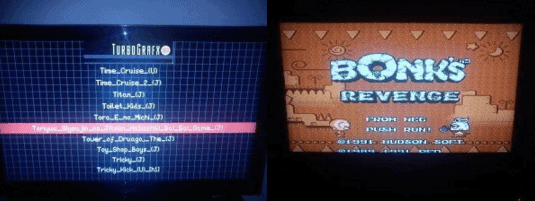
Perfect! It works with control pad and the games run at full screen with no problem.
Atari 2600

Perfect! It works with control pad and the games run at full screen with no problem.
Gameboy Advance

The only thing you will need for GBA is the Bios file after that everything else works great
NES
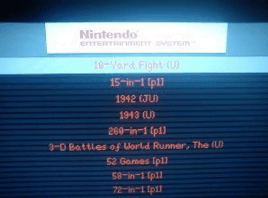
Perfect! It works with control pad and the games run at full screen with no problem.
NEOGEO
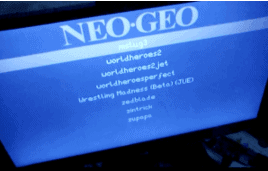
The only thing you will need for NEO GEO is the Bios file after that you will need to configure the joystick or gamepad in the pi input configuration when scroll through the dashboard.
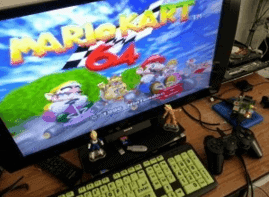
Mupen64Plus – N64 Emulator for the Pi
PhonicUK, has been working on porting the version of Mupen64Plus originally made for the Pandora to the Pi. The newest version of retro pi 1.91 has this it include. Here is a video of it working.
You may need to do some extra configuration for the controllers as explain above.
I did not test every single emultor like basikiskii, GB, GBC, Intenllivison, Sega matersystem (probably works fine since megadrive worked so well), X86, and zmachine. I have test the psp emulator (ppsspp) on it and it seem to work but the build need a few bug’s fixed. Also remember that if you have a controller connected by the GPIO connector, you can make use of it and play with your native Nintendo, PSX, PSX2, SuperNes, N64 or GameCube controller.
I hope you enjoyed it.
Looking to buy a Raspberry PI Complete Starter Kit.. Click here
Recommended links:
Link: RetroPie Wiki
Link: Is there another way to set up the gamepad for use, e.g., withing the snes emulator?
Link: EmulationStation Themes
Link: RetroPie & a SIXAXIS over bluetooth