
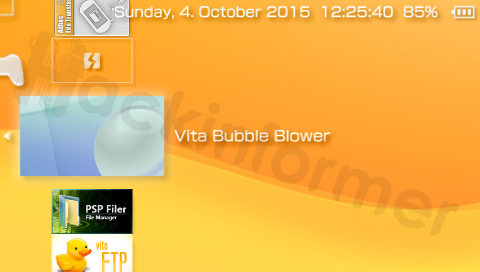
 How to use the Vita Bubble Blower for TN-V11
Working for Firmwares: 1.00 - 3.36 |
PlayStationTV compatible: Yes |
Difficulty: Easy |
Time: 5 min |
|
| Requirements: |
|---|
|

To make use of the BubbleBlower you need to be running TN-V11 bubble already:
[Tutorial] How to install a TN-V Bubble without any exploitgame (3.00 - 3.52)
Note: The BubbleBlower only works on 3.36 and below with the 'TNV' savegame version! Qwikrazor's 3.5X version or older savegame versions will not work!
Addon from talmagal: You can have a max of 18 entries in bubbleblower before it bugs out! (18 entries in the game folder none in the iso folder) If including the iso folder: 15 entries between both PSP/GAME and ISO Folder before bubbleblower bugs out.
Also if any icons for the game dont show up your bubbles will most likely not copy properly. As when ever i saw this bubbleblower would do everything but when it went to copy __sce_ebootpbp and EBOOT.PBP from your basegame it will copy a 0 byte file instead.
Step 1: Downloading and installing the files
1) Download the bubbleblower2.zip archive if you haven't already and extract it.
2) Download any small PSP game (or free PSP demo) to your PS Vita if you haven't already
| Region | Demo | TitleID | Size |
|---|---|---|---|
| US | Loco Rocco Midnight Carnival | NPUG80318 | 195 MB |
| US | Petz Saddle Club Demo | NPUH90024 | 178 MB |
| EU | Ape Quest | NPEG00005 | 232 MB |
| JP | Toukiden Kiwami | / | / |
(every created bubble will contain this basegame itself aswell)
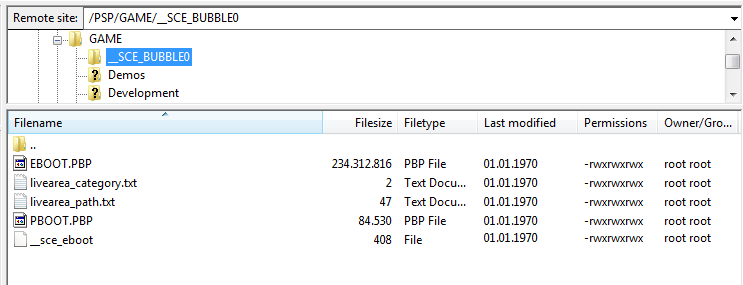
3) Install the bubbleblower2 folder to your PSP/GAME directory
4) It should look like this
Step 2: Setting up the Bubble Blower
5) Open up the BubbleBlower Homebrew
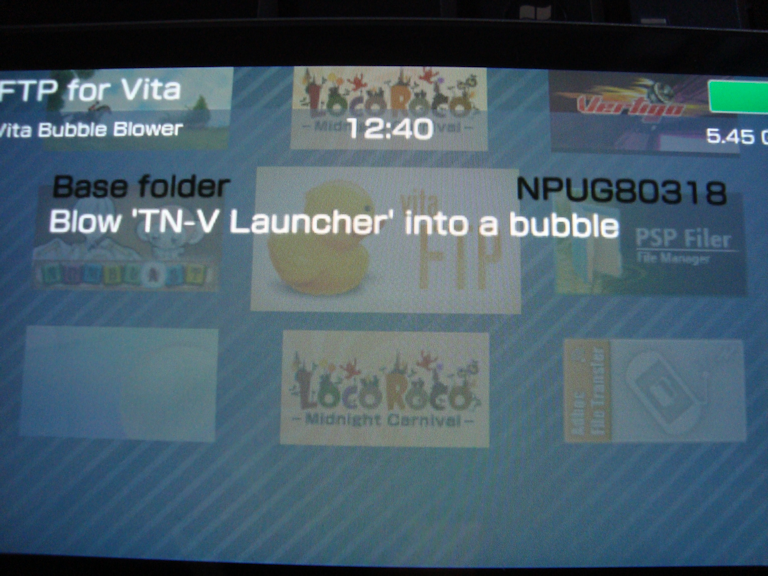
6) Hit  and adjust the Basefolder setting to your basegame's TitleID (this is Locco Rocco)
Step 3: Creating Bubbles
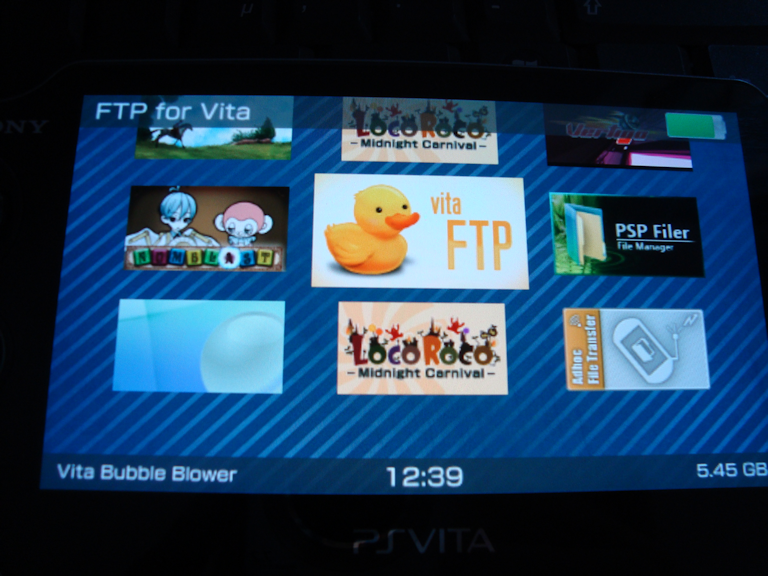
7) Select the Homebrew/ISO you want to blow into a bubble. (Only Homebrew located in PSP/GAME will be recognized)
8) Press  and confirm.
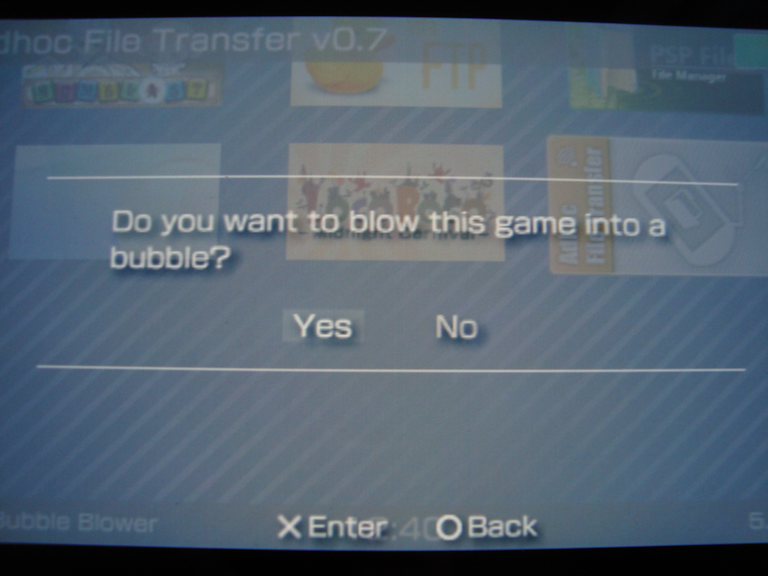
9) BE PATIENT!! This process might take a while because the basegame will be cloned! (The bigger the basegame the longer it takes!) DO NOT standby, exit or do ANYTHING!
10) After you see the dialog of success, exit the blower and..
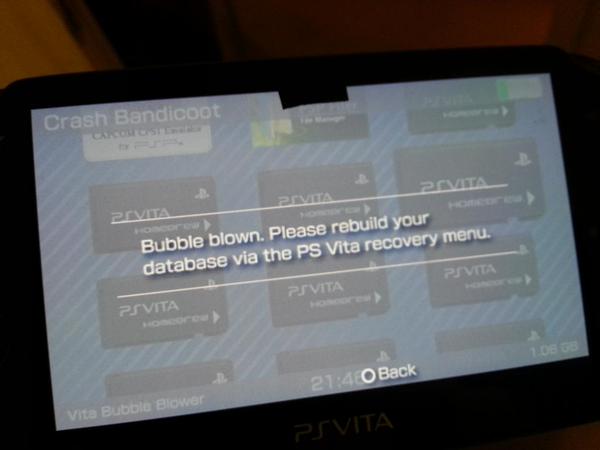
All you need to do now is to rebuild the database to make the new files take effect.
(You can access the Recovery Menu by powering off your Vita completely and press and hold HOME + POWER + R-TRIGGER)
Done! :)
PLEASE NOTE!
If you delete a blown Bubble manually from livearea, the license file of your Basegame will get deleted aswell! Make a backup or your basegame and all blown bubbles won't start anymore!
FAQ & Troubleshooting
|
|
 When I start the blower homebrew it shows a black screen and returns an error!?
 Maybe you have too much content in PSP/GAME and /ISO. Rename the ISO folder and retry.
|
|
|
|
|
|