
 How to install Custom Themes manually
Working for Firmwares: 3.00 - 3.52 |
PlayStationTV compatible: Yes |
Difficulty: Moderate |
Time: approx. 20 min |
|
| Requirements: |
|---|
|

Step 1: Dumping your app.db file
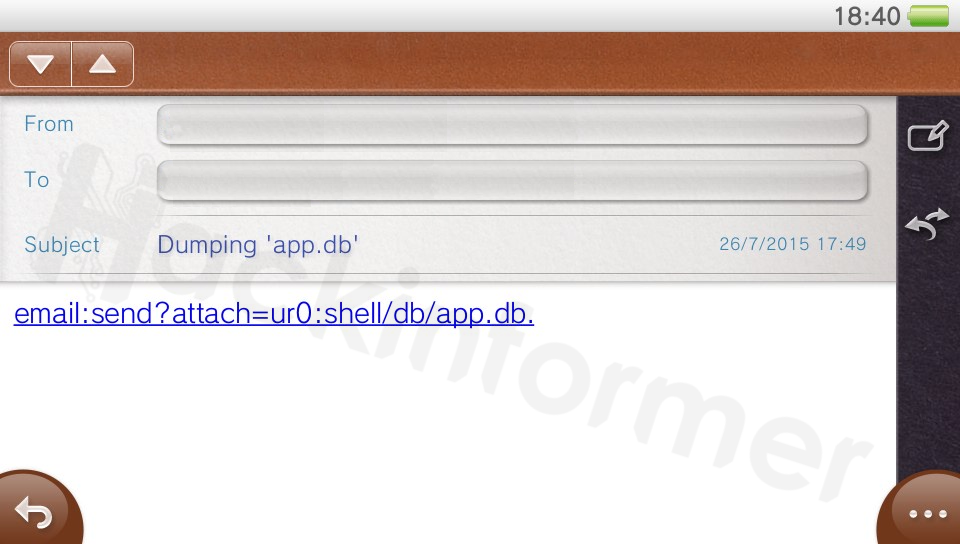
1) Send yourself an e-mail with the following support_uri as link:
2) Open your E-mail App on the Vita, wait for the mail and click on the link
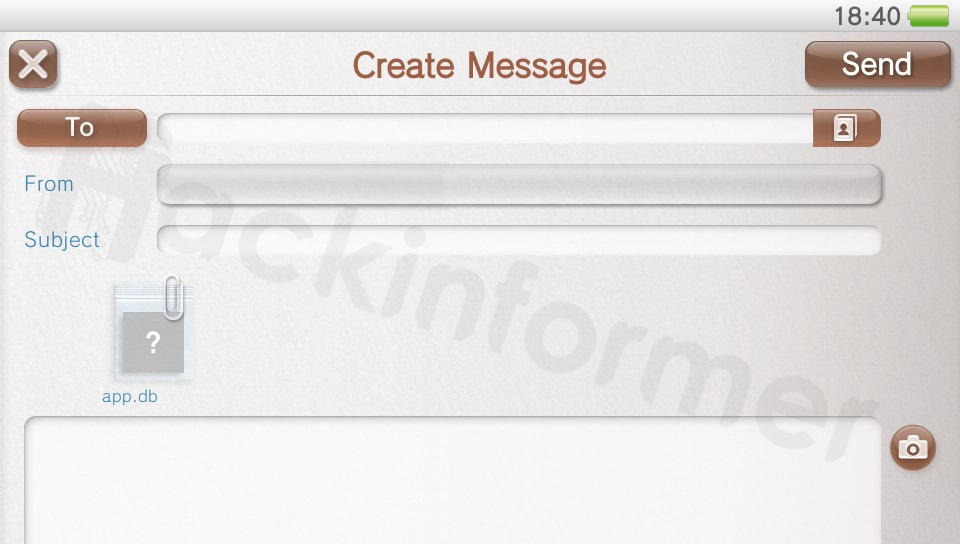
3) Now just type in your e-mail address again and send back this e-mail with the app.db file as attachment. You will notice the E-Mail app close itself, thats normal and supposed to happen! :)
4) Retrieve the dumped app.db file with your PC's e-mail client and just leave it on your desktop for now..
Step 2: Installing the custom theme files to the memory card
Since it would be a pain to write every single theme file somewhere to the memory card via the e-mail trick, its way much easier to just use the PSPEMU part for that in combination with VitaFTP!
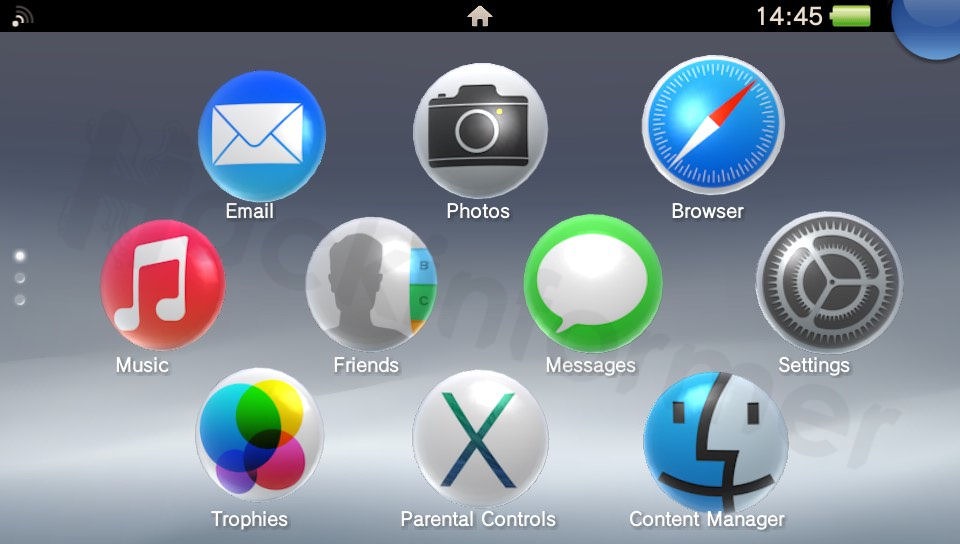
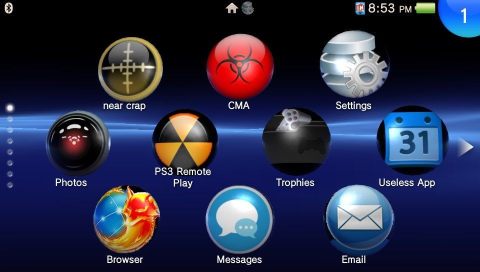
At this point you should already have some custom icons or theme packs downloaded and extracted. We will use the Black XMB Theme as a sample here.
5) On your Vita open the VitaFTP Homebrew App via VHBL, TN-V, ARK or whatever.

6) On your PC open FileZilla or any comparable ftp client software to transfer files and connect to the IP displayed on your Vita. We will now simply create a folder called 'themes' in the root of the memory stick.
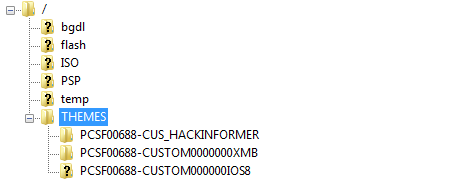
7) And transfer all our PNGs into another subfolder of your choice. Preferably the name of the theme or just leave it like it is in the theme pack.
ms0:/themes/name/icon_settings.png
equals
ux0:pspemu/themes/name/icon_settings.png
Alternatively you can use the following savegame method to transfer and maintain your theme(s) this way. Example Path: ms0:/PSP/SAVEDATA/CUSTOMTHEMES/themes/PCSF00688-CUSTOM0000000XMB/icon_settings.png
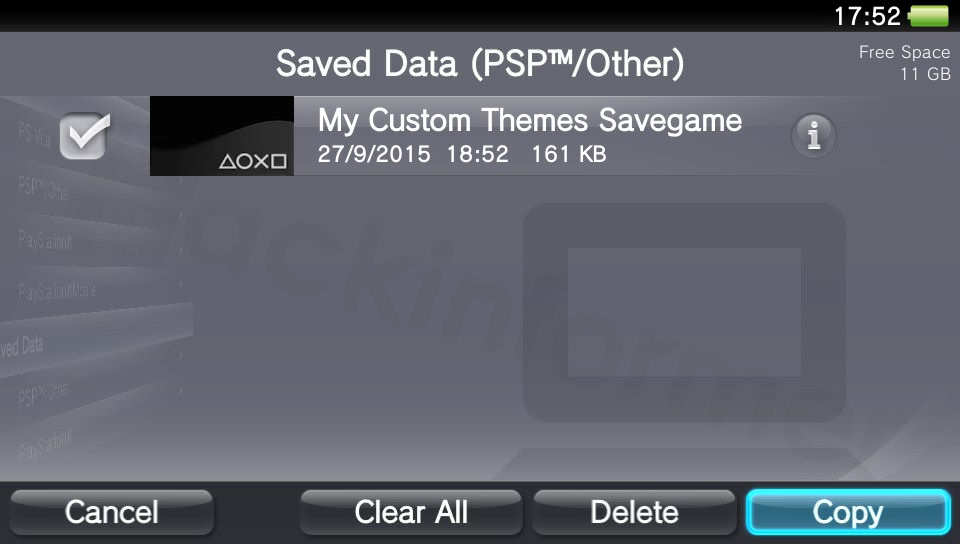
Download: CustomThemesSavegame.zip
Step 3: Modifying the app.db file
8) Back on the PC we can now start the SqliteBrowser, open our app.db file..
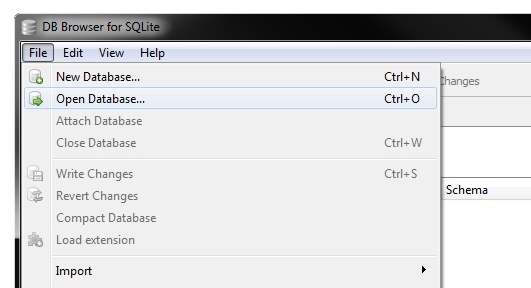
..go to Browse Data and select tbl_appinfo_icon from the dropdown menu.
9) Here are all your installed and stock apps listed with their links to the original icon0.png files.
10) You can now change the iconPath(s) to your custom png located in.. ux0:pspemu/themes/name/
Note: You can also rename your Bubbles by simply changing the title to whatever you want!
11) When you're done hit Write Changes and close the programm.
Step 4: (Re)Installing the modified app.db file
If this is the first time you are going to use this Mail-Installer method,
please make sure to follow this tutorial on how to set everything up first!
12) The very first thing to do now is to simply rename the 'app.db' file to '#0' without any file-ending!
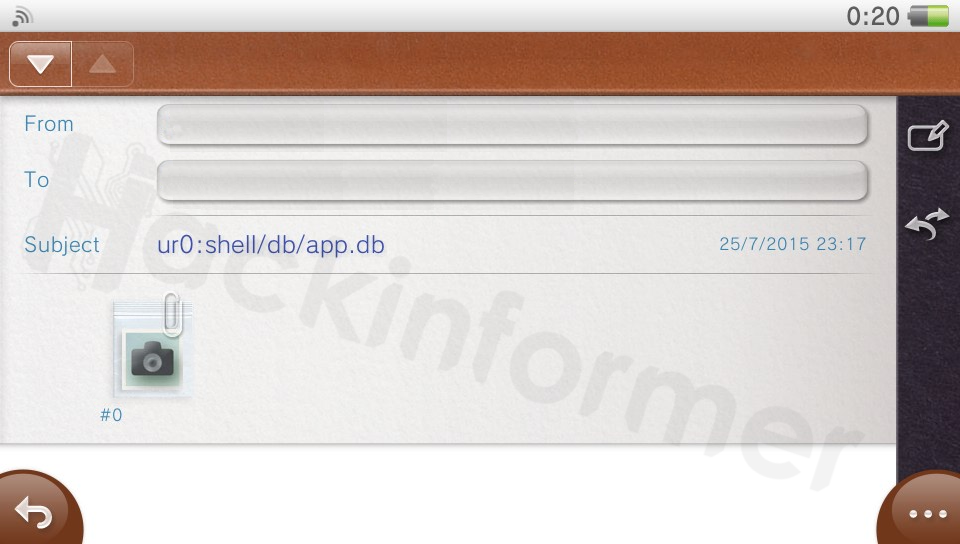
13) Now we are going to write a new e-mail with the #0-file as attachment and the path we want the file to be installed as Subject. Send it to your vita!
ur0:shell/db/app.db
14) If everything did go right you should see a camera symbol. Touch it and DO NOT click OK on the appearing Error Message but simply close the e-mail app completely!
15) Restart your Vita and your icons should be changed! Done!
Downloads
Black XMB Theme by Freakler
Custom Vita Themes Database (via hackinformer.com)
FAQ & Troubleshooting
|
|
 My Vita performs a database refresh when restarting at the last step.
 This means the app.db got corrupted somehow. Restart at Step 3
|
|
|
|