
 How to backup Vita Cartridges and install them
Working for Firmwares: 3.00 - 3.52 |
PlayStationTV compatible: Yes |
Difficulty: Hard |
Time: approx. 4-5 hours depending on method and game |
|
| Requirements: |
|---|
|
Note: This method will NOT allow piracy and is way too complicated for "everyday use". Therefore see this as a ProofOfConcept (see video below) and don't get too hyped.. You will still need to put YOUR cartridge at least one time in your Vita every time you reboot! |
Step 1: Dumping the cartridge's files database
1) Obviously we need a cartridge! For this tutorial I will use Minecraft as example.
2) The very first thing we need to do is find out our TitleID. The easiest way to do so is just look at the cartridge itself! That would be PCSB00560 (ignore the "-" here)
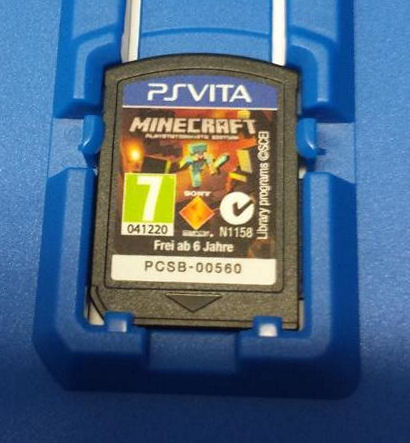
3) Okay now you're going to send yourself an e-mail with the following support_uri as link:
4) Open your E-mail App on the Vita, wait for the mail and click on the link
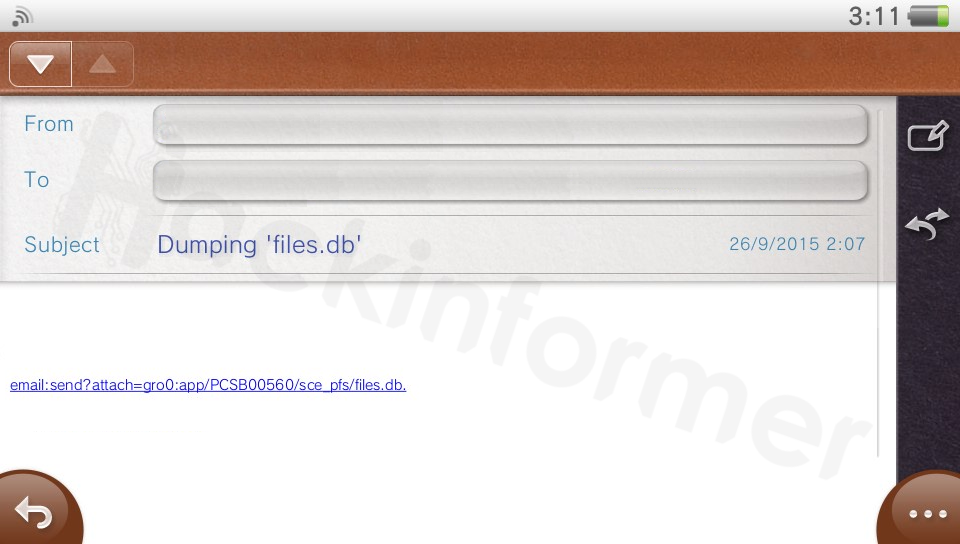
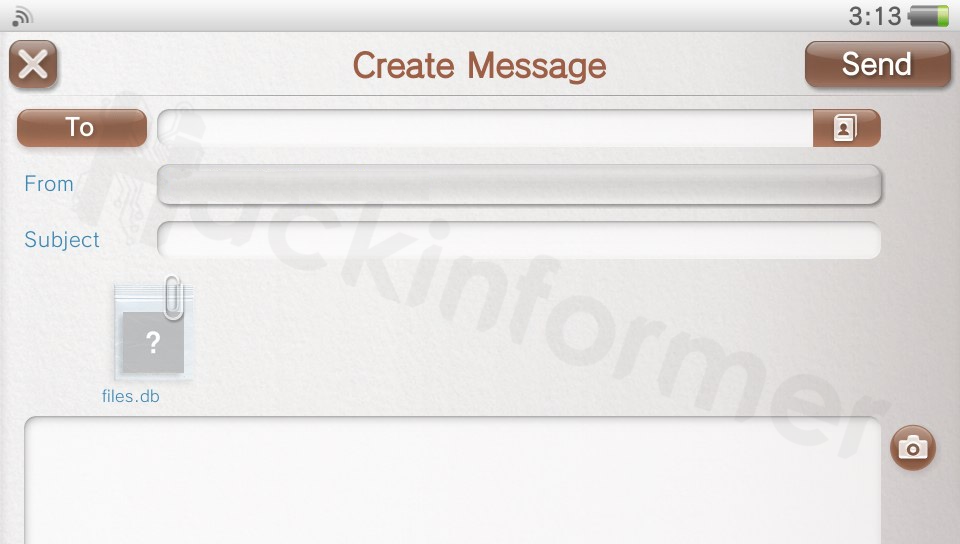
5) Now just type in your e-mail address again and send back this e-mail with the files.db file as attachment. You will notice the E-Mail app close itself, thats normal and supposed to happen! :)
6) Retrieve the dumped files.db file with your PC's e-mail client and just leave it on your desktop for now..

Step 2: Reading out the files.db
As the filename already implicates, this database-file contains all locations and names of files on the cartridge!
7) Alright! Download Major_Tom's listdirvita tool if you haven't already.

8) Now all you're going to do is simply drag and drop your dumped files.db file onto the listdirvita.exe or alternatively run the programm from terminal..
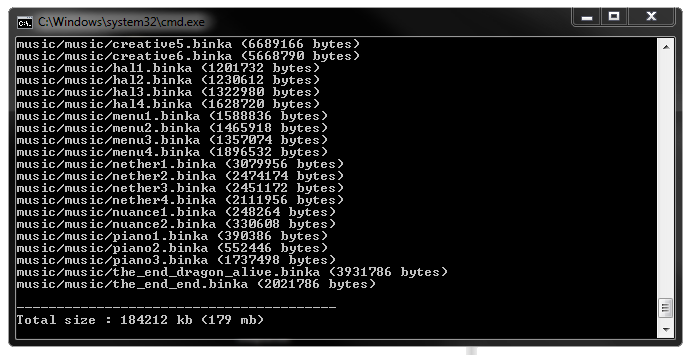
..and it should create a new file called output.txt containing all files & locations.
Step 4: Dumping the cartridge
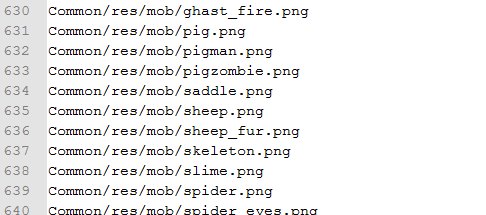
10) Now to the fun part: You will need to dump all the files from output.txt manually!!
Here are some tutorials for that: (I'm not going to go into detail here)
- [Tutorial] How to dump any file between 2MB and 16MB (via wololo.net/talk)
- [Tutorial] Dumping files without limitation :D (via wololo.net/talk)
11) Additionally to the output.txt files you will need to dump the following license files
You will also need to dump your cartridge's license file! Keep a copy somewhere (as we will need it later) but also rename and replace it with your work.bin file!!
Step 5: Installing dumped cartridge files (Part 1)
12) Download this savegame: backup_savegame.zip and paste it into your CMA Savegames-folder

13) Create a new folder matching to your titleID PCSBXXXXX and place all dumped files inside

14) Transfer it via QCMA to your Vita! (Note: Sony's official CMA will NOT work!)
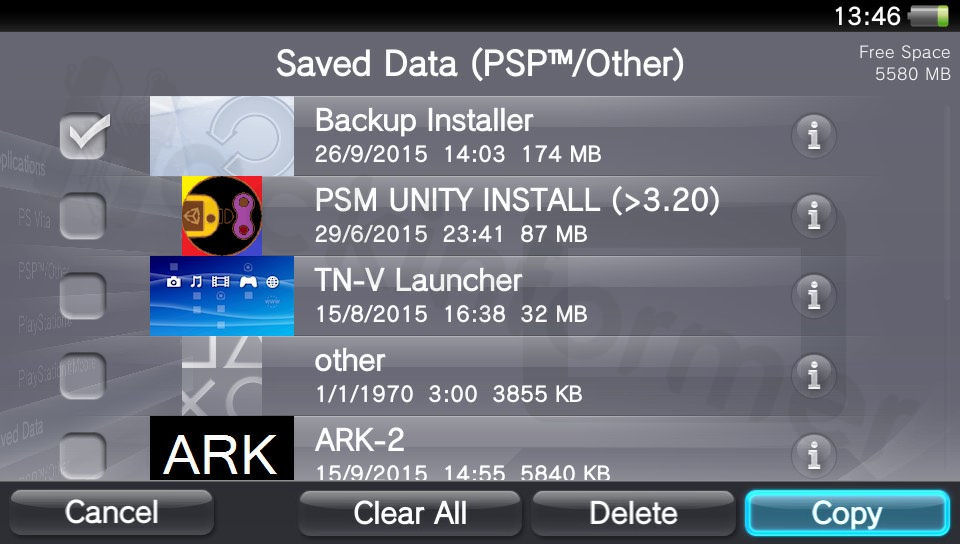
Step 6: Creating eml file for mail trick
15) They very first thing to do now, is to find out the ContentID (CID) of our game. The easiest way to do so is to open the sce_sys\package\head.bin file with any hexeditor!
 -->
-->
16) Now download the following file, d0.pdb, open it in your favourite Hex Editor and replace the 2 TitleIDs and the ContentID!
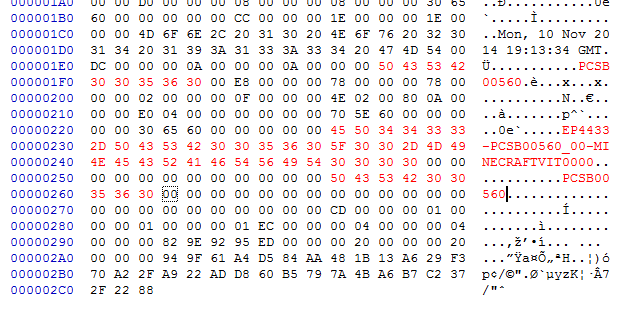
17) Clone the file and name it d1.pdb
18) Download the EML File Generator 0.4 tool

19) And add the following paths to install and save as .eml file:
Step 7: Installing the backup file (part 2)
20) Before proceeding on the Vita, it is VERY IMPORTANT that you delete everything queued in your download list!!
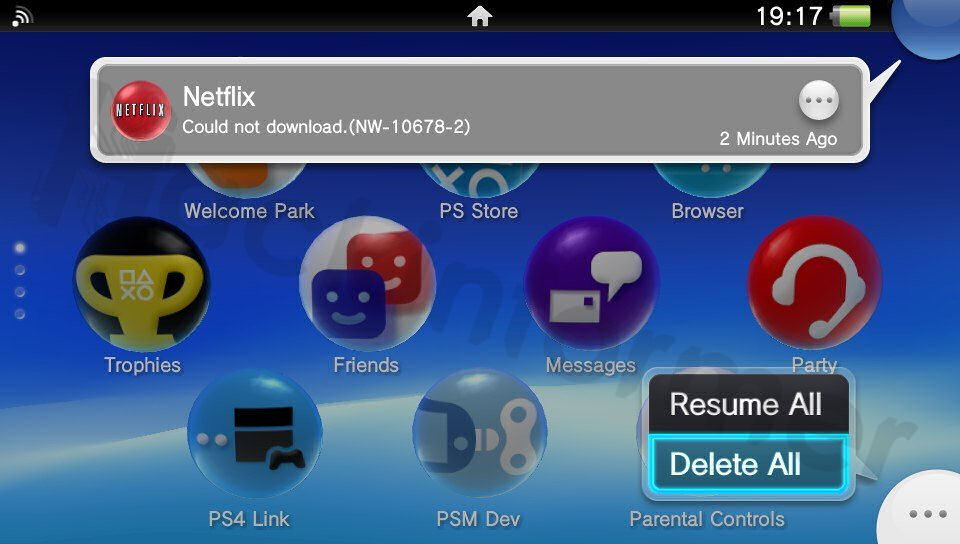
21) Now shutdown your Vita and Rebuild your database! (This will clear the internal download folder so that the eml trick uses the correct path)
22) Now look for any app that needs an update (The orange icon with an arrow), this can be confirmed pressing the icon with the two blue arrows on the LiveArea screen, if there’s an update the icon will appear.

23) Download any patch for any game and when the download has started and you can see a little bit of the green bar, pause the download.

24) Go to the email app and open the mail that you sent to yourself. If everything worked correctly you should see two attached files with a photo symbol. (If you see a Question Mark symbol instead, something went wrong with thunderbird or outlook sending the mail)
25) Now select the first file and it will give you an error saying that it can’t open the picture (DO NOT PRESS OK) then close the app, make sure that you close it without pressing OK. Re-open the mail app and do the same process with the other file too!
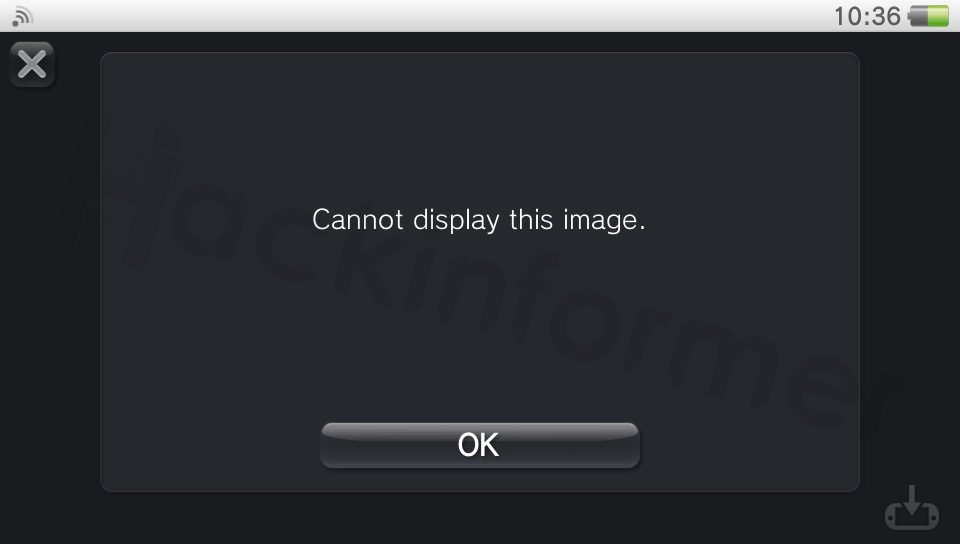
26) Disable WIFI and power off your Vita!
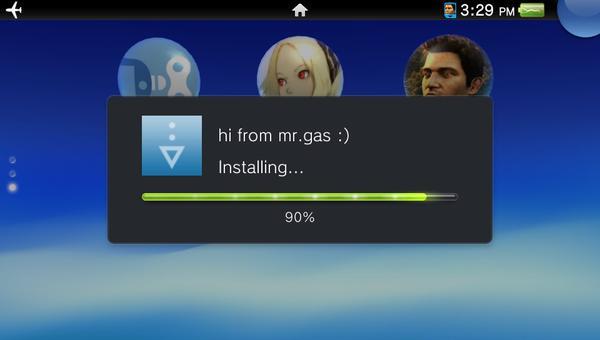
27) Power it on again and go to your notifications, you'll see that the patch you downloaded on LiveArea has an Error - thats normal!! Simply press it and the backup should install.
Step 8: Installing License
If this is the first time you are going to use this Mail-Installer method,
please make sure to follow this tutorial on how to set everything up first!
30) The very first thing to do now is to simply rename the '.rif' file we dumped earlier to '#0' without any file-ending!
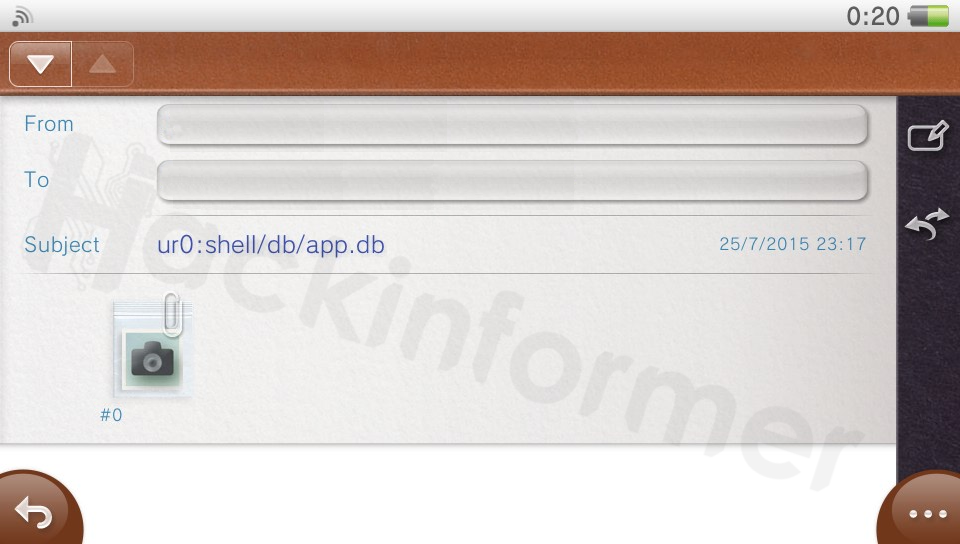
31) Now we are going to write a new e-mail with the '#0'-file as attachment and the path we want the file to be installed to as Subject:
ux0:license/app/GameID/6488b73b912a753a492e2714e9b38bc7.rif
32) If everything did go right you should see a camera symbol. Touch it and DO NOT click OK on the appearing Error Message but simply close the e-mail app completely!

33) Restart your Vita put the cartridge in your vita once and the game should now work! Done!
Note: Do not update the game as it will go corrupt!
Proof of Concept: Video by MrGas via youtube
Downloads
listdirvita.exe by Major_Tom
EML File Generator 0.4 by CFWProphet
FAQ & Troubleshooting
|
|

 Q
Q A
A