Yes for everyone who has bricked his 3DS by downgrading, flashing early versions of Arm9LoaderHax, Messing with system titles, broken Arm9LoaderHax or pretty much every other type of brick (except for Gateway’s damn brick) can be fixed now thanks to Boot9Hax and a hardmod. Also lot’s of thanks to GBATemp User joker_77 for posting the original Tutorial on GBATemp.
So how do I do this?
You can either hardmod your 3DS yourself if you have a bit of soldering Skill (The points are actually really easy to solder to) or you get it done by some modders. You’ll also need an SDCard reader that supports reading eMMC. This Card Reader is confirmed to work with every 3DS:
Anker® USB 3.0 (68UNMCRD-B2U) : Realtek RTS5306 (Other card readers with this chipset may also work)
If you have all of this you can now safely unbrick your 3DS.
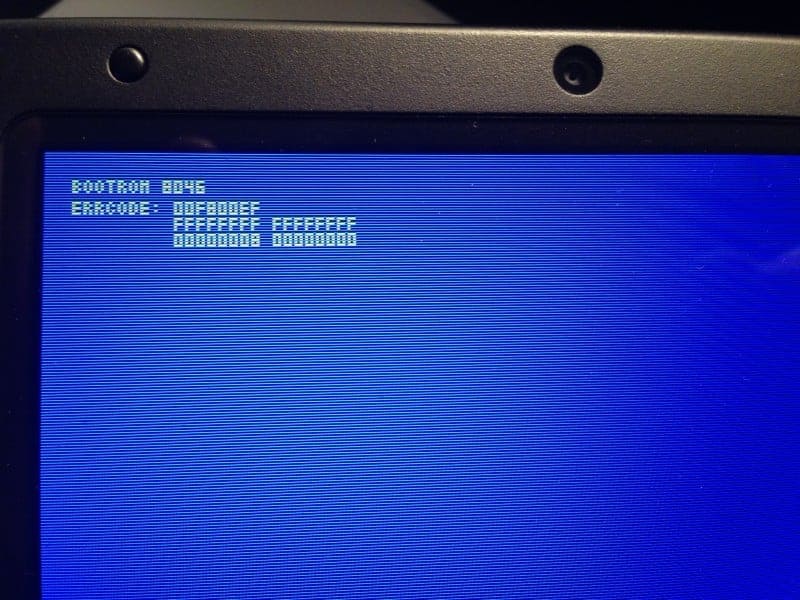
1. Plug your SDcard in the adapter and power on your 3DS. Then plug the card reader in your PC. It should tell you that it found a new Device and will want you to format it. DON’T!!!. Just continue if you get this far. If you don’t you’ll maybe need to recheck your Solderwork or check if your Card Reader can read eMMC.
2. Extract your SysNAND using Win32DiskImager. Just open up Win32DiskImager as Admin and select your 3DS NAND as Device. Now just click “read” and save the Backup somewhere safe on your PC. Make a second Backup on your PC which is in case the Boot9Hax installation fucks up. Your NAND may be bricked but you should still check the Nand Backup size against one of these.
3. Follow this guide to Install B9S (sighax) to the copy of your SysNAND. (Use the firm for the Firmware Version your 3DS was on when it bricked. If you don’t know it you will have to test all the firms until one works).
4. Flash back the NAND-patched.bin as the guide says with Win32DiskImager.
5. Download and copy the latest Luma CFW files to your SDCard and the latest Decrypt9Wip for Boot9Strap (this should be at luma/payloads and in .firm Format) and make sure the file “aeskeydb.bin” is at the “files9” folder on the root of your SDCard. We can’t provide aeskeydb.bin since it contains private keys but with a simple google search you should find it yourself).
6. Download the 9.2 CTRTransfer file corresponding to your console from this guide (this file has to be at the “files9” folder with its .sha file)
https://3ds.guide/9.2.0-ctrtransfer.html
7. Put your normal SDCard back into your 3ds and power on the 3ds holding the “start” button to launch Luma CFW’s chainloader and launch Decrypt9Wip. If nothing boots Boot9Hax might not properly work and you should check if you flashed the correct firm. If it boots Decrypt9Wip go to “Sysnand Options>CTRNAND transfer…>Auto CTRNAND transfer” complete the combo keys, choose the CTRtransfer File and wait until it finishes.
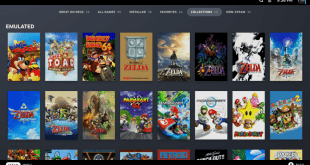
8. After rebooting the console it should now boot properly again and greet you with the 3DS HomeMenu. If everything works again you can continue to install FBI and Update your 3DS to the latest Firmware.
I hope this helped you revive your bricked 3DS and I’m curious when the Magnet and DS Flashcard Method will be made public so that a hardmod will no longer be needed to unbrick a 3DS. Thanks jokker_77…
Source: GBATemp